All the Windows 10 computers and laptops feature the ability to change the font size. While visiting a website, document, or anything on your computer, the first thing that strikes your mind will be the text size. If the text size is too big or too small, the users may find it difficult to view that page or document. Hence, it is advisable to use the proper font size on Windows 10 computers and other electronic devices. If you’re searching for ways to change the font size on Windows 10, the following instructions will guide you in the right direction.
If you want to change the style of the font, visit our dedicated tutorial on changing font on Windows 10.
Contents
How to Change the Font Size on Windows 10
#1: To start with, click on the Start menu.
#2: Click the Settings option.
Note: Alternatively, press the Windows + I keys to open the Windows settings.
#3: Windows Settings will open on the screen. Now select the Ease of Access option.
#4: Click the Display option on the left pane.
#5: Navigate to the Make Text bigger section and drag the slider to the appropriate size that you want.
By default it will appear on 100%. You can drag it upto 250%.
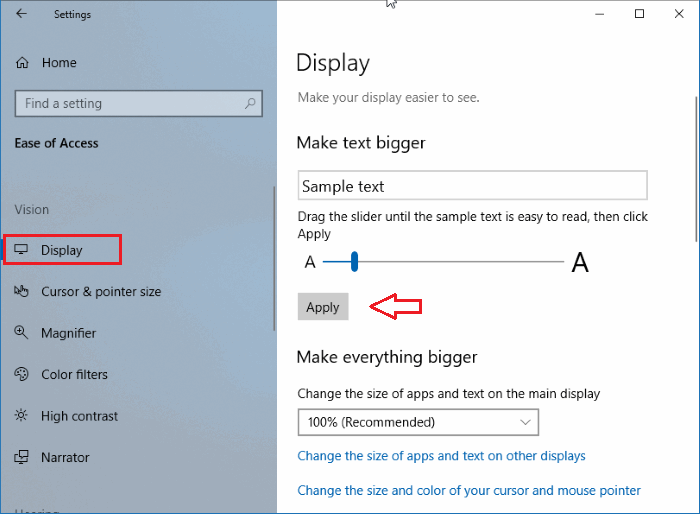
#6: Once you fixed the size, click Apply.
#7: It will immediately change the font size throughout your device.
How to Make Everything Bigger?
Apart from the font, if you want to make everything bigger, head to the Make Everything Bigger option and choose the required size. You can choose from four different options: 100% (recommended), 125%, 150%, and 175%. It will result in enlarging the size of text, images, icons, and everything on your Windows 10 device.
Alternatively, you can also make things bigger by navigating to Settings > System > Under the Scale and layout section, choose the size that you want.
How to Change Font Size on Windows 8
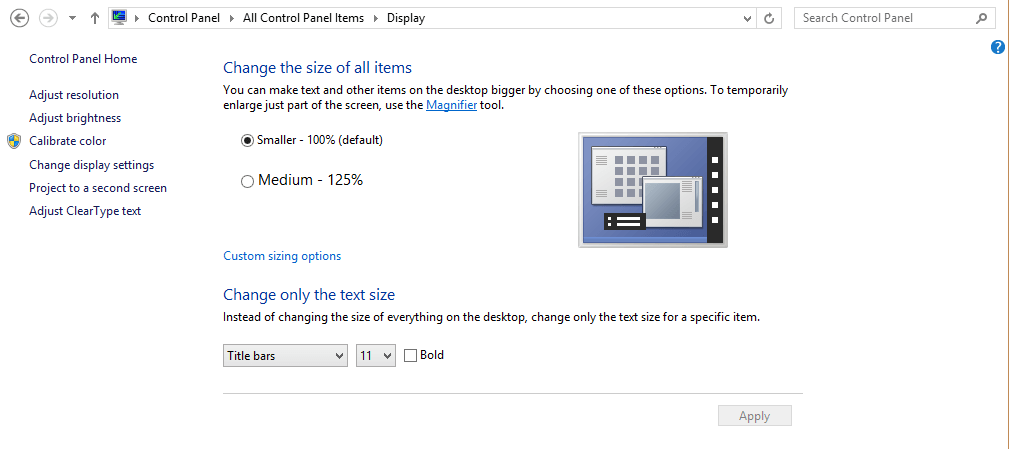
On your Windows 8 PC or laptop, the text size can be changed directly from the Personalization settings.
#1: Turn on your Windows 8 device and drag the mouse pointer to the top right corner.
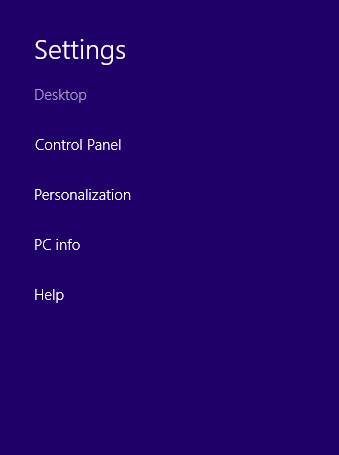
#2: Click the Settings option.
#3: Under the settings, select Personalization.
#4: On the Personalization screen, select the Display option at the lower-left corner.
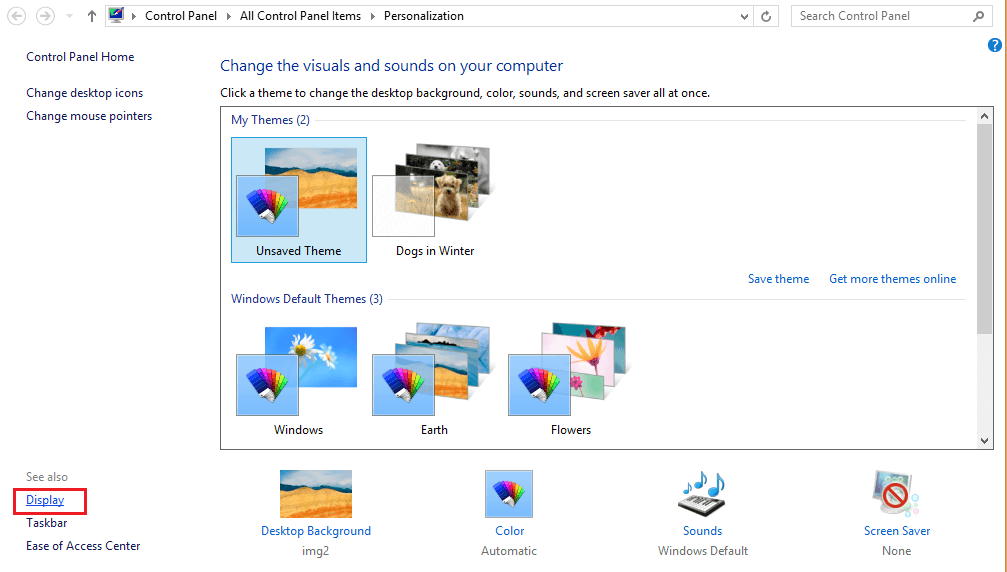
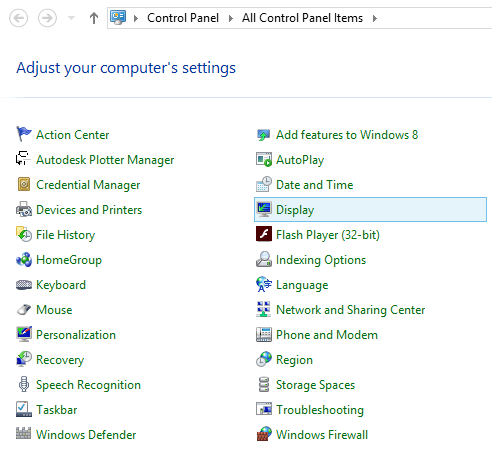
Note: Alternatively, go to Control Panel under settings and choose Display.
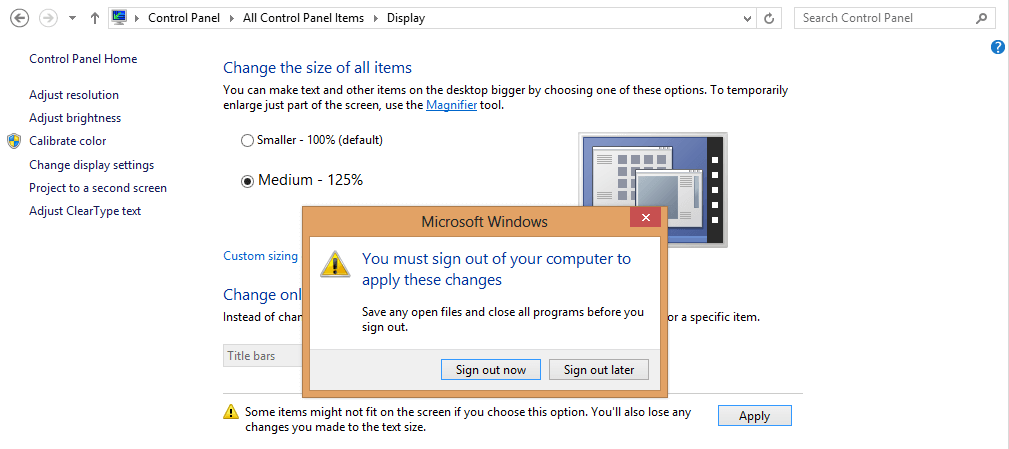
#5: To change the size of everything across your Windows 8 device, click on Customize size option and then choose choose the Text size.
#6: A pop up will appear on the screen. Here choose either Sing out now or sing out later. You will need to sign out and sign in again to apply the changes.
#7: If you want to change the size of the text, choose the specific item and text size from the drop-down list.
#8: Click Apply to see the change on your chosen item.
If the changes are not applied, you will need to check for Windows updates. If available update the firmware to the latest version.
Hit the follow button on our Twitter and Facebook pages and stay updated with our Windows 10 tutorials.