While you are using your Mac, you might capture screenshots on multiple occasions for different purposes. You might want to use those screenshots for your assignments or presentations. However, you might not want to use the whole screenshot, but only a small portion of the screenshot. You have more than one method to crop a screenshot on a Mac desktop, MacBook, MacBook Air, and MacBook Pro.
Contents
How to Take a Screenshot on Mac
Try any one of the following methods to take a screenshot on Mac. It applies to all devices running on macOS.
- To take the screenshot of the entire screen, press Shift + Command + 3.
- To screenshot only a part of the screen, press Shift + Command + 4.
- To capture a menu or window, press Shift + Command + Space bar.
Note – Make sure to update your Mac regularly to use the device without any glitches.
How to Crop a Screenshot on Mac
You can crop a screenshot on Mac by using any one of these tools:
- Built-in Screenshot Cropping Tool
- Preview
- Photos app
- Polarr Photo Editor
- Vidmore Screen Recorder
With the Built-in Screenshot Cropping Tool
One of the easiest ways to crop screenshots is by using the built-in screenshot cropping tool. Once you take a screenshot, you can see a thumbnail of the same at the bottom of your screen. When you select the thumbnail within a few seconds of capturing the screenshot, you get the cropping tool.
1. Find the Crop icon from the top-right corner of the screen.
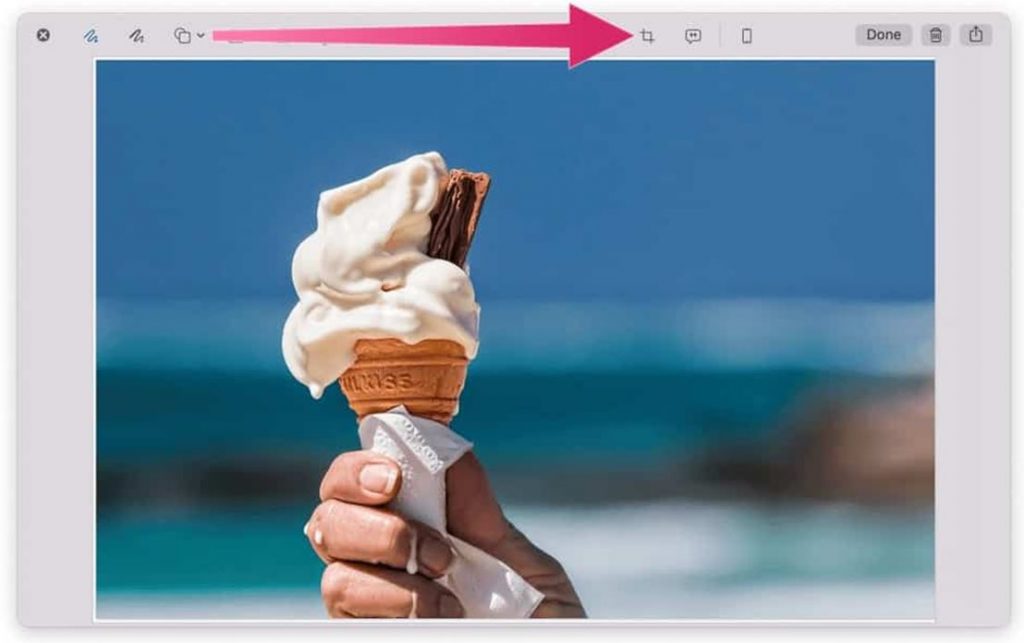
2. Select the area that you wish to keep in the screenshot.
3. Finally, select the Done option.
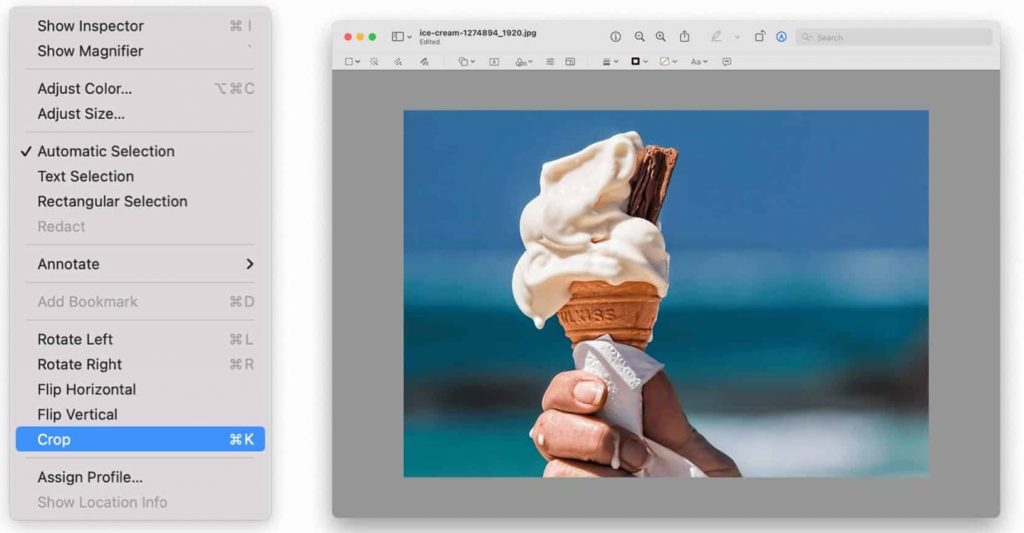
With Preview
1. Open any screenshot with Preview on your Mac by double-clicking on it.
2. From the top-right corner of your screen, select the pencil-shaped Show Markup Toolbar icon.
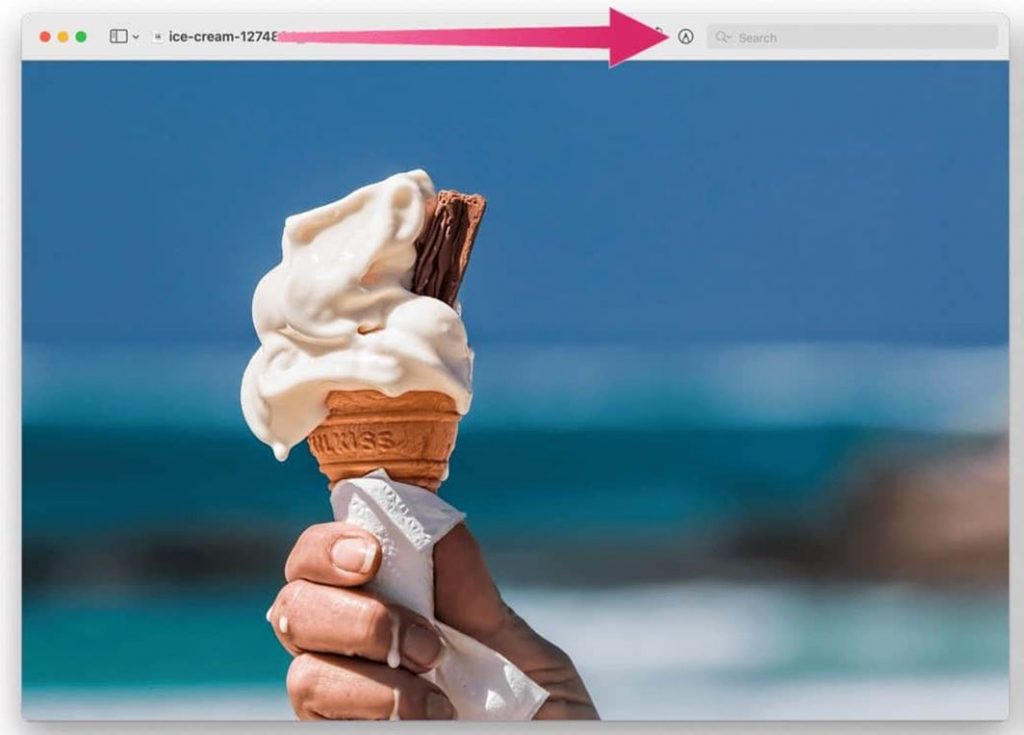
3. Select the area you wish to keep by clicking and dragging.
4. Select the Tools option in the menu bar and select Crop.
With Photos App
The Photos app is not only for managing images but also for editing them. You can crop the screenshots saved on your Mac.
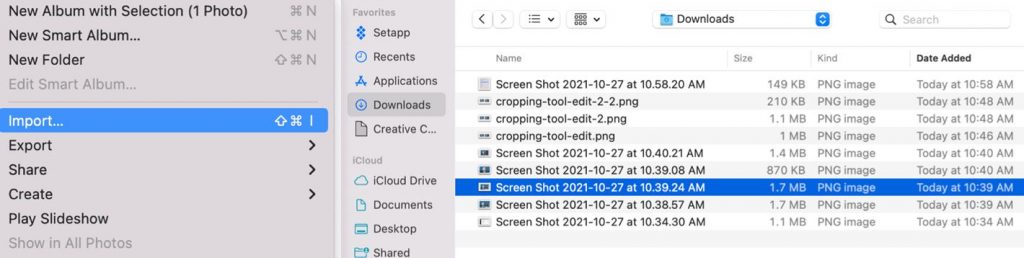
1. Initially, open the Photos app.
2. Select the File option and then the Import option.
3. Choose any screenshot and select Import.
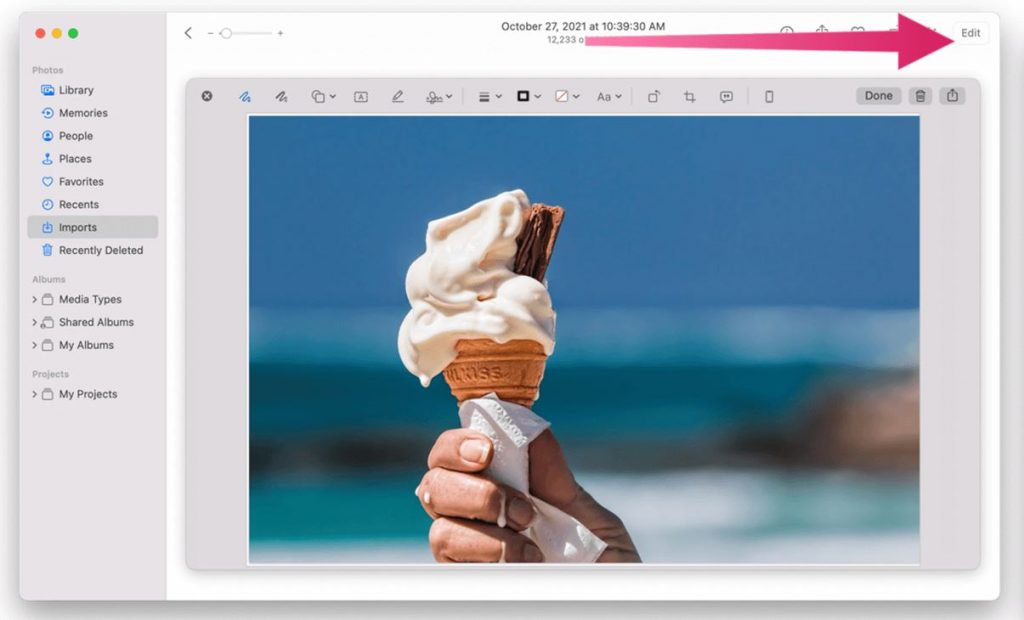
4. Double-click the image you wish to open and select the Edit option.
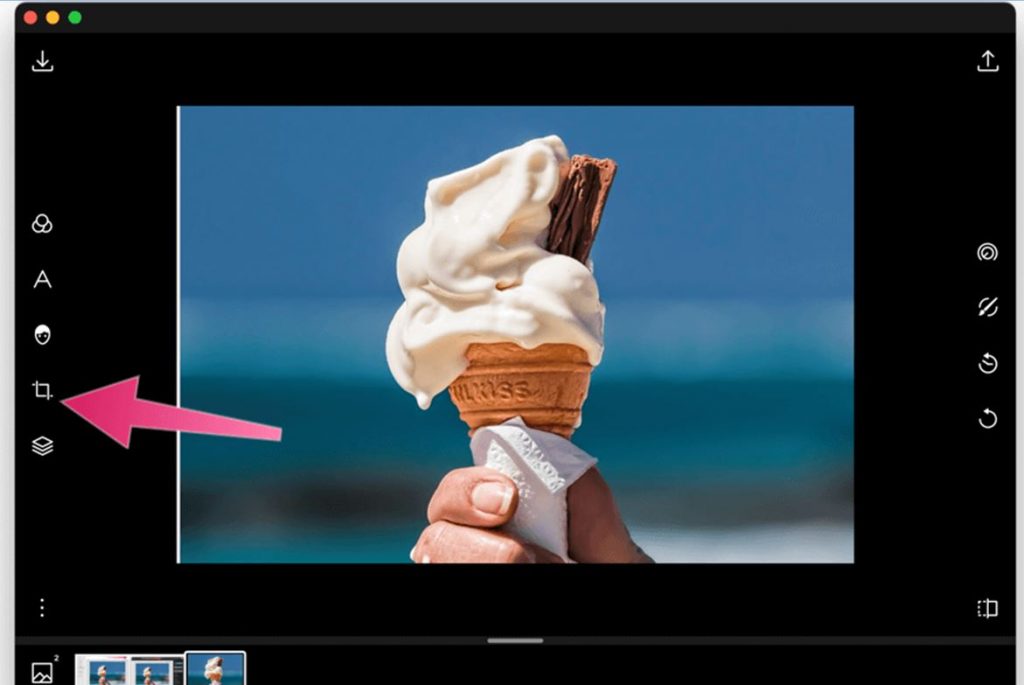
5. Select the Crop option and choose the part of the screenshot that you wish to keep.
With Polarr Photo Editor
If you have the Polarr Photo Editor app installed on your Mac, you can crop the screenshots easily. Apart from Polarr Photo Editor, there are so many photo editing software on Mac available to edit the screenshots or downloaded pictures.
1. Open the Polarr Photo app and select File.
2. Select the Open option and choose the photo that you wish to edit.
3. Press the Crop icon from the left.
4. Next, select the area you wish to keep.
5. Save the cropped image by selecting the Save Photo icon.
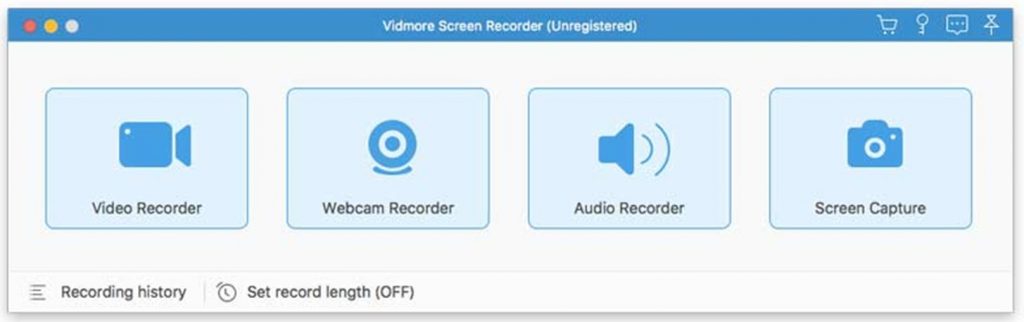
With Vidmore Screen Recorder
In general, Vidmore Screen Recorder is a tool that you can use to record the screen on Mac. But, one can access this tool to take and edit screenshots on Mac. Try the free version of Vidmore Screen Recorder before purchasing the premium version.
1. Open Vidmore Screen Recorder and select the Screen Capture option.
2. Capture the part of your screen you wish to keep by clicking and dragging your mouse in the area to capture.
3. To crop the screenshot, select the Crop icon.
4. Select the area to keep and click on Save.
Frequently Asked Questions
macOS users can crop the downloaded picture either by using the image preview or the Photos app.
Open Photos app → double-click the image you want → tap the Edit option in the toolbar → select Crop → drag the edges to the required place → click Done to save the images.