Most of the Windows previous versions won’t have much customization. But Windows 11 is aimed to eradicate this by offering a plethora of customizations options with intuitive UI that can be accessed from the taskbar. In addition, the Start menu comes with live titles, which offer further space for customization. The later versions of the OS aim to install Android apps on your Windows PC, which will be more exciting. Now let’s see how to customize the Windows 11 Start menu to make it more appealing.
Contents
How to Customize the Windows 11 Start Menu
The following are the various customization options that are available with the Windows 11 Start Menu.
- Rearrange app Icons
- Manage pinned apps
- Pin new apps
- Unpin or remove apps
- Tune recommendations
- Adding shortcuts or folders
- Gettings classic Windows Start menu like Windows 10
- Move start menu
- Changing start menu themes
- Transparency effects
Arrange App Icons according to Your Priorities
1. Click the Start Menu located on the bottom.
2. Now, click and hold the app icon that you want to arrange.
3. Drag the icon to whatever place you want.
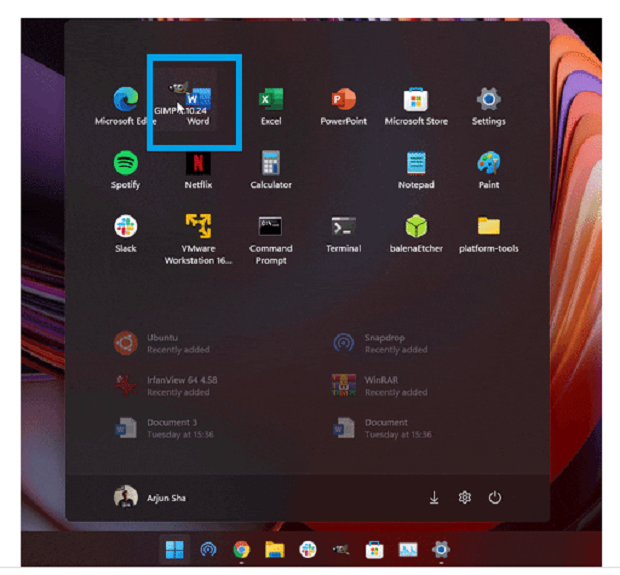
4. Or just right-click and choose Move to Top.
Manage Pinned Apps
1. Click on the Start Menu.
2. Choose the All Apps option on the top-right corner.
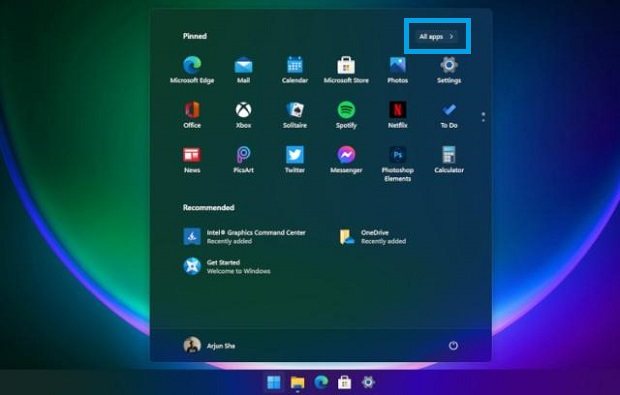
3. Scroll up or down through the list of available apps.
4. Select the app and right-click on it.
5. Choose the Pin to Start option.
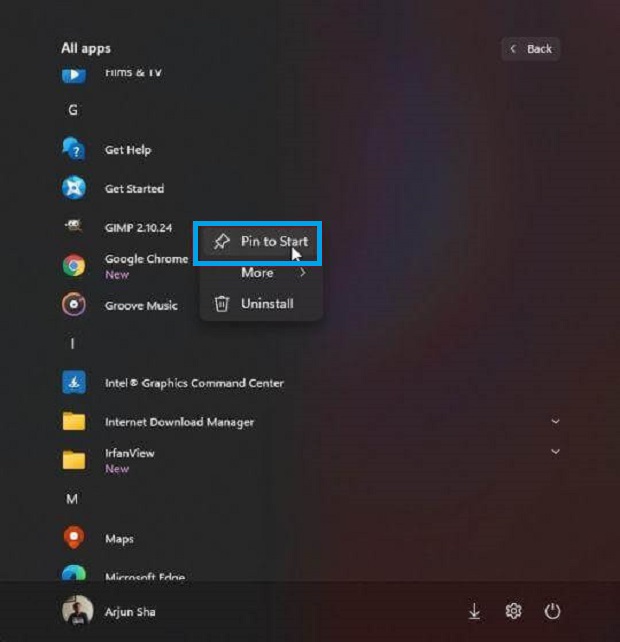
6. And that is it. The app will appear on Pinned apps section.
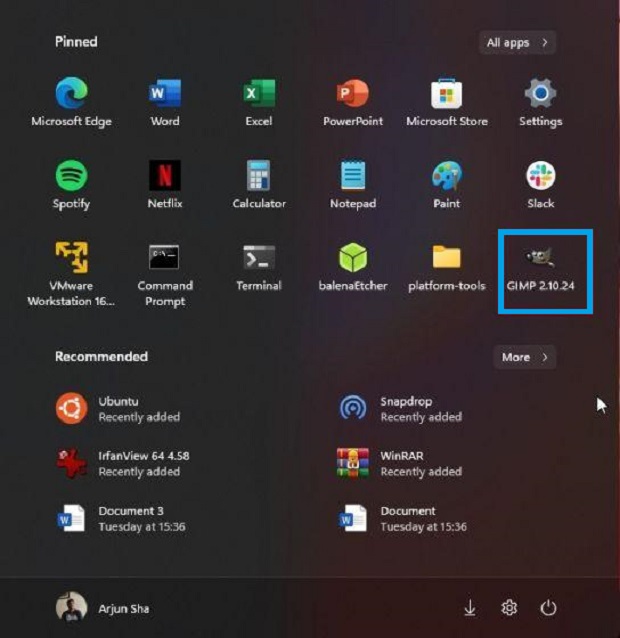
Repeat the steps for the apps you want. If you add more than 11 apps, a second page will be created automatically.
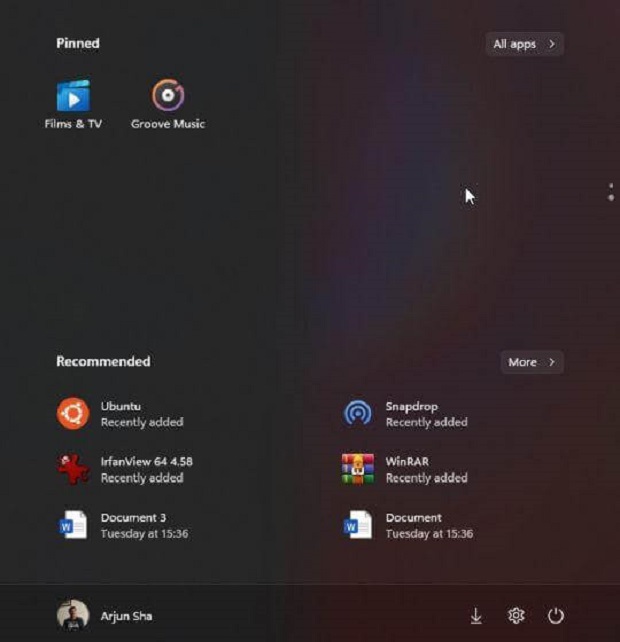
To unpin and remove apps, open the Start Menu and choose the All Apps option. Right-click on the app and choose the Unpin from Start option. Now the app will be removed from the Start menu.
Related Guide: How to Stop Automatic Updates on Windows 11
Tune Recommendations
1. Click on the Start Menu and choose the Settings option. Just press the Windows + I button to open Settings.
2. Choose Personalization on the left pane.
3. Scroll down and choose Start Settings.

4. Enable Show Recently added apps. It will help you find the newly installed apps with ease.
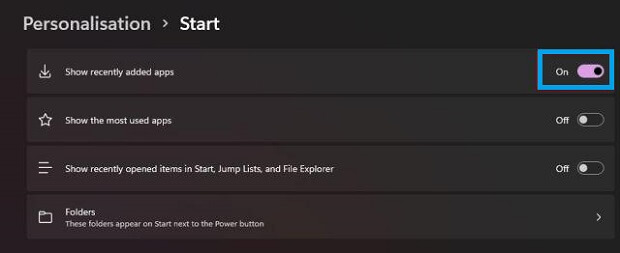
5. Also, if you want to customize with mostly used apps, then enable Show the most-used apps.
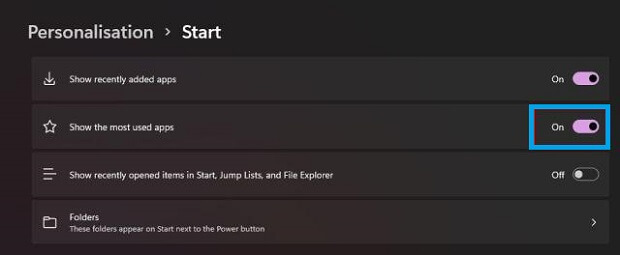
6. In order to enable most-used apps, you will need to change a Privacy setting.
7. Go to Privacy and Security in the left pane. Choose the General option.
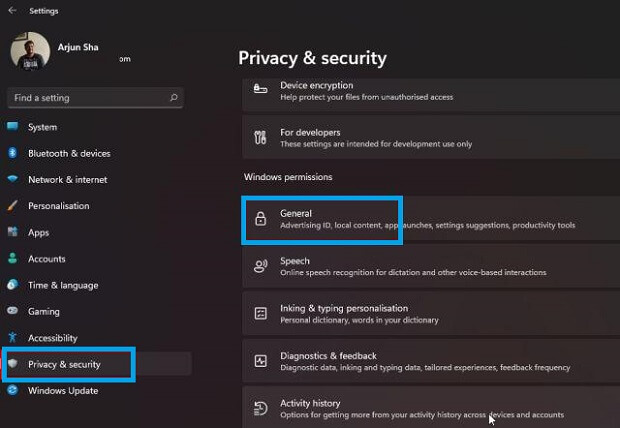
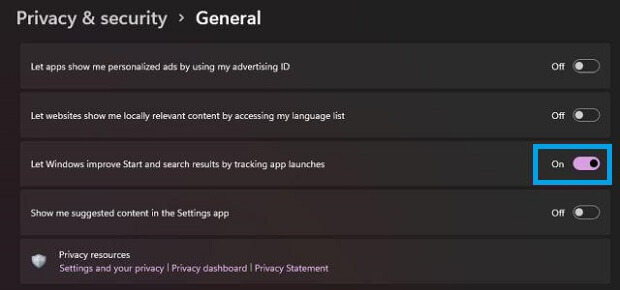
8. Now, enable the toggle near Let Windows improve Start and Search results by tracking app launches.
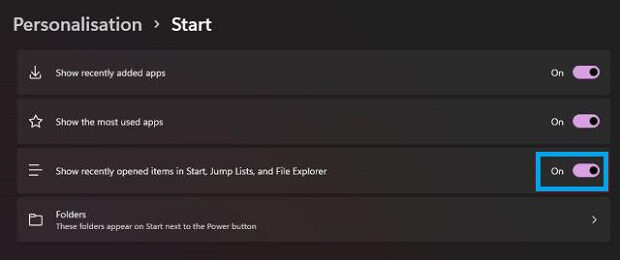
9. If you want, you can also enable Show recently opened items in Start, Jump, and File Explorer.
Adding Shortcuts or Folders
1. Go to Settings > Personalization > Start.
2. Click on the Folders option.
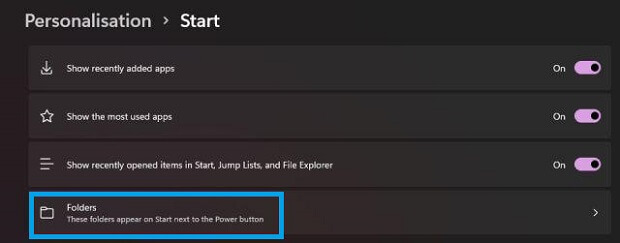
3. Now, you can add any of the following folders to the Start menu like Downloads, Settings, Documents, File Explorer, etc.
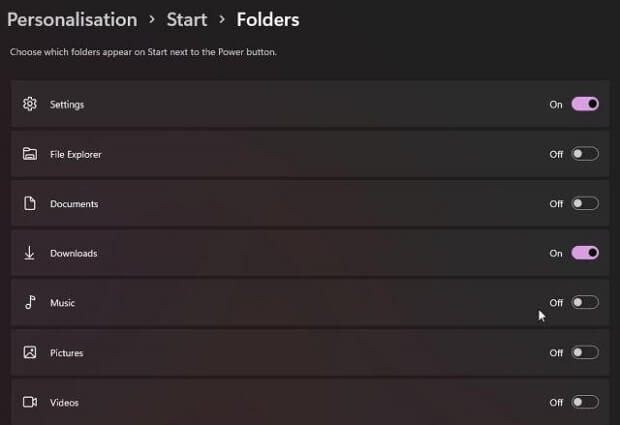
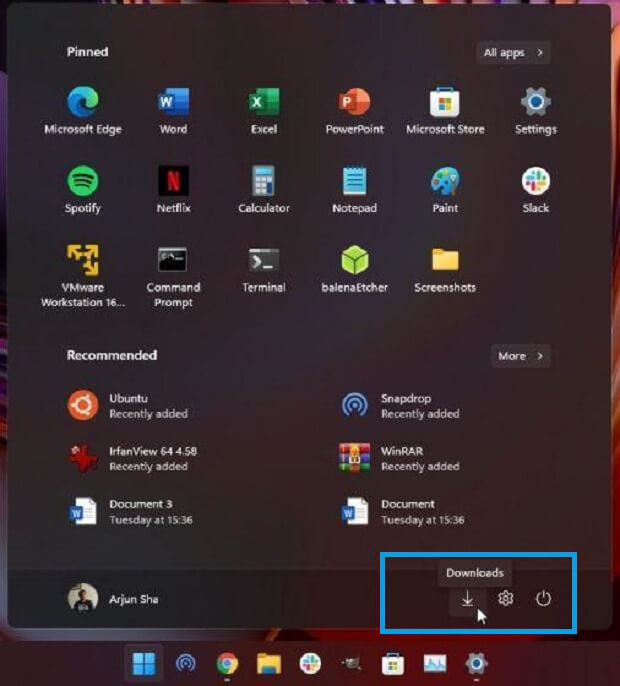
4. The folders will be added to the left of the power menu.
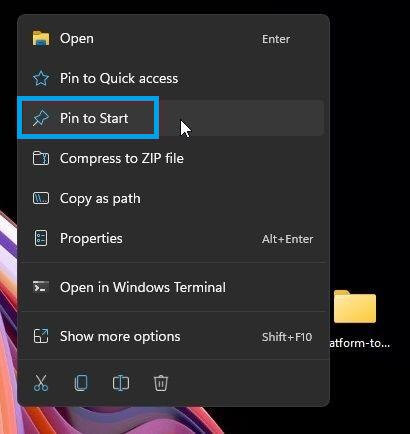
In order to add a custom folder, right-click on the folder name and choose Pin to Start.
Related Guide: How to Turn off Notifications in Windows 11
1. On the bottom of the screen, right-click on the Taskbar Settings.
2. Click on the Taskbar Behaviours.
3. Click on the Drop-down near the Taskbar alignment.
4. Choose Right or left or Center.
Changing Start Menu Themes
1. Go to Settings.
2. Choose the Personalization option.
3. Click on the Start option.
4. Choose any one of the themes.
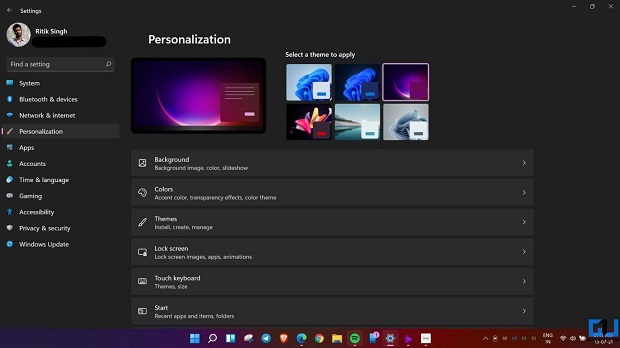
Hereafter, your start menu will look like the theme you chose. You can also set transparency by choosing Color or Accessibility and Visual Effects.
And that is how you will be customizing Start Menu on your Windows 11 Operating System. To know more about all settings and customizations on Windows 11, keep following us on our Facebook and Twitter pages. If you have any doubts or queries, write to us in the comments section below.