Touch screen functionality is available across Windows 10 tablets, laptops, computers, and 2-in-1 devices. The feature is enabled by default. Though it is a laudable feature, users may want to disable it sometimes. The touch screen feature is most useful on tablets and 2-in-1 devices, where there are no secondary input methods. The touchscreen on laptops and PCs is not mandatory because you have a keyboard and mouse to provide inputs. You can always disable the touchscreen feature when you do not need them. Sometimes your screen may malfunction, and you may indeed need to use a keyboard and mouse. To do so, you need to know to turn off the touch screen. This post will guide you on how to turn off or disable the touchscreen on Windows 10.
Contents
How to Disable Touchscreen on Windows 10 via Device Manager
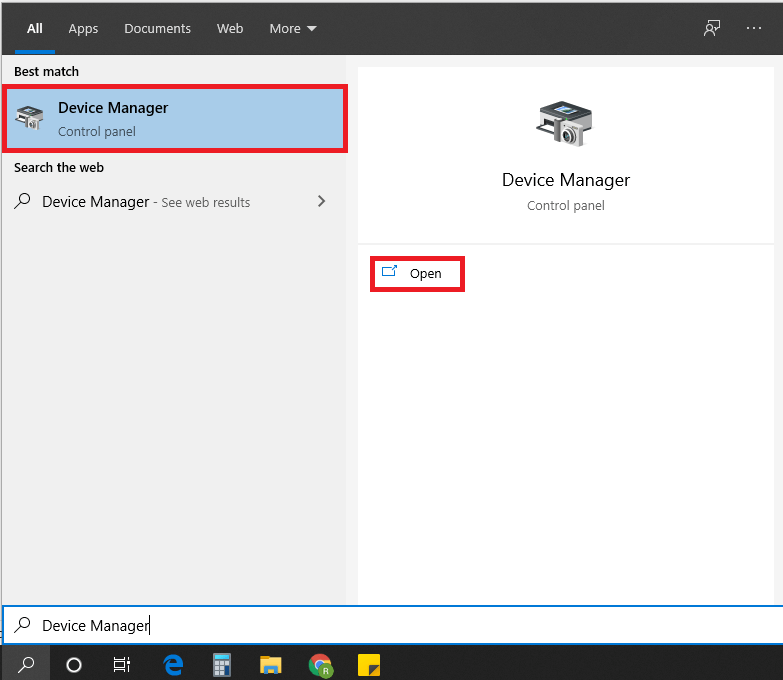
1. Click the Search bar on your task bar.
2. Type Device Manager in the search bar.
3. Select Device manager from the list of search results.
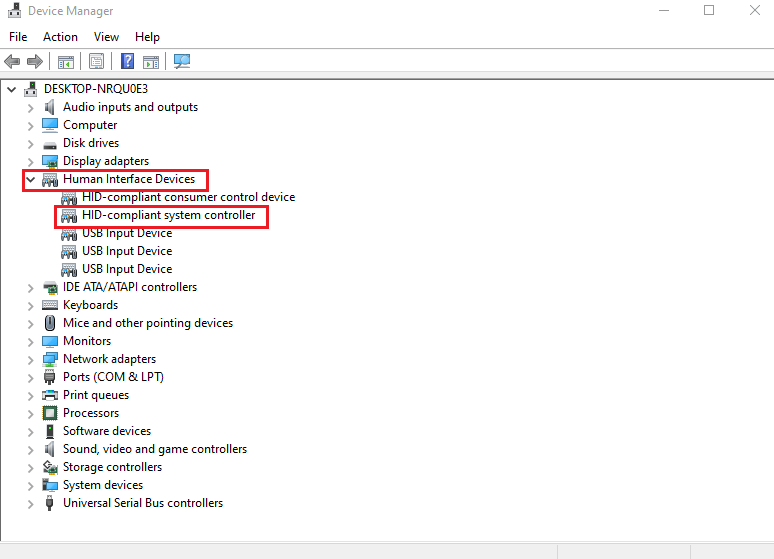
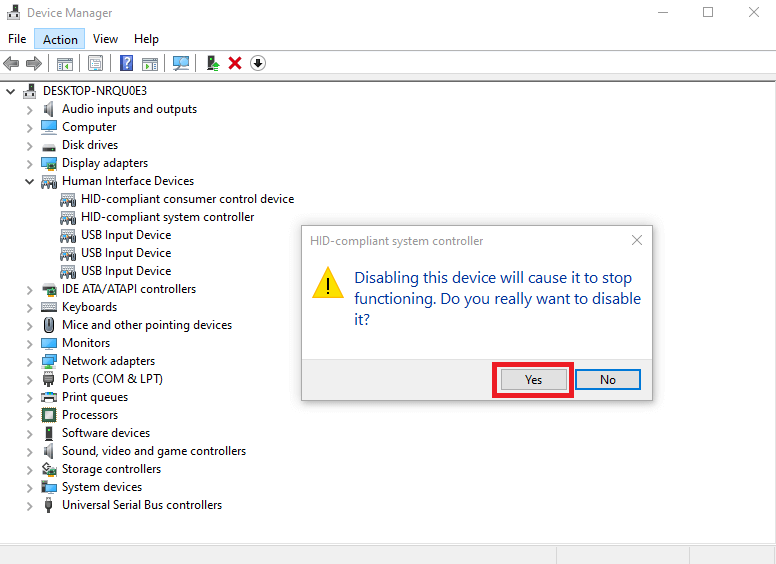
4. Select the arrow beside Human Interface devices.
5. Select HID-complaint touch screen.
6. Select Action which lies on the top of the window.
7. Select Disable device from the drop-down menu.
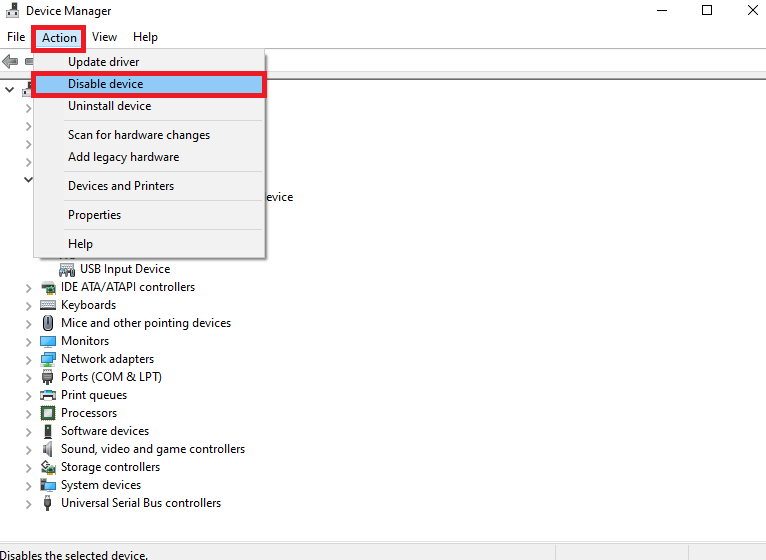
8. If you see a pop-up warning that says Disabling this device will cause it to stop functioning. Do you really want to disable it?
9. Select Yes to turn off it.
Techowns Tip: Steps to change mouse cursor on Windows 10
Re-enable Touch Screen on Windows 10:
To turn on Touchscreen again on your Windows 10, follow the steps
- Open the device manager.
- Expand Human Interface Devices.
- Right-click HID-compliant touchscreen.
- Select enable.
How to Permanently Disable Touchscreen on Windows 10 via Windows Registry
If you want to turn off the touchscreen permanently on your Windows 10,
- Open the Windows Registry Editor (Run -> regedit)
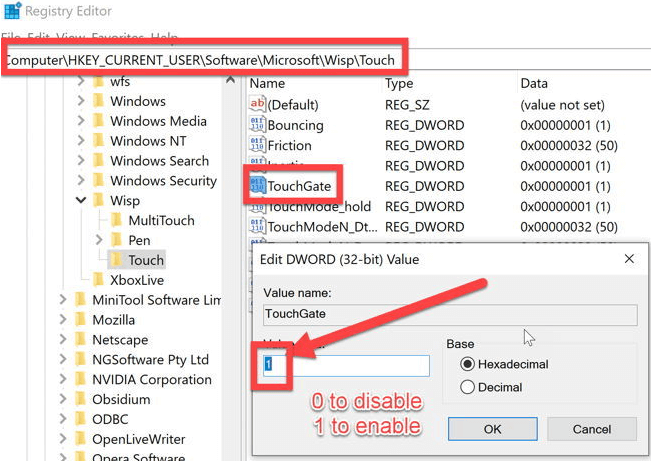
- Go to the following registry key:
| Computer\HKEY_CURRENT_USER\Software\Microsoft\Wisp\Touch |
- Create a new DWORD 32-bit entry with the name TouchGate.
- Make sure the value of this entry is 0.
- After creating it, restart your Windows 10 and the touchscreen will be disabled automatically.
To enable it again, you need to change the TouchGate value from 0 to 1 or delete the TouchGate entry. The procedures given in the guide are also applicable to other Windows versions as well.
If you’re interested in reading more Windows 10 tutorials, follow our Facebook & Twitter pages to get instant updates.