Windows 11 is the latest version of Windows with a bunch of new features. One of the great features is the native Android emulation, and it allows you to run all Android apps on Windows 11. You can install and run the Android apps available on Amazon Store. Unlike Google Play Store, you can’t find too many Android apps on the Amazon store. Now, the next question will be is it possible to install Google Play Store on Windows 11? Yes. You can install Google Play Store on Windows 11. But, the process is not straightforward. The following section will show the step-by-step procedure with necessary screenshots.
Contents
How to Install Google Play Store on Windows 11
- Uninstall Windows Subsystem for Android
- Turn on the Developer Mode
- Download Windows Subsystem for Android Files
- Install Windows Subsystem for Android
- Enable Developer Mode in WSA
- Install Google Play Store
- Access Google Play Store
Uninstall Windows Subsystem for Android
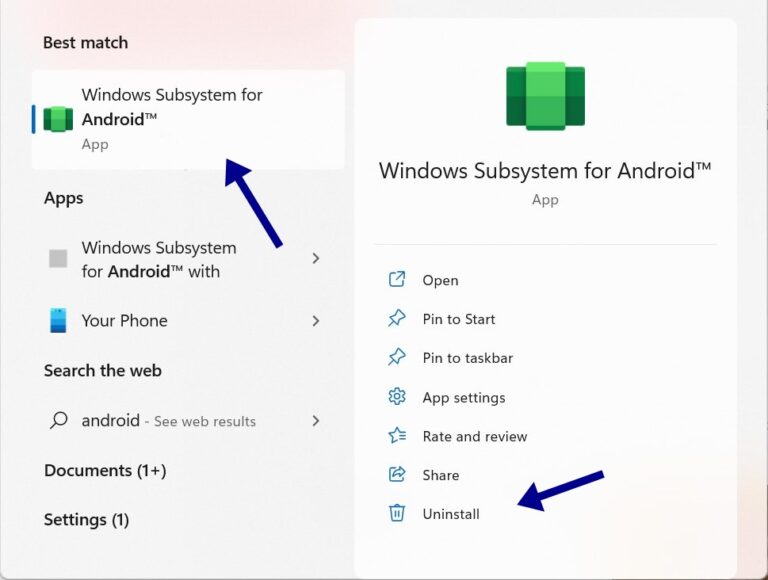
Initially, you need to uninstall the Windows Subsystem for Android as the Google Play Store doesn’t support the older version of the Windows Subsystem for Android.
[1] Tap the Start button and search for Windows Subsystem for Android.
[2] Right-click on Windows Subsystem for Android and tap on Uninstall.
Turn on the Developer Mode
After uninstalling the older version of Windows Subsystem for Android, you need to turn on the developer mode.
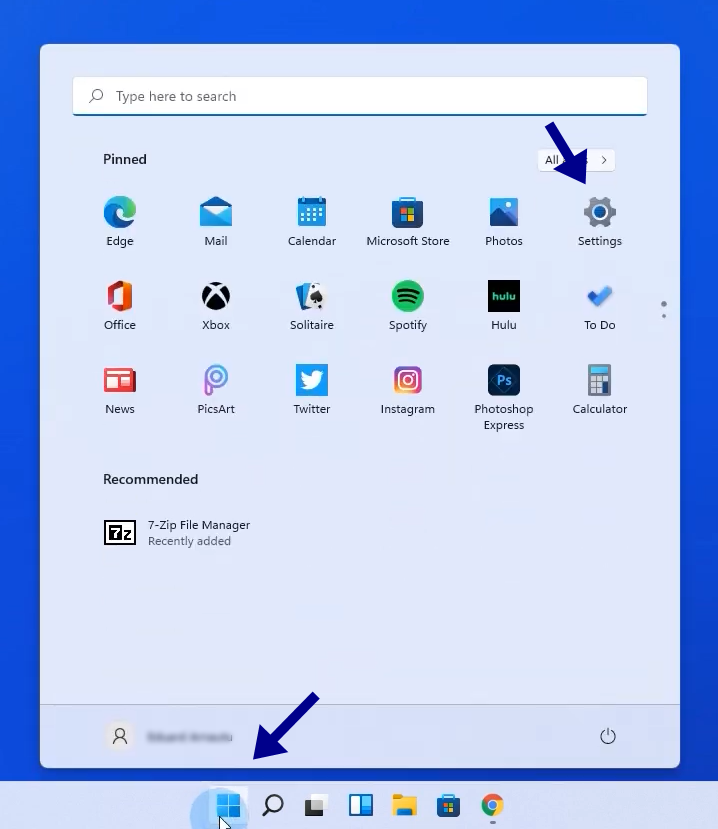
[1] Tap the Windows icon and select Settings.
[2] Click Privacy & Security and select For Developers option.
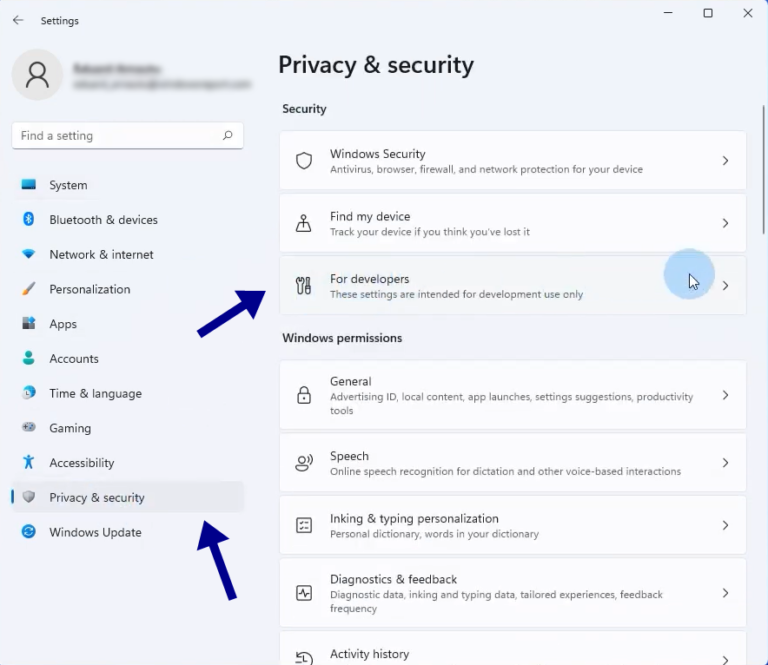
[3] Turn on the toggle next to the Developer Mode section to enable it.

Download Windows Subsystem for Android Files
Next, you need to download the Windows Subsystem for the Android package. Make sure to download the file that we have listed below.
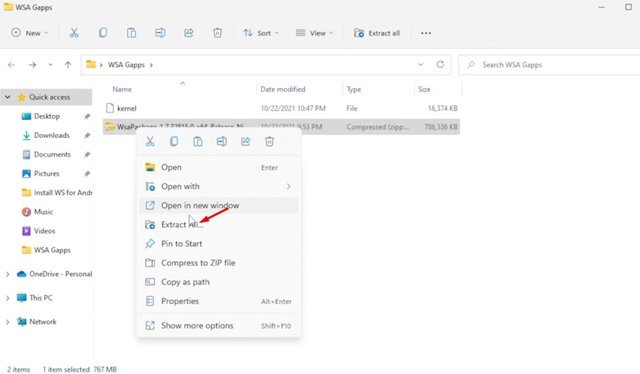
[1] Download WSA package and exact them into a new folder.
[2] On the other hand, download the Kernal file.
[3] Now, move to the folder where you have extracted the WSA package.
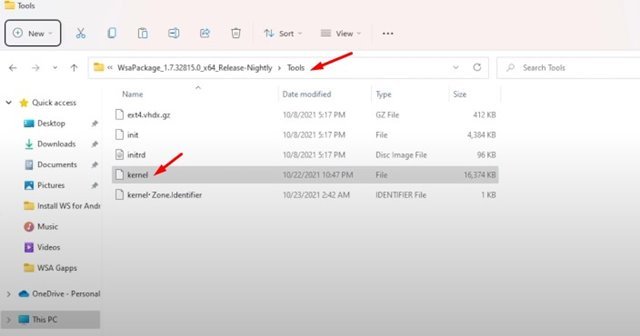
[4] Open the Tools folder and paste the kernel file that you have downloaded.
Install Windows Subsystem for Android
After downloading the required files, you need to install the Windows Subsystem for Android.
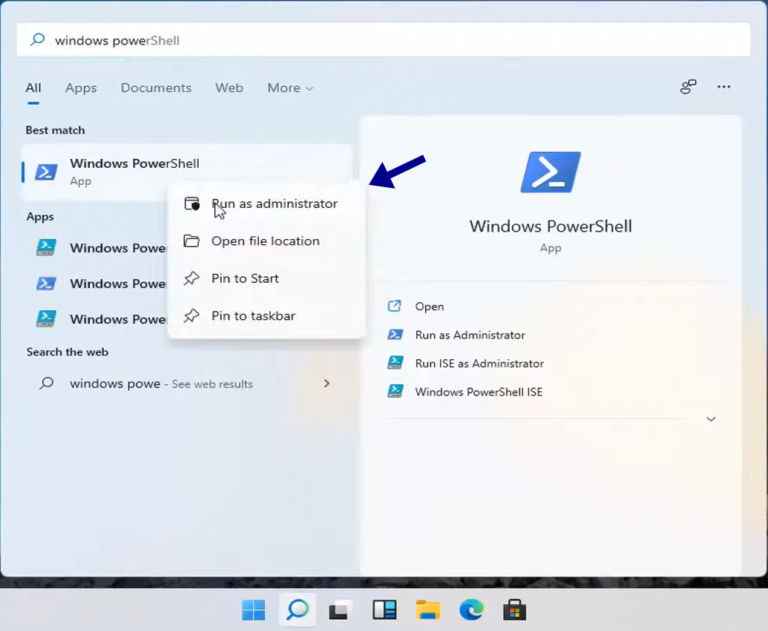
[1] On the Windows 11 search bar, type Powershell.
[2] Right-click on Powershell and click Run as administrator.
[3] On the Powershell Window, type the cd command followed by extracted WSA folder location.
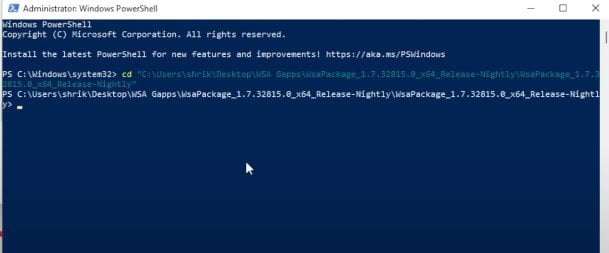
cd "C:\User\Techowns\Location of the extracted WSA folder"
[4] Execute the below command on the Powershell:
Add-AppxPackage - Register .\AppxManifest.xml
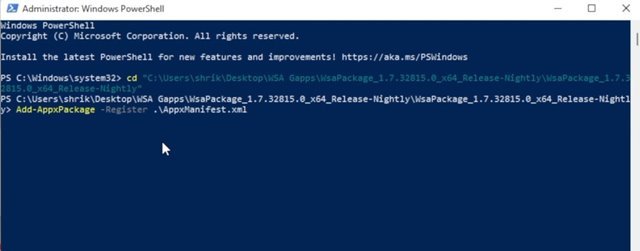
[5] It will start to install the Windows Subsystem for Andriod on your Windows 11 PC.
Enable Developer Mode in WSA
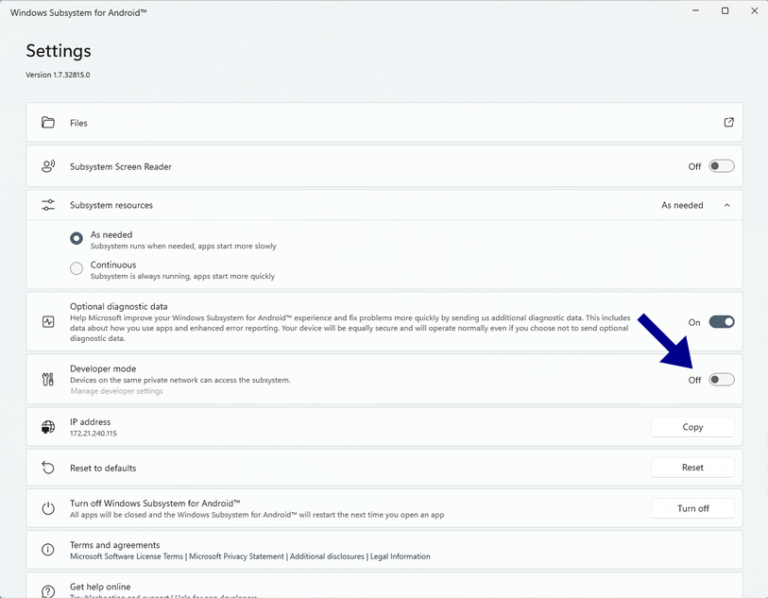
[1] Type and search for Windows Subsystem for Android on Windows 11.
[2] Open Windows Subsystem for Android from the list.
[3] Enable the Developer Mode by sliding the toggle next to it.
[4] Next, click on the Files button.
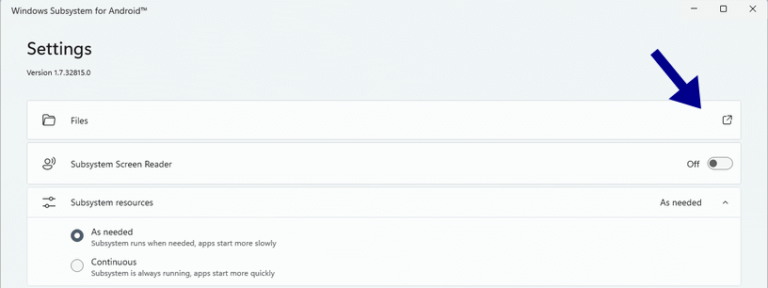
[5] Click on the Continue button when a diagnostic pop-up prompts on the screen.
Install Google Play Store
Finally, you need to make a few changes to install Google Play on Windows 11 PC.
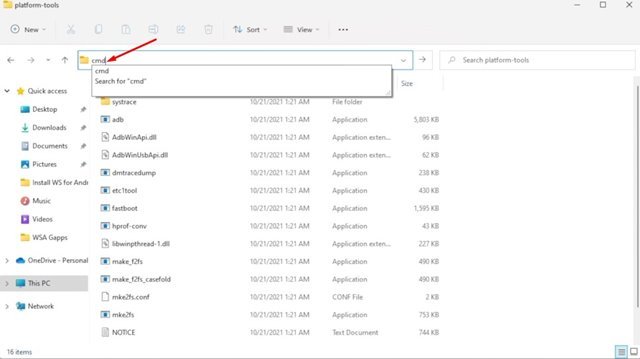
[1] Go to the c:\adb\platfom\tools folder.
[2] Type CMD in the address bar and click the Enter button.
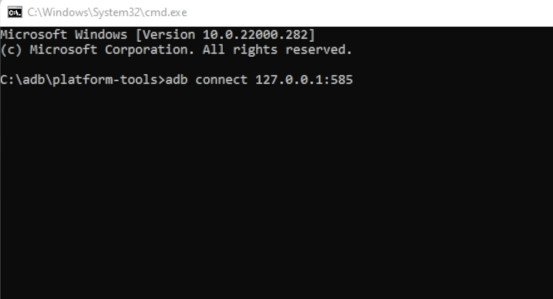
[3] Type ADB Connect and your localhost address on the Command prompt and press the Enter button.
Ex: adb connect 127.18.155.80.585 (Make sure to change it with your Localhost address). You can find your system’s localhost address from the settings of Windows Subsystem for Android.
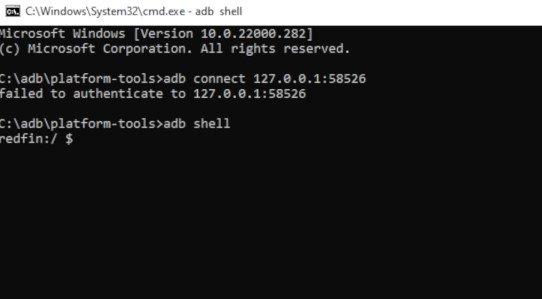
[4] Type adb shell on the command prompt and press the Enter button.
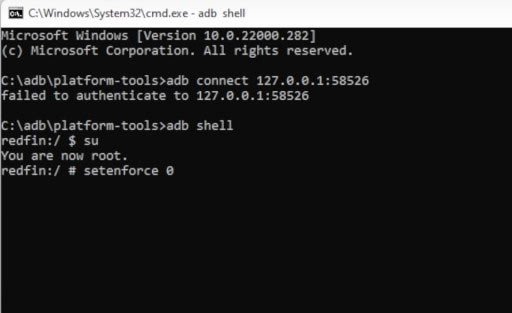
[5] Next, type su and press Enter button.

[6] Type setenforce 0 and hit Enter.
Techowns Tips – Not impressed with the features of Windows 11? Rollback to Windows 10 from Windows 11 within the 10 days grace period.
Access Google Play Store
Now the Google Play Store has been successfully installed on your Windows 11. To access it, follow the below steps
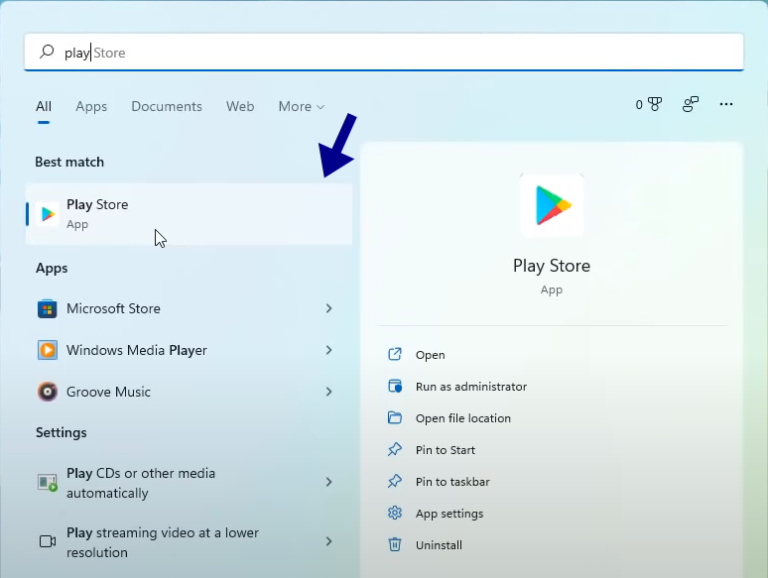
[1] Go to Windows 11 start menu and click on the Google Play Store.
[2] Sign in with your Google account and start using the Google Play Store.
That’s it. Now you can install the Android apps directly from the Play Store to your Windows 11 system. If you face any errors while installing Google Play Store on Windows 11, do let us know in the comments.
Follow Techowns on Facebook and Twitter for more tutorials and the latest tech news.