iPhone has several exciting features. Among them, screen recording is one of the features which will be handy to record important things. The procedure to screen record on iPhone 12 is very simple. Screen recording is mostly done when one wants to capture the actions running on the screen for any future references, share it with somebody, or maybe be for some other important use.
Contents
Add Screen Recorder Shortcut to Control Center
Before recording your screen, you need to add the screen recording shortcut to your control center.
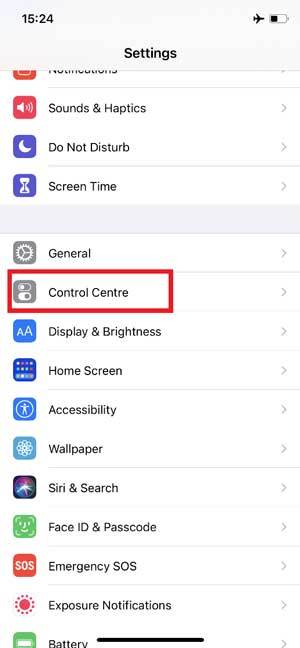
[1] Open the Settings app on your iPhone.
[2] Scroll down and click Control Center or search for it using the search bar at the top.
[3] Scroll down to Screen Recording.
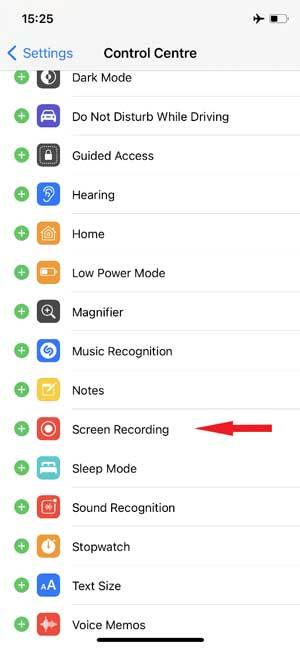
[4] Click the +icon next to the screen recording option.
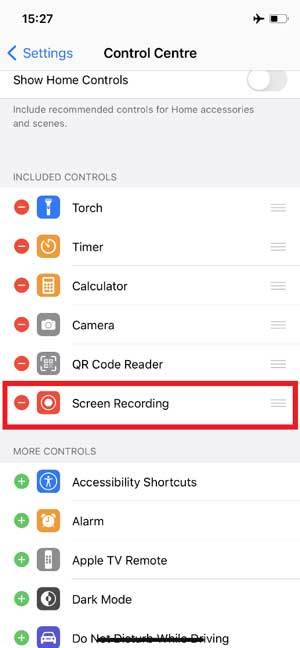
[5] Now, the screen recorder shortcut has been added to the Control Center.
Related – How to Screen Record on Windows 10
Steps to Screen Record on iPhone 12
[1] Open the Control center on your iPhone 12 by swiping down the screen from the top.
[2] Click on the Screen Recording shortcut.
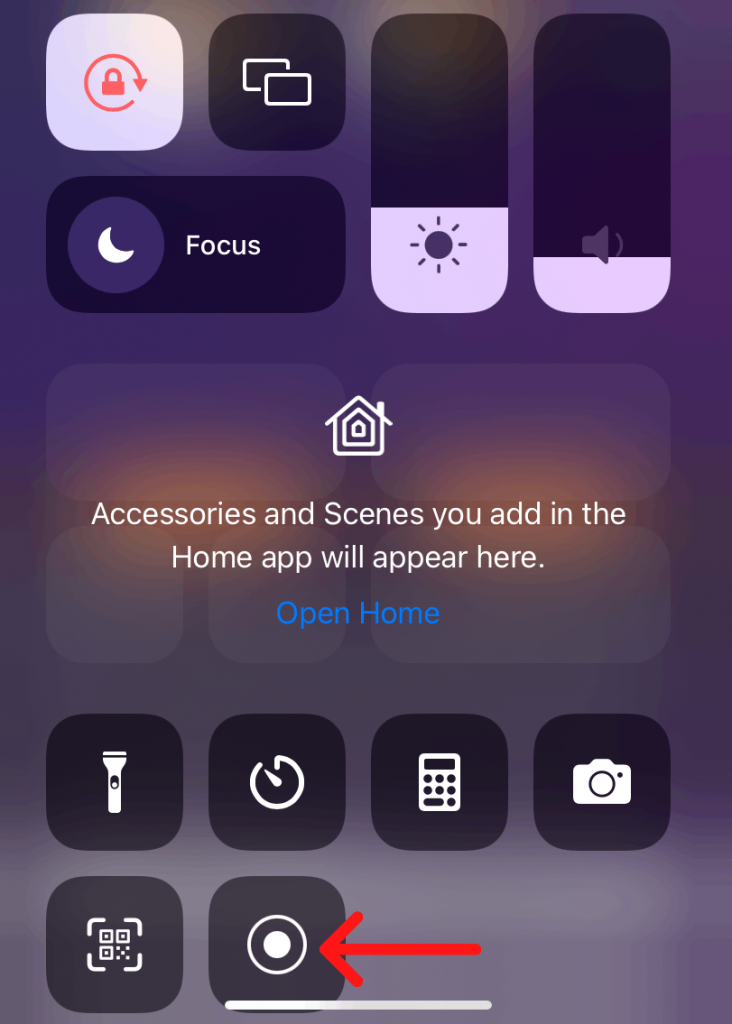
[3] A count down will appear above the icon.
[4] Now, all the things running on your iPhone 12 screen will be recorded.
[5] To stop the recording, go to the Control center again and click the Screen Recorder shortcut.
[6] Now, the recorded video will be saved to the Photos app automatically.
Steps to Screen Record With Audio on iPhone 12
By default, the audio will not be recorded on your iPhone. If you want to enable microphone audio while screen recording,
[1] During screen recording, open the Control Center.
[2] Long Press on the Screen Recording shortcut.
[3] Click on the Microphone icon.
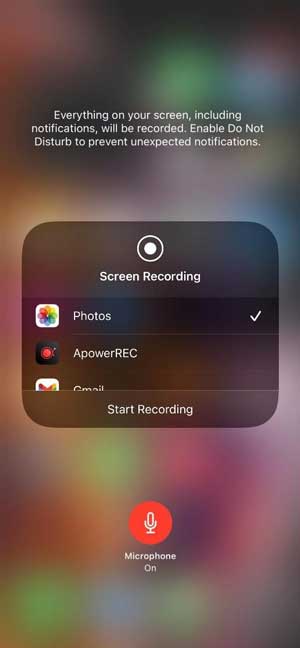
[4] Choose Start Recording.
[5] Now, your screen will be recorded with the audio you speak.
[6] To stop recording, click on the Red Status Bar at the top left corner of the screen.
[7] Tap Stop.
[8] Your screen is now recorded successfully along with the audio, and the video will be saved to Photos.
How to Change Screen Recording Settings in iPhone 12
You don’t have any option to change the Screen Recording settings. You can only crop or edit the video saved to your Photos.
[1] In the Photos app, choose the video that you recorded.
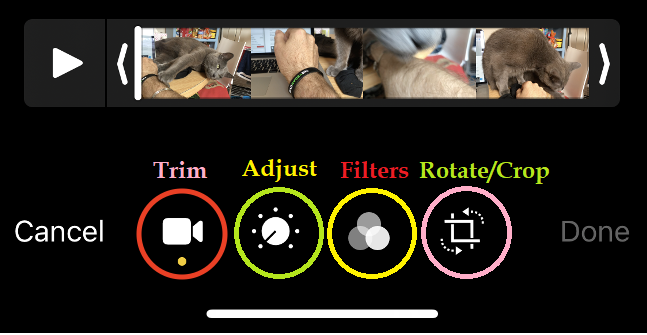
[2] Click Edit, and four options will appear to edit the video.
[3] You can Trim, Adjust the Contrast, Change the Filter, and Crop or Rotate the video by clicking on the respective icons.
[4] Click Done.
[5] The changes will be applied and saved in a new video.
Note – For more editing features, use the third-party iPhone photo editing apps.
Screen Recording is an important feature in iPhone as well as Android. Recording the iPhone screen is very simple. We must know to utilize these features in a useful way. The main advantage is that it can be saved on the device and can be accessed at any time. It can also be shared with one or more people.
Follow Techowns’ Facebook and Twitter profiles to stay connected with our tutorials.