Setting up a VPN on Xbox One will provide you with the highest level of encryption. So, your online activity will be kept private and untraceable even by the ISPs. A VPN is highly useful if you use the console to play more games. And also to stream apps like Netflix on Xbox. By choosing the servers, you can play location-specific games on the Xbox One console. Find out the step-by-step guidelines to set up a VPN on Xbox One console from the section below.
VPN is an essential and must-have app on any device you own. Xbox One isn’t an exception if you consider your privacy and security as an important factor. With VPN support, your identity will be kept anonymous. It will let you connect through the different locations around the world and access even the geo-restricted contents.
Contents
How to Setup and Use a VPN on Xbox One?
Unlike other devices, installing and accessing a VPN on Xbox One console isn’t easy. To do this, you need to use a VPN enabled Windows PC or Mac PC.
Pre-Requirements:
- Ethernet cable
- Windows PC with spare Ethernet port
- VPN app installed on Windows PC
- Stable internet connection
Setup a VPN on Xbox One using Windows PC
To use a VPN connection on Xbox One, you must first enable the VPN on a Windows PC. Then you should share your connection with Xbox One.
(1). Use the Ethernet cable to link Xbox One and VPN ready Windows PC.
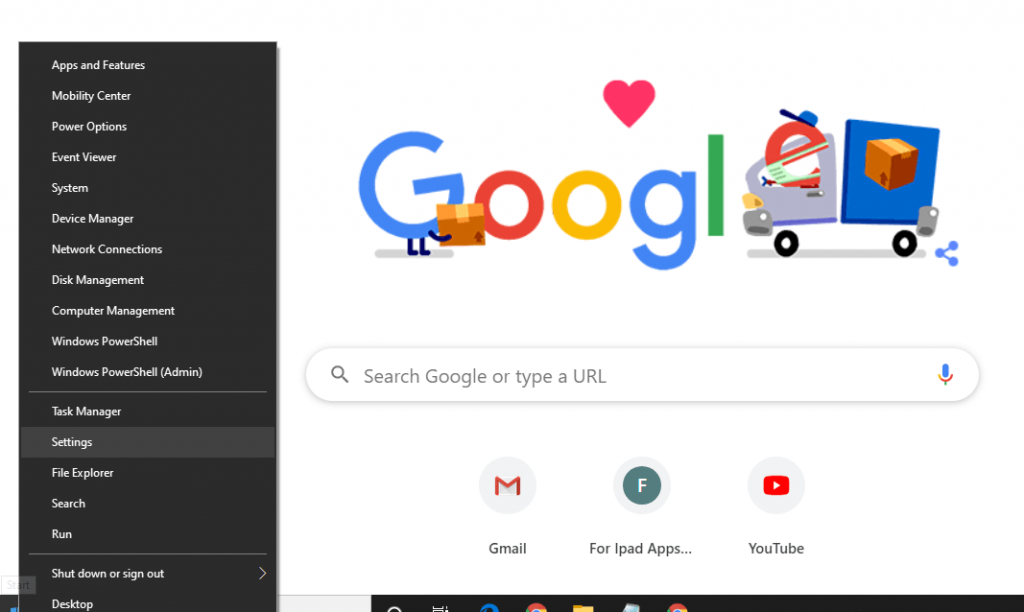
(2). Hover to the Start button on screen and right click on it.
(3). Select Settings option on the next screen.
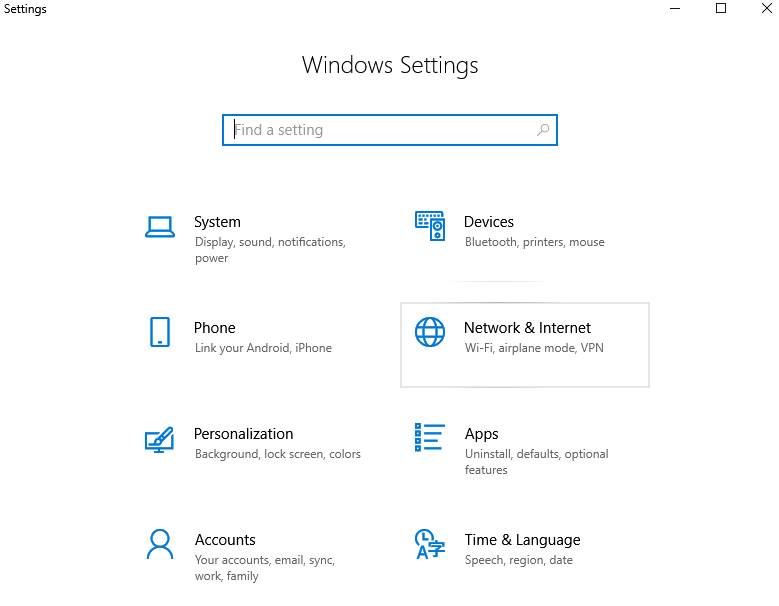
(4). Choose Network & Internet.
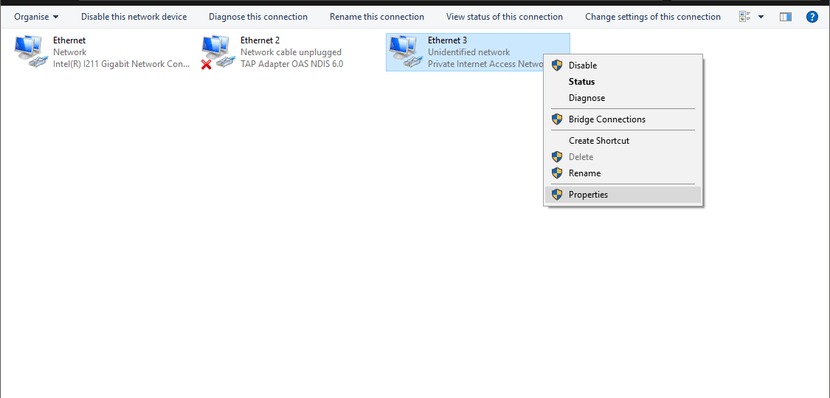
(5). Click VPN and Change adapter options.
(6). Now, right click on the active Ethernet icon to select Properties option.
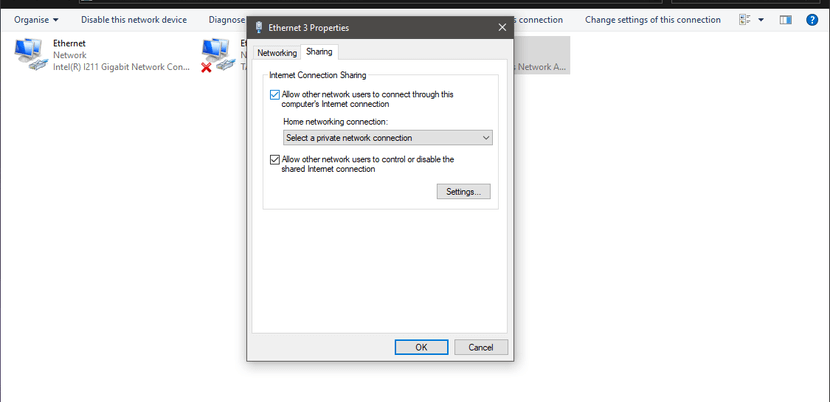
(7). Tap on Sharing tab on Ethernet Properties pop-up.
(8). Further, check-in both the boxes next to Allow other network users to connect through this computer’s internet connection.
(9). Select the private Ethernet network connection box from the left pane. Tap on OK button.
(10). Now, press the Xbox button on the Xbox One controller.
(11). Press the RB button for three times.
(12). Choose Settings and select Network tab.
(13). Click on Network settings option.
(14). Tap on Test network connection tile and with this, the Xbox One console will get connected to the internet.
Setup a VPN on Xbox One using Mac
Those having a Mac PC can also setup VPN on Xbox One console. Find out how from the procedure given below.
(1). Connect Xbox One with Mac via a Ethernet cable.
(2). Navigate to System Preferences > choose Sharing > select Internet Sharing option from the list on left side.
(3). Select WiFi under the Share your connection drop down.
(4). Check if Ethernet check box is selected on To computers using list.
(5). Look if the check box on the left of Internet Sharing is enabled.
(6). Now open a VPN on Mac and connect it to any server.
Recommended VPN to use on Xbox One
- ExpressVPN
- NordVPN
- Private Internet Access
- IPVanish
To conclude
That’s all. With the above steps, you would have successfully setup VPN on Xbox One console. Make sure you choose the right VPN on your Windows PC to thereby extend its connection to Xbox One.
Facing any issues or troubles setting up VPN? Bring it to our knowledge using the comment box. Stay tuned with our Facebook and Twitter page for more tech articles.