Key Highlights
- To Cancel AWS Subscription: Open AWS Console Website→ Sign into Console→ Services→ AWS MarketPlace Subscription→ Manage→ Agreement tab→ Actions→ Cancel Subscription→ Yes, I cancel Subscription.
Have you found any other best cloud platforms or want a break from AWS? Then you are always invited to cancel the AWS subscription. AWS [Amazon Web Services] is the famous cloud computing platform that lets the user store and access data in the cloud. You will get a variety of plans, including free trier with some of the services for free.
You can cancel the AWS subscription anytime before the end of the billing period. Upon canceling the AWS subscription, you tend to lose all of your data and apps stored on AWS. Meanwhile, you can’t access all of the product services and features of Amazon Web Services.
Contents
How to Cancel AWS Subscription
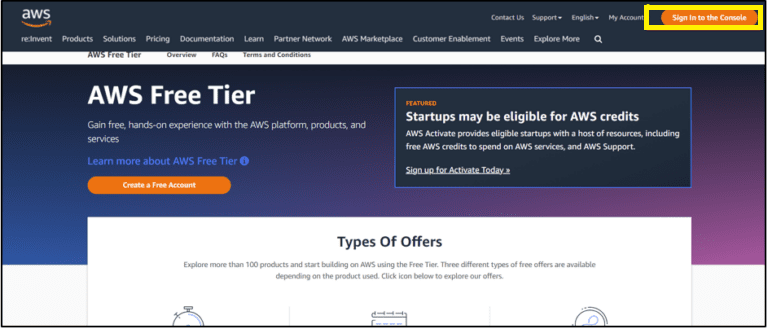
1. Visit the official website of AWS Console (https://aws.amazon.com/console/) using any browser on your PC or smartphone.
2. Click on Sign in to the Console at the screen’s top right. Navigate to the dashboard that contains all the marketplace subscriptions.
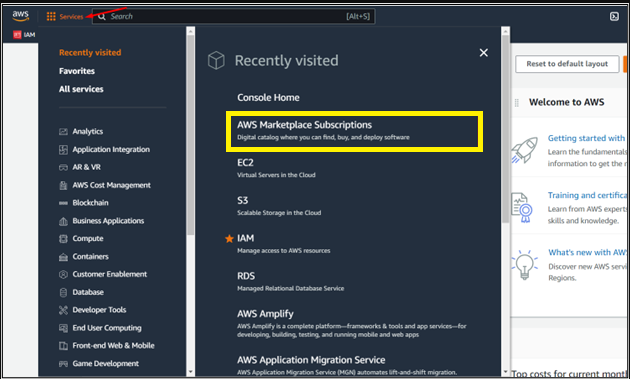
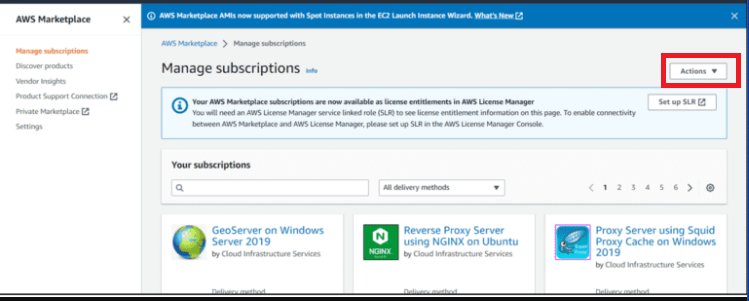
3. Tap the Services button and hit the AWS Marketplace Subscription. The AWS Marketplace subscription will appear where the subscribed apps and software appear.
4. Choose any of the product subscriptions from the list and hit the Manage option.
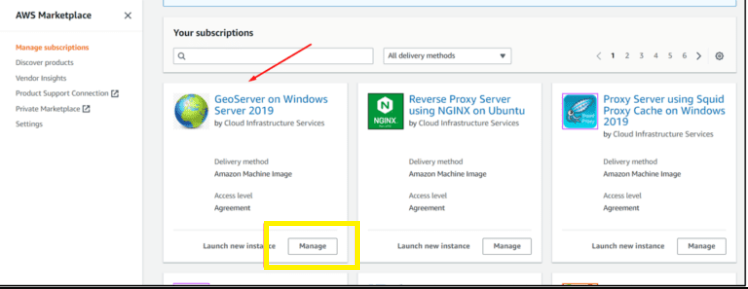
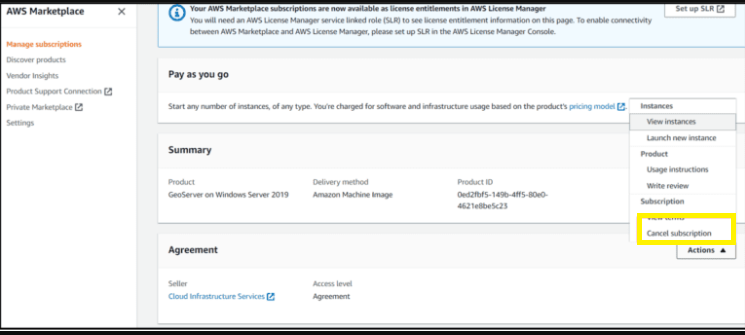
5. You will get another window that displays the pay-as-you-go summary and agreement policy. Click on the Agreement tab.
6. Select the Actions button placed at the bottom right of the screen.
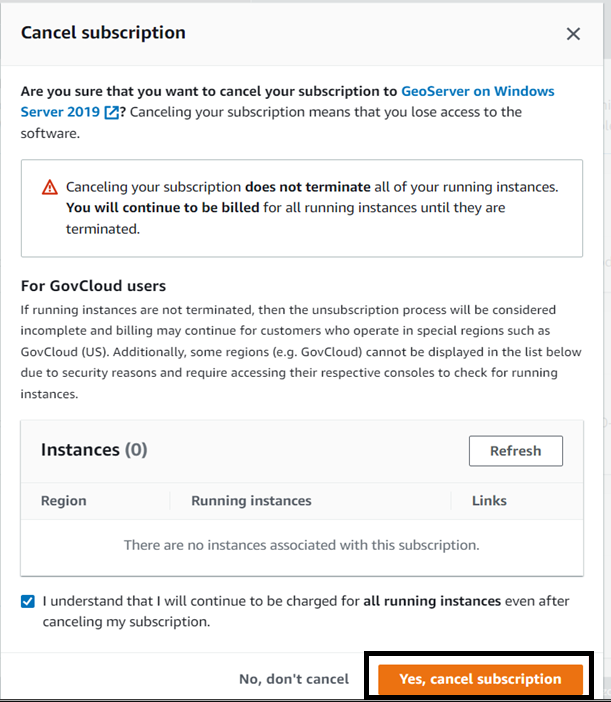
7. A pop-up screen will appear for canceling the subscription, tap the checkboxes and click on Cancel subscription.
8. Hit the Yes, cancel subscription option, and the product subscription will be canceled.
How to Close your AWS account
1. Go to the official website of AWS Console (https://aws.amazon.com/console/) from your PC.
2. Click on the My Account option and hit the Close Account section.
3. Tap on the checkboxes to agree to the terms and conditions and confirm closing the account.
4. After completing the process, AWS will then send a cancellation request to the support center.
5. Upon submitting the AWS cancelation request, you will receive the confirmation mail to cancel the AWS account.
Things to be Considered While Canceling the AWS Subscription
Make sure to consider the below factors while canceling the AWS subscription in order to prevent losing all your data and apps.
- Log in to the root user of the AWS account and reset the root user’s password.
- First, ensure to have the backup for all of your data and apps to prevent losing it on canceling the subscription.
- Choose the proper clouding platform to store all your data and applications.
- Check whether your account is the payer account for the organization and ensure you remove all the other member’s accounts that are closed from the organization.
After Effects of Canceling AWS Subscription
- You tend to lose all of the data and applications associated with your AWS account.
- AWS will retain and delete content that is not removed from the cloud.
- You can only access the contents of AWS services on reopening your AWS account.
- AWS deletes all the policy data for the account according to its policy.
FAQ
To terminate all AWS services→ Visit the AWS Console website→ AWS Management Console→ Search bar→ Enter the services name→ Open the service consoles→ Terminate all the active resources.
Go to the AWS Console website→Payment preferences→select the payment →Delete.
Yes. AWS stops the On-Demand billing during the post-closure period.