Key Highlights
- To Update Roku Firmware Manually: Turn On TV→ Press the Home button on Roku remote→ Home screen→ Settings→ System→ System Update→ Check Now→ Update Now→ Restart the device.
Are you facing any issues while streaming content on Roku, or are you unable to get the latest feature of the apps? If so, then it is mandatory to Update your Roku device software to the latest version. Besides Roku being a well-known streaming device, this device also lags or crashes at times.
The primary reason behind this is, having an outdated version of your TV device. Roku device checks for software if the device is connected to the internet every 24- 36 hours. If any update available is detected, then the device will automatically get updated. To update the apps, you must get the device up-to-date.
Contents
How to Upgrade Roku Firmware Manually
[1] Turn on your Roku and press the Home button on your Roku remote.
[2] Scroll down and click Settings by using the right arrow in the remote.
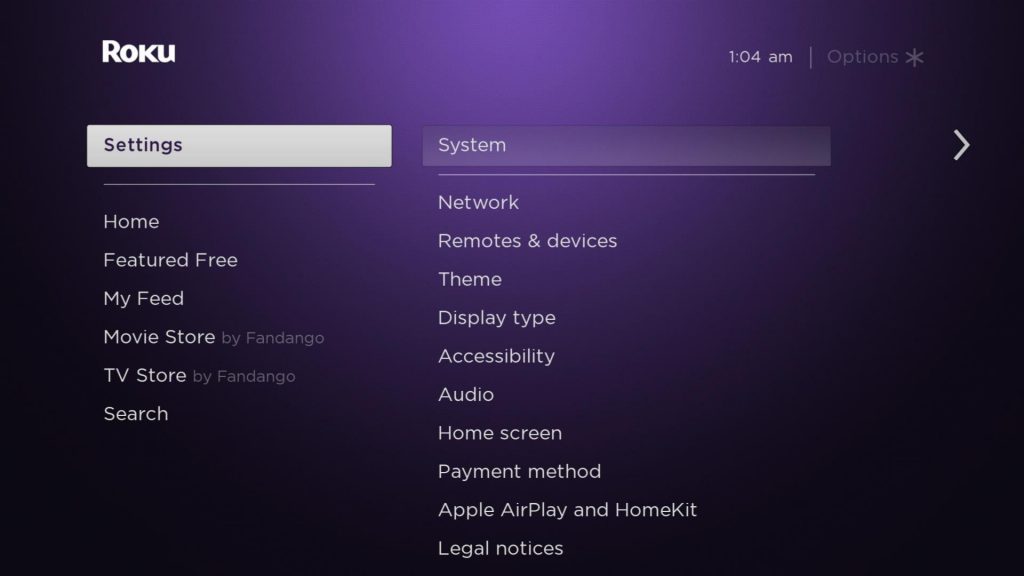
[3] On the next screen, select System.
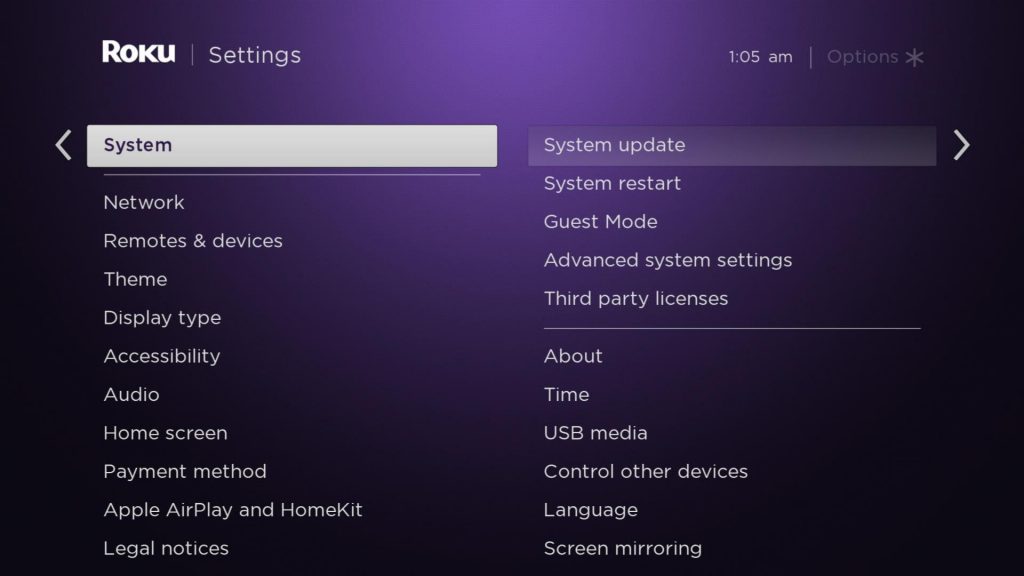
[4] Navigate to System Update and click it.
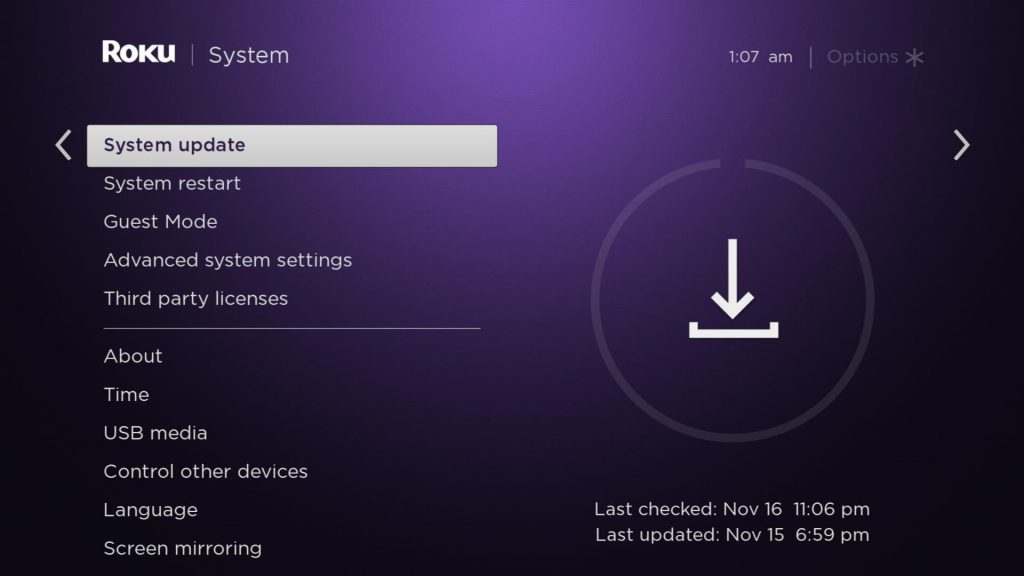
[5] Click on Check Now to manually look for firmware updates. Roku will start checking for an update.
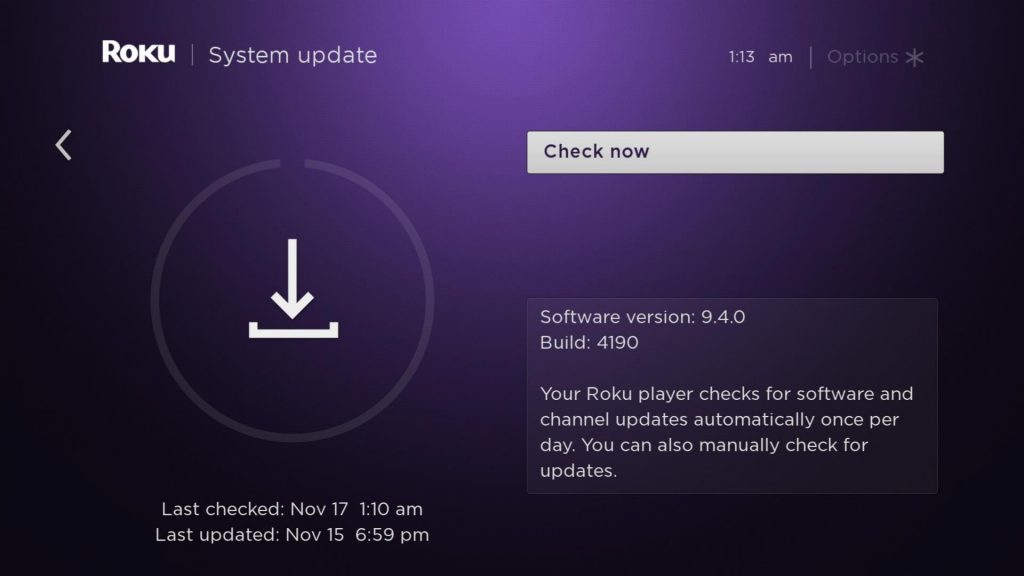
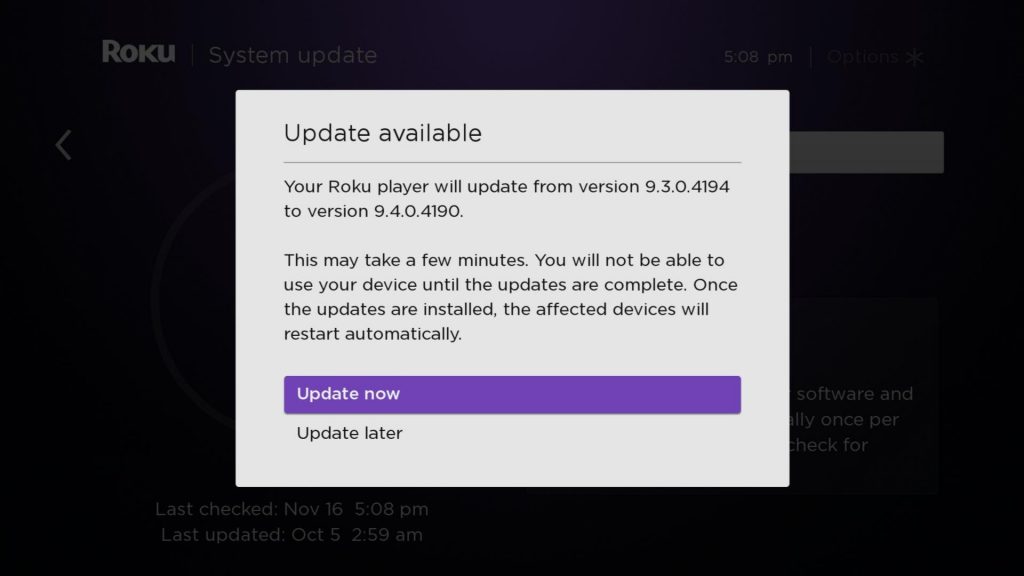
[6] If there is any new update available, you will see a message that says Update available. If you see a message that says All Software is up-to-date, then there is no update.

[7] Click Update now.
[8] Now your Roku device will download the latest firmware automatically.
[9] Upon downloading, your Roku device will reboot automatically to install the latest firmware.
[10] After the restart, the device will run on the latest version.
If you find any trouble while updating Roku, reset your Roku to fix the issue:
- Go to Settings >> System >> Advanced system settings >> Factory reset >> Enter the code on your screen and click OK.
FYI: Resetting your Roku will erase all your settings and unlink your Roku account. You have to use the device from scratch.
How to Upgrade Apps on Roku
On updating the Roku firmware, your outdated apps will automatically get updated to the latest version. You can also update the apps individually on your Roku device.
1. Navigate to the home screen of your Roku device and hit the Home option.
2. Select the desired channel you need to update and press the start button on your remote.
3. You will get the details of the app and click on the Check for Updates option.
4. If the app is updated, then hit Ok. If the app is to be updated, then update the app.
Why Can’t You Update Roku Device
If you are facing trouble while updating Roku firmware, you can make use of the below troubleshooting tricks to overcome the issues.
- Try to restart your Roku device.
- Restart your Network router to solve the network-related issues.
- Clear the unwanted cache files on the Roku device.
- Ensure to check the network signal strength.
- You can reset your network connection on your Roku TV to get better performance.
- Try to switch to a better network connection, connecting to a hotspot, or switching to an Ethernet cable.
- At last, you can factory reset your Roku device if the above methods don’t work.
FAQ
Yes. Roku device checks for firmware updates every 24 to 36 hours. If there is an update available, the Roku device gets updated automatically.
No. It is always free to update, activate, create an account, set up a device, tech support on your Roku TV device.
Yes. If any of your channels have an update available, then Roku will automatically download the channel and launch them automatically.