Windows 10 has come up with lots of evoking features that are useful to fix any issues on the go. Defragmenting is one of the features that aims in resolving the hard drive issues. If you have a hard drive on your PC and using it for a long time without disk defragmentation, then you would likely come across certain problems that are absolutely usual. For instance, your device will slow down, opening apps and files may take longer, etc. As a result, you will have to likely deal with the performance issues. This, in turn, means you should now perform a defrag on Windows 10. If you haven’t come across this anytime before, then we will guide you out with how to defragment Windows 10.
How to Defragment Windows 10?
If you want your Windows 10 PC to boot faster and runs smoother, then your drives need to be optimized. To defrag Windows 10 PC, follow the steps given below.
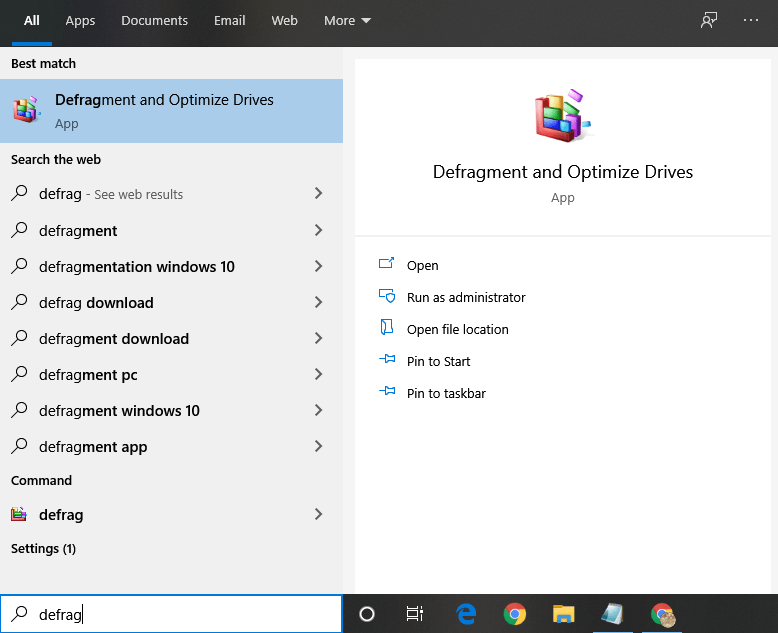
(1) Click on the taskbar on Windows 10 and type in as Optimize or Defrag.
(2) Highlight Defragment and Optimize Drives option from the suggestions list and double click to open it.
(3) Select your hard drive under Status and then click on Analyze button.
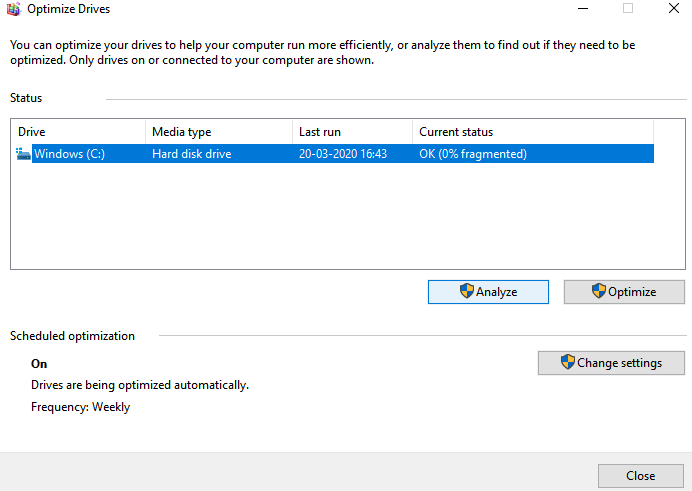
(4) From the search result, you can check the percentage of fragmented files under Current Status. For instance, it shows 68%.

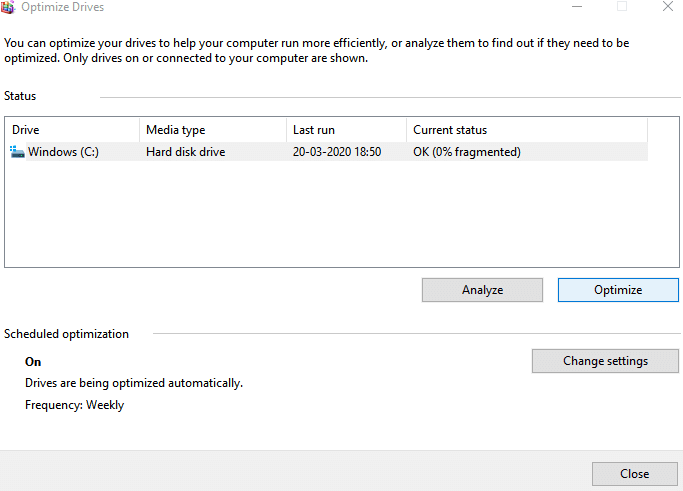
(5) Wait till you see 0% under Current Status. After that, click on the Optimize button to defragment Windows 10 PC.

Defragmenting your Windows 10 PC is that simple, easy and can be done within seconds. By following the above steps, you can thus defrag your Windows 10.
Note: This process varies for each version of Windows.
How to Change Optimization Schedule?
Windows 10 by default carry out the defragmenting process weekly. However, you can customize it based on your need. Here is the how-to change optimization Schedule on Windows 10.
Note: This works only for the traditional rotating platters hard drive and not on Solid-state drives.
(1) On the Optimize Drives window, you will find the Change Settings button. Click on it.
(2) Select the frequency between Daily, Weekly and Monthly.

(3) Click on Choose button and proceed further.
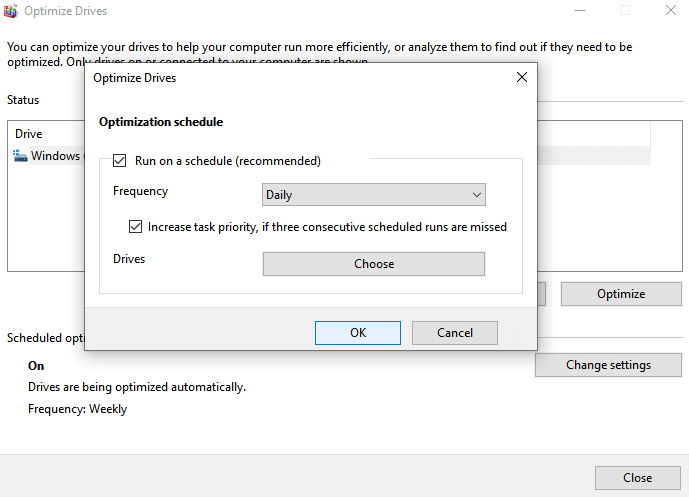
(4) Check in the box for the drives you want to optimize the frequency you have chosen.
(5) Tap on OK button to apply changes and press Close to exit the window.
Let us know if your Windows 10 PC is working fine after defragmenting as comments. Get in touch with on Facebook and Twitter for more such articles.