Outlook is a Microsoft application that was used to send and receive mail in a professional way. Apart from sending/receiving emails, you can use Outlook to manage events, tasks, and much more. When you need backing up your emails, Microsoft Outlook presents the built-in option to backup all the data. As Outlook holds lots of professional data, it is important to backup your data regularly. It will help you to view your data when the device fails to open Outlook. Regardless of the reason, here is the guide to backup the emails on Microsoft Outlook.
Contents
Steps to Backup Emails on Microsoft Outlook
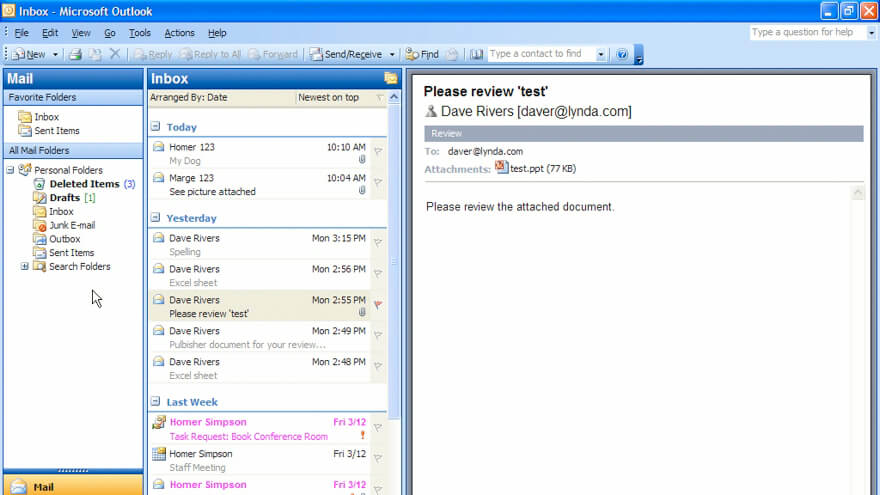
Step 1: Open Microsoft Outlook on your computer.
Step 2: Click the File option on the menu bar.

Note: If you are using Outlook 2003 or 2007, select the folder that you want (drafts, inbox, outbox, sent items, deleted items) and then choose the File option.
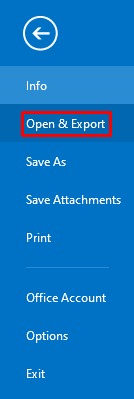
Step 3: Click on Open & Export.
Step 4: Select the Import/Export option.
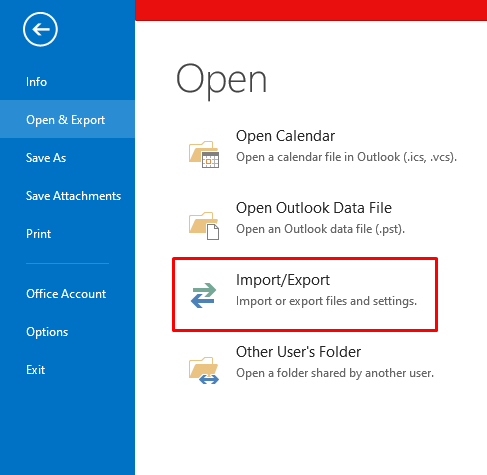
Step 5: A pop-up will appear and prompt you to backup the file.
Step 6: Select the Export to a file option and click Next.

Step 7: Under create a file of type, select Outlook Data File (.pst) and click Next.
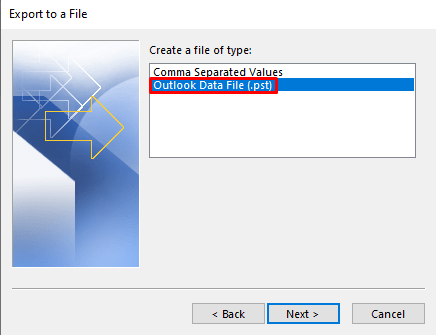
Note: To save outlook mail without PST (.pst), choose Comma Separated Values and export the file to the destined location.
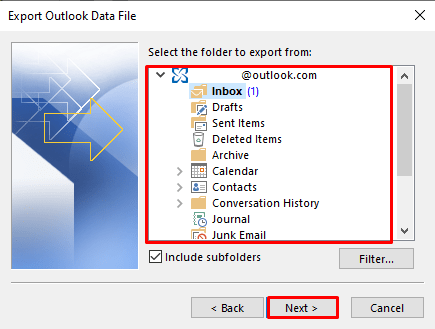
Step 8: Select the folder that you need to backup on Outlook and click Next.
If you’re using Outlook 2003 or 2007, skip this step as you have already selected the folder you want.
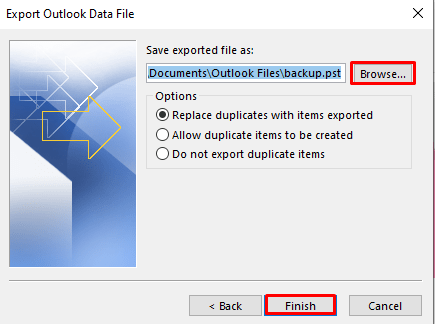
Step 9: Click Finish.
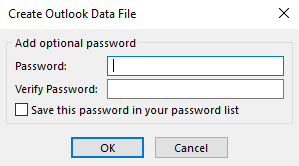
Step 10: A pop-up will appears to set a password for the file. It is an optional one, and you can skip this step if you don’t need any protection.
The process of backing up emails on Outlook is similar for all versions (2010, 2013, 2016, and Office 365). The interface and theme may vary depending on the version you’re using.
Tip! You can block unwanted emails on Outlook in multiple ways.
How to Save Outlook Mail to External Hard Drive/Computer
To save your Outlook emails to the external hard drive, Flash drive, or anywhere within your PC, you should choose the right destination on Step 9. For instance, if you want to export to a USB drive, connect the drive on your PC, tap the Browse option on Step 9, and choose your drive as the destination.
To restore backup data on Outlook: launch the Outlook app–> click File –> select the Open menu –> choose Open Outlook Data File –> Select the backup file (.pst format) –> The files restored again within a few minutes.
How to Backup Emails on Outlook [Mac]
Step 1: Launch Microsoft Outlook on your Mac.
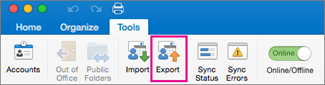
Step 2: From the menu, choose the Tools section.
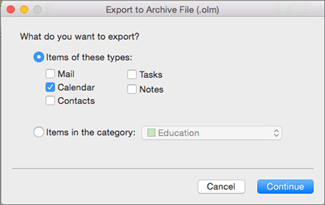
Step 3: Click on the Export icon from the tools.
Step 4: Select the Mail tab and click on Continue.
Step 5: Choose the destination folder.
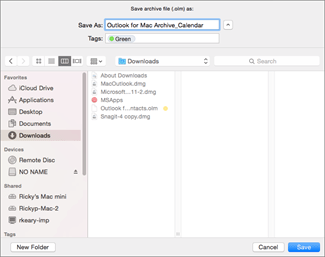
Step 6: Click on Save, and your data will start exporting in .olm format.
Step 7: You will be notified once the data has been exported. Click on Finish to complete the process.
Techowns Tip! Change password on Outlook regularly to safeguard your account.
How to Backup or Download Email from Outlook Web App [OWA]
Outlook Web version is purely used to send and receive emails. As they work completely online, there is no need for backup. Because they can be accessed anytime and anywhere just by signing into your account. It also applies to mobile versions. The mobile versions of Microsoft Outlook don’t provide options to backup your emails as a file. If you want to download the emails, you should log in using the Outlook desktop app.
Now, all your Outlook data have been backed up and protected. You can now transfer and view it on any device by using a USB drive, hard disk, or any storage device. Lets us know if you had any queries related to this guide. Follow our Facebook and Twitter pages to read our articles instantly.