Philips Smart TVs are very among people who want to watch a wide range of media content via the internet. For all the TVs, you will get a remote control to turn on or off the TV, change channels, adjust volume, change the input source, and much more. But, there may be situations where you might have lost the remote control. In that case, connecting the TV to the new WiFi connection is a difficult task. But, there are ways to connect your Philips TV to a WiFi network without the remote control.
Note – The following guide applies to Philips TVs running on Android and Roku OS.
Contents
Connect Philips TV to WiFi Using Physical Buttons
[1] On your Philips TV, press the Menu button. If your TV does not have a Menu button, you can press the Volume Up and Volume Button together.
[2] Use the P+ and P- to select the Network Settings option.
[3] Next, select the WiFi Settings option.
[4] Choose your WiFi Network and enter your WiFi password using the CH+ and CH- buttons.
[5] Now, press the Volume Up and Volume down button to return to the main screen.
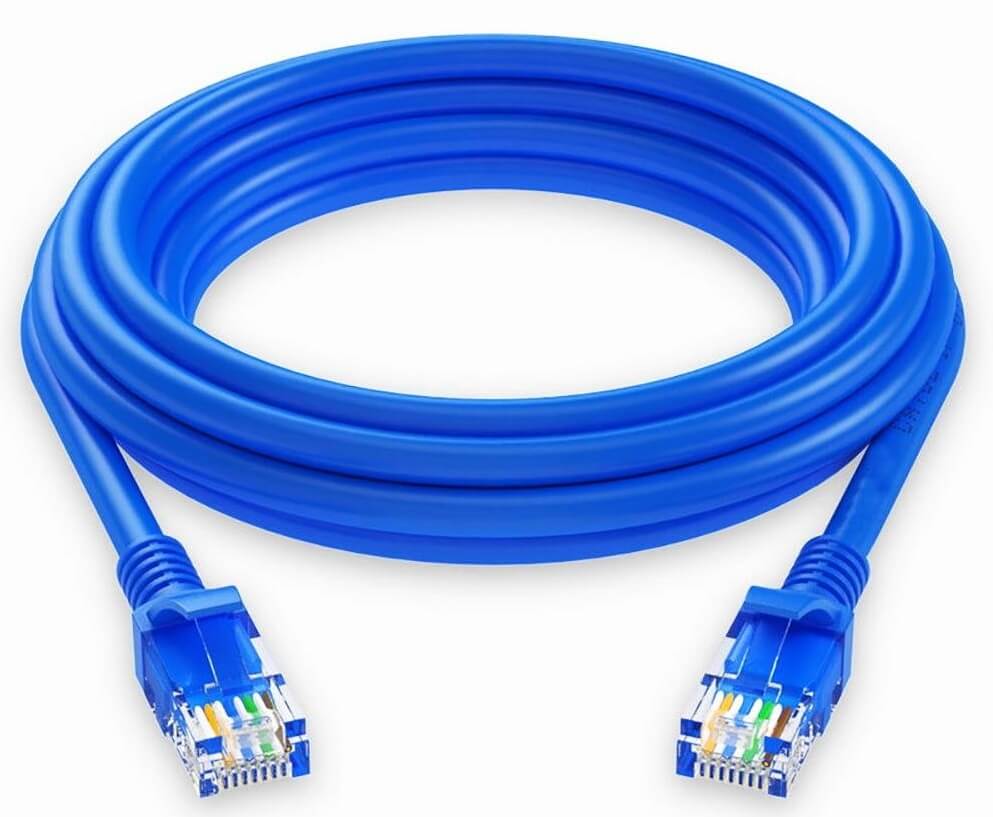
Connect Philips TV to WiFi Using Ethernet Cable
Using the ethernet cable is the easiest way to connect your Philips TV to a new WiFi without the remote control. While compared with WiFi, you will get better connection speed with an ethernet cable.
[1] Bring the router close to the TV or vice versa.
[2] Take a Cat 6 or Cat 8 Ethernet cable.
[3] Connect one end to the router and another end to the TV.
[4] Turn on your TV and control it with the help of a wireless keyboard and mouse.
Connect Philips TV to WiFi Using USB Keyboard or Mouse
You can also use a wireless mouse or keyboard as a remote to control your TV.
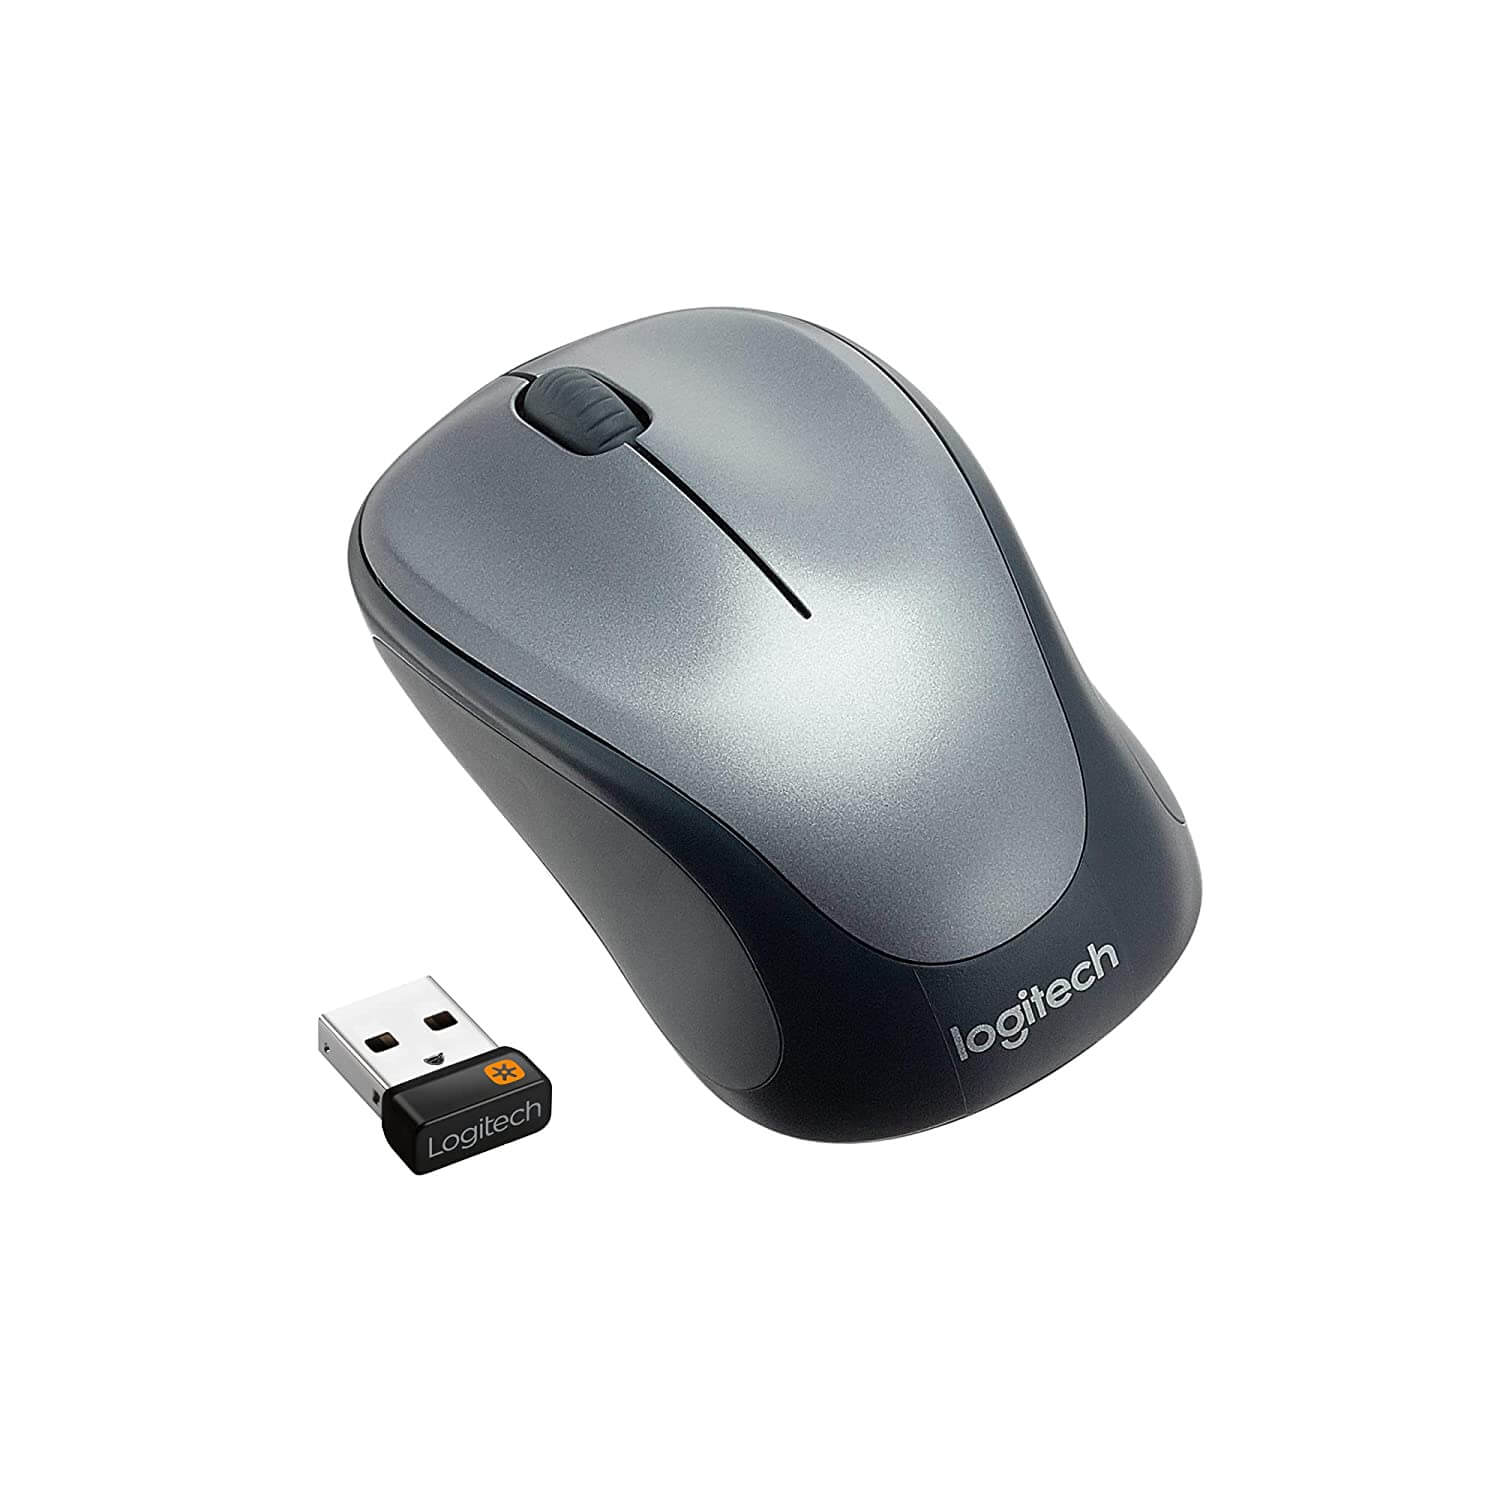
[1] Turn on your Philips TV and then connect the USB of the mouse/keyboard to your TV. Upon connecting, you can use them as a remote control.
[2] Open the Settings menu on your TV.
[3] Select the Network option, followed to that choose Connect to Network.
[4] Choose your WiFi network and input the password to connect to the network.
Connect Philips to WiFi Using Remote App
For this method, you need two Android smartphones.
[1] On the first one, create a WiFi hotspot. The name and password should match the WiFi network to which your Philips TV was previously connected.
[2] Now, turn on your TV, which will connect to the hotspot network automatically.
[3] Connect the second smartphone to the same hotspot.
[4] On the second device, install the Philips TV remote app.
[5] Launch the app, and it will detect your TV automatically.
[6] Now, you can use your smartphone as a remote control.
[7] With the help of that, navigate to the TV settings and change the WiFi network.
Tips! Update your Philips TV regularly to get the latest security features and apps.
Frequently Asked Questions
Navigate to the Settings menu → select Network → Click Connect to Network → Choose your WiFi network and enter the password.
If your network connection is poor and unstable, then you will face issues in connecting the WiFi to your Philips TV. So, restart your TV & router and then try again.