Mac devices like Macbook and iMac come with an inbuilt webcam to make video calls and take photos. The Macbook Air, Macbook Pro, and iMac come with a 720P webcam, while the iMac Pro comes with a 1080P Real HD Camera. You can use this inbuilt camera to take photos and make video calls using Facetime or other video calling apps like Skype. The Camera turns on automatically whenever you open the camera or video application. If you are not sure how to take a picture on Mac, go through the below article.
Contents
How to Take a Picture on Mac?
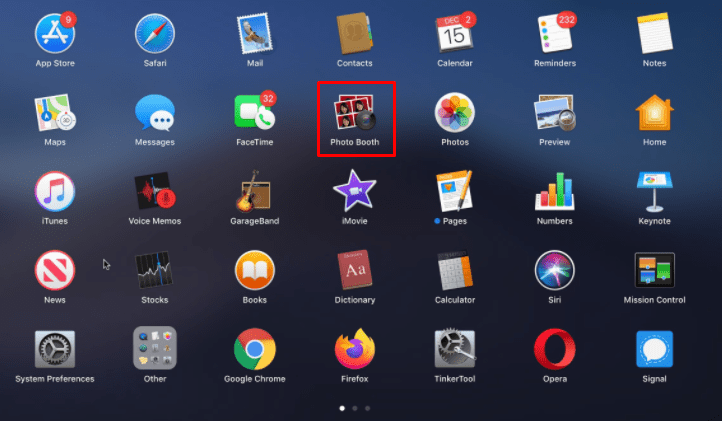
Mac allows you to take a photo with a pre-installed app called Photo Booth. It has a simple interface and you can easily capture the moment with this application.
Step 1: Launch Photo Booth to Take Picture on Mac
“Photo Booth” is the Camera software that is available on your Mac to capture pictures.
You can launch the Photo Booth with simple steps:
- Open Finder
- Go to Applications
- Search and Open Photo Booth
Alternatively, you can also use Siri to open Photo Booth. Click on the Siri button on your Home screen and say “Take a Photo” or “Open Photo Booth” to open the application.
Note: You can also find the Photo Booth application in the Launchpad. Open Launchpad and click on the Photo Booth application to open it.
Step 2: Capture the Moment
Capturing the moment is very simple. You can just click on the Red color capture button to take a photo. Apart from the capture button, you will find a few icons like the Four Shot icon, Single Shot icon, Video icon, and an Effects button.
By default, the single shot icon will be selected. You can add effects and take a picture on your Mac as well. If you want four different pictures in a tile, then you can use the Four Shot icon. You can record a video using this Photo Booth also.
The effects option allows you to add various effects to your photo. You can find plenty of funny effects and you can choose the one you wish to add.
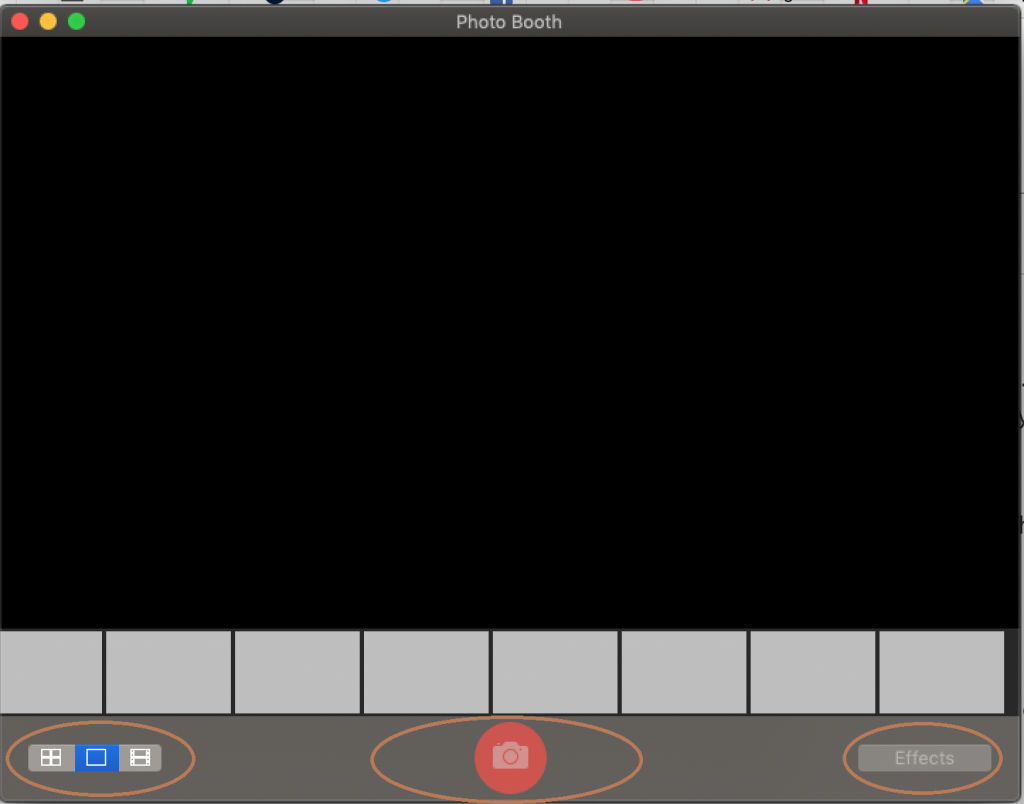
By default, photo is captured after a countdown of 3 seconds. The photos captured will be available in the Photos application.
Additional Tips
- If you want to “Stop Countdown,” hold the “Options” button while clicking to capture button.
- To “Switch off the Flash Light,” hold the “Shift” button while clicking the capture button or to ‘”Switch it on” by choosing Camera >>Enable Flash Screen.
- You can hold the “Option” and “Shift” Keys together to do these simultaneously.
Related: How to Turn On Airdrop on Mac?
Wrapping Up
With the Photo Booth app, you can take pictures on your Mac. Apart from Photo Booth, there are plenty of apps available in the App Store that uses your Mac camera to take photos and record videos as well. Are you still facing any difficulties? Share your experience in the comment section below.
Follow us on Facebook and Twitter for more Tech articles.