Kodi is an open-source media software which allows accessing different media collection including movies, TV shows, photos, music, live channels and many more. Kodi is a completely free and legal media player which can be installed on multiple platforms including Android, iOS, Windows, Amazon Firestick, Fire TV, Android TV, Apple TV, Raspberry Pi, Nvidia Shield and many more. Today let us see how to install Kodi on Nvidia Shield TV. Many do this to jailbreak the Nvidia Shield TV as they consider installing Kodi as one of the jailbreaking processes.
Kodi allows you to sync your media files from multiple devices. It can be done by using any of the Kodi addons. All the Kodi supported addons are found in the official Kodi addon repository.
Install Kodi on Nvidia Shield
Nvidia Shield is an Android TV-based digital media player which is compatible with Kodi. You can install Kodi directly from the Google Play Store.
Step 1: Connect your Nvidia Shield with the HDMI port on TV.
Step 2: Connect Nvidia Shield to the internet.
Step 3: Go to Nvidia Shield home screen and open the Google Play Store.
Step 4: Navigate to the top of the screen and type Kodi on the search bar.

Step 5: Click OK, it will show the suggestion list related to your search.
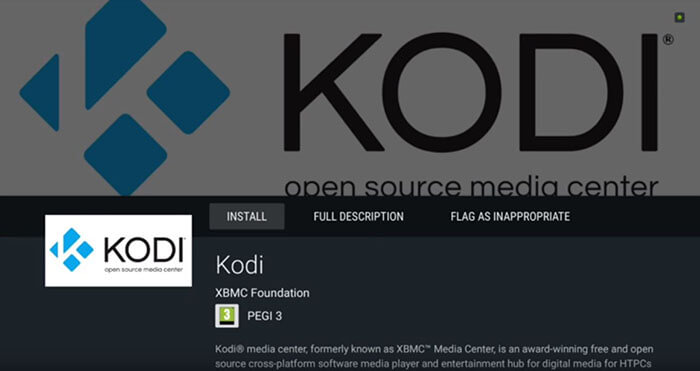
Step 6: Select the Kodi application, it should be the first thing shown on the search result.
Step 7: Click Install and the Kodi app will be downloaded and installed on Nvidia Shield.
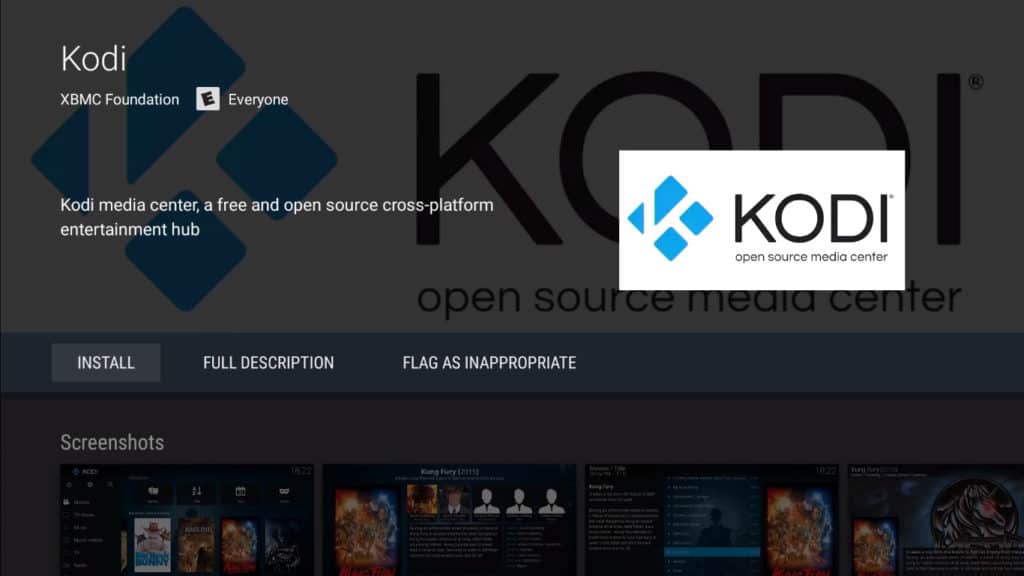
Step 8: Once the Kodi is installed, click Open to launch Kodi on your device or return to the Nvidia Shield home screen to find the Kodi app.
Note: This method will install the latest version of Kodi 18 Leia. If you want an older version to be installed, go with the following method.
Side-loading Kodi on Nvidia Shield
If the Google Play Store is blocked legally in some regions, you can unblock it by using a VPN. If you want to use a specific version or an older version of Kodi, you need to side-load it from the third-party source.
Step 1: Connect the USB drive to your computer or any device.
Step 2: Open the web browser and search for the required Kodi version.
Step 3: Download the Kodi Apk file to your USB device.
Step 4: Connect the USB drive to the Nvidia Shield.
Step 5: Turn on the Nvidia shield and connect it to internet connection.
Step 6: Go to settings menu.
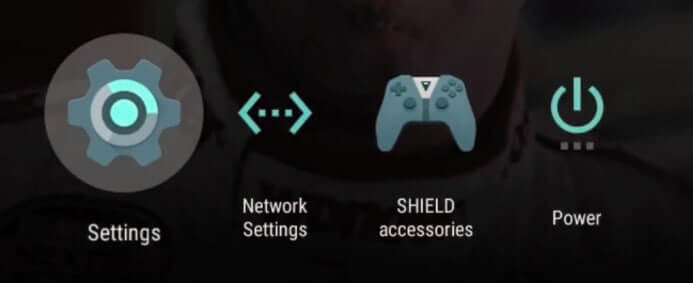
Step 7: Select Security and Restrictions option.
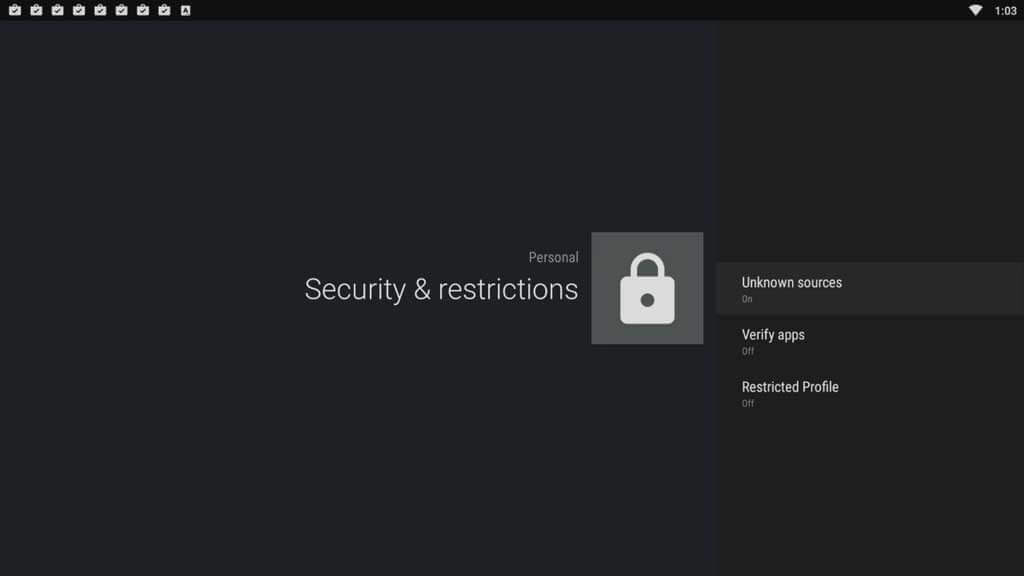
Step 8: Select the Unknown sources option.
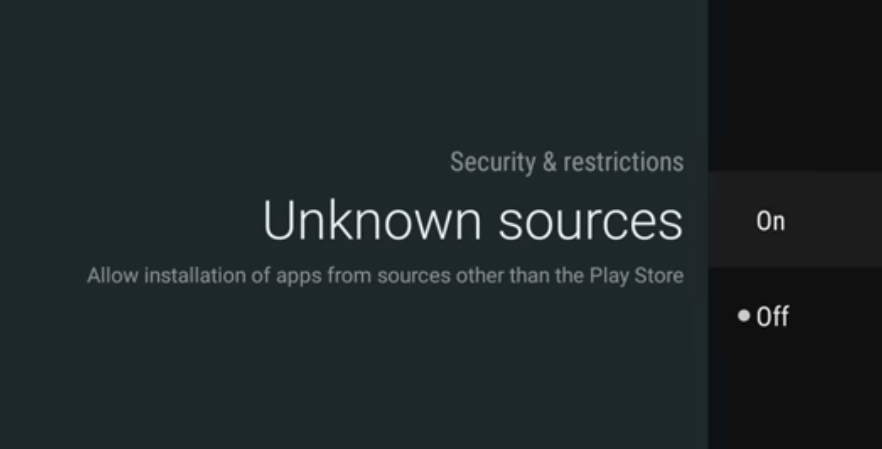
Step 9: Select OK from the warning message to enable Unknown source option.
Step 10: Now return to the home screen and open the Google Play Store app.
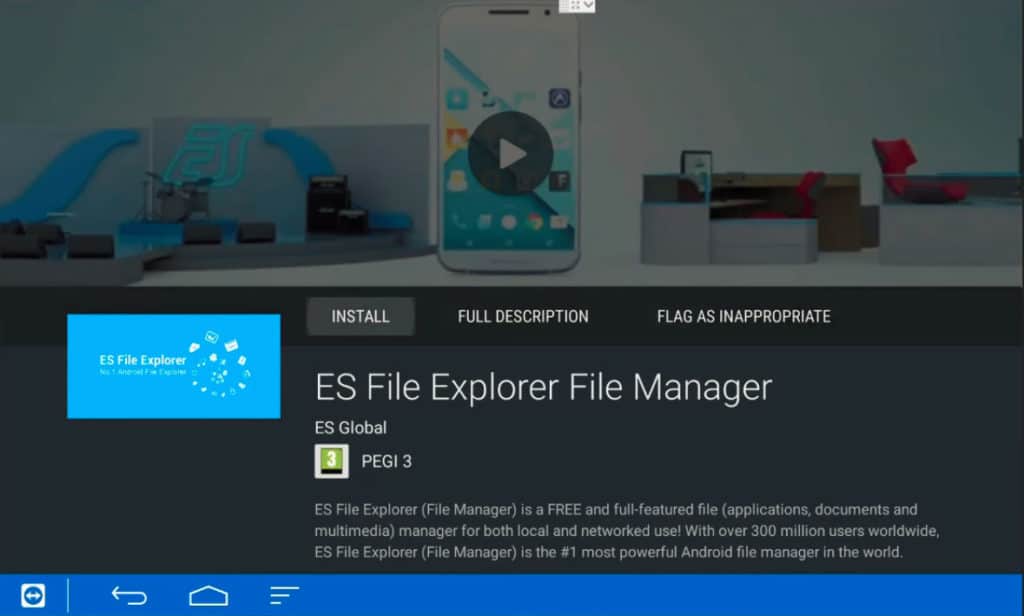
Step 11: Search for ES File Explorer app and install it on your device.
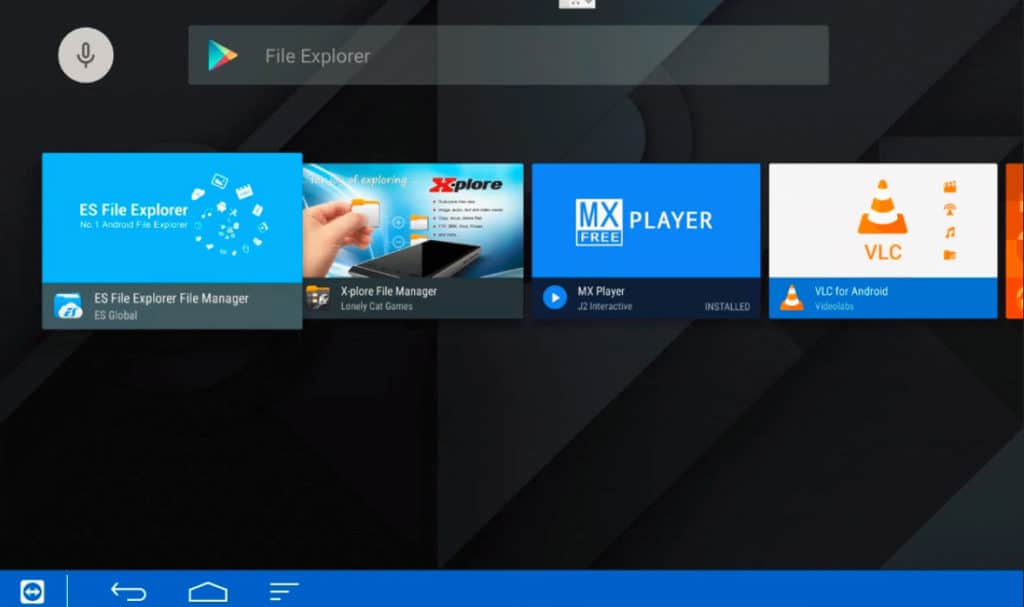
Step 12: Once the app is installed, click open to launch the app.
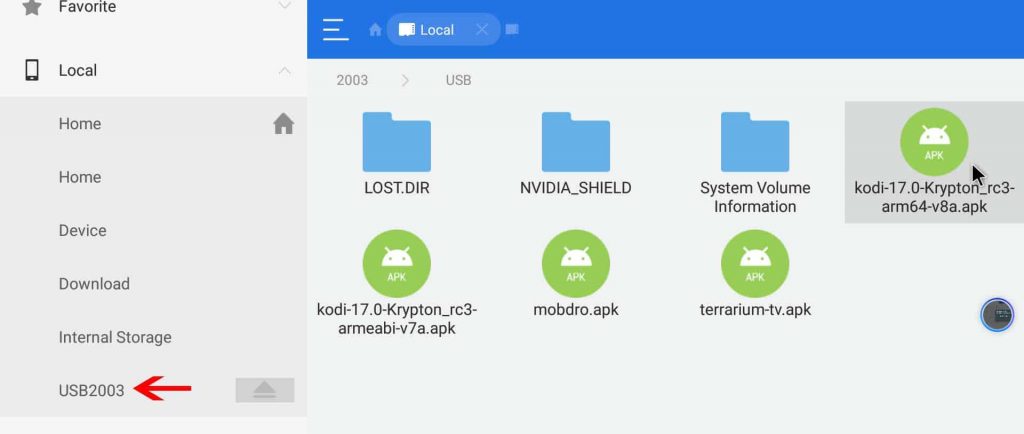
Step 13: Now open the USB drive by using the ES File Explorer app.
Step 14: Navigate to the folder where the Kodi Apk file is saved.
Step 15: Select the Apk file and choose Install option.
Step 16: Again click Install to accept the permission, and the app will start installing.

Step 17: When the Kodi app is installed, select Open to launch the app on Nvidia Shield.
Once the Kodi app is successfully installed, eject your USB drive from the Nvidia Shield.
Note: Instead of using USB drive you can use the web browser within the File Explorer to download the app.
To Conclude
Once Kodi is installed on your Nvidia Shield, you need to install any of the streaming Kodi addons to watch your favourite contents on your device. Kodi addons can be downloaded directly from the official Kodi repository. It also supports various third-party addons, which you can download from the internet. The procedure for installing Kodi addon on Nvidia shield is the same as on any other device.
Comment below if you have any queries or if you are stuck in the middle of the process. Follow us on Twitter and Facebook for more updates.