Skype is one of the oldest and popular means of communication tool that made people connect over video calls. It is based on VoIP protocol and thus delivers the highest quality voice and video calls. Skype supports the communication needs of both individual as well as business people and hence is used all across the world. Besides its usefulness, there may be times in which you no longer wish to use Skype. When in such a scenario, you should perform some actions to delete your Skype account. Unlike you think, getting out of Skype isn’t a click away.
You have gotta deal with lots of things to get away from Skype. If you wonder how to delete Skype account, then we have the answer for it. Skype has no dedicated delete or the remove button. So, you must deal with few processes to completely remove yourself from Skype.
Important Note: Closing Skype account takes 30 to 60 days and you can get back to your account anytime in between. Unfortunately, you cannot use your account after this.
Contents
Things to be Done Before Deleting Skype Account
Just before closing your Skype account, do all of them to never regret later.
- Unlink Microsoft account from Skype account
- Cancel active subscriptions
- Cancel Skype number
- Unlink recurring payments
- Remove your personal details
- Sign out of Skype
Note: Once you delete your Skype account, you cannot use your Skype username again.

How to Delete Skype Account?
Unlike any other social services, deleting Skype account isn’t simple and easy. But need not worry as this section will guide you on leaving Skype account with ease.
Note: To delete Skype Business account, you should reach out the account administration. Only your organization can handle deleting the account.
The right way to close Skype Account is by leaving the Microsoft account. Here is how to do it.
Steps to Unlink Skype Email Id
(1) Open the web browser on your PC or phone.
(2) Navigate to https://www.skype.com and provide your Skype login details.
(3) Go to Settings and Preferences and scroll down to select Account Settings.
(4) Look for your Microsoft account id and navigate besides it to click on Unlink/Not Linked option.
(5) On the prompt, click on Unlink option to remove the Microsoft email id from Skype. If you don’t find Unlink, then it means your account isn’t linked to Microsoft account and hence skip to steps given under OPTIONAL section.
(6) Click on Continue to confirm removing the account on the confirmation alert pop-up.
OPTIONAL:
Follow the steps given below only if you want to disable any paid subscriptions on Skype.
- Under Account Settings > Settings and Preferences > select the subscription or recurring payments you want to cancel.
- Click on Cancel Subscription and then taps on “Thanks but no thanks, I still want to cancel ” option to confirm cancelling subscription.
Tip! You can now request for a refund for any subscription through the live chat with Skype support team or use online cancellation and refund form.
- To cancel Skype number, go to Manage Features > Skype Number > Settings > Cancel Skype Number.
- To cancel recurring payments, go to My Account screen to select Account Details. Then, choose Credit auto-recharge under Billing and payments. Click on Disable option to turn off auto recharge.
- To remove any payments methods, go to Billing Information > Payment details > click on Delete to remove a payment method.
- To delete Personal details on Skype, go to My Account > Edit Profile > Edit Profile button > Personal Information.
- Then select and delete data you want to remove. Go to Profile Settings > uncheck Appear in search result text box and Appear in suggestions. Click Save.
How to Delete Skype Account?
If you are using Skype on Windows or Mac PC, then follow the procedure to delete your account.
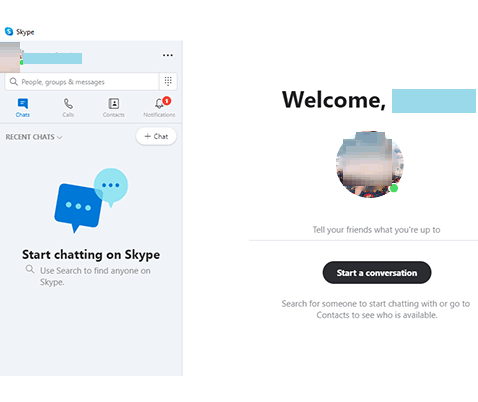
(1) Launch the Skype app on your Android/iOS/Window/Mac PC.
Note: Login to your Skype account if you haven’t done it already.
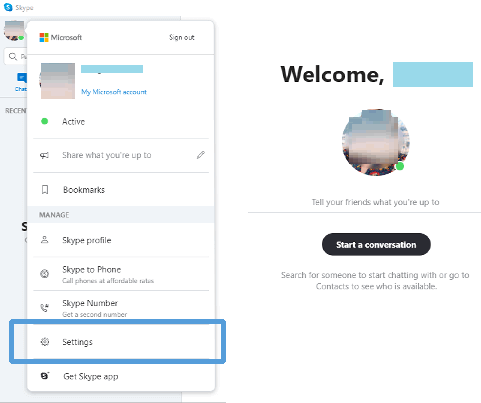
(2) Tap on the Skype name available at the top-left corner of your screen.
(3) On the pop-up, select Settings option.
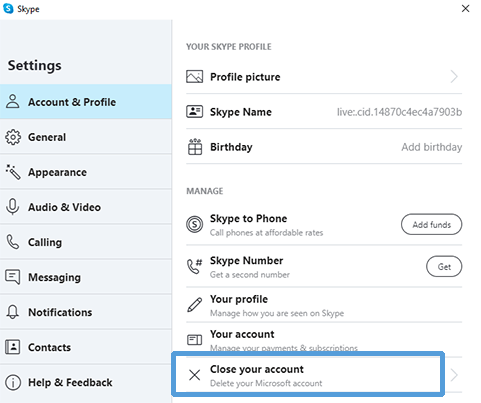
(4) Highlight Account & Profile and choose Close your account on the right pane.
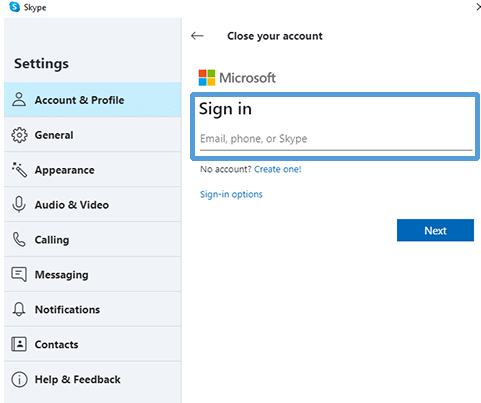
(5) Enter your Microsoft id and password to continue. Click the Next button.
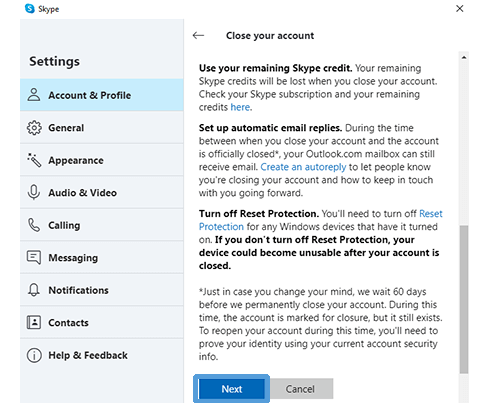
(6) Read the contents provided on the Close your account window and press Next.
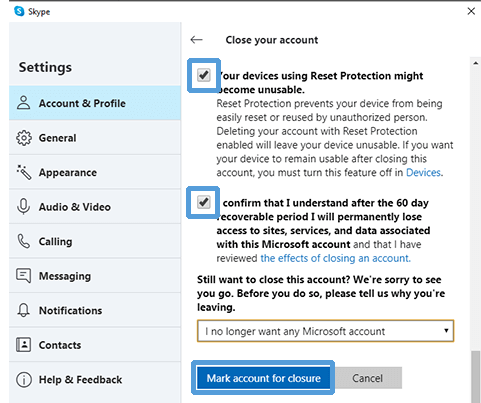
(7) On the next screen, check in the boxes and choose a reason for closing your account. Lastly, click on Mark account for closure button to delete a Skype account on PC.
That’s all. You have successfully done with deleting Skype account.
Try This Way!
If you don’t want to delete your Skype account for some time now, then it’s a good deal to opt for hiding your account.
(1) Visit https://www.skype.com/en/ on your browser.
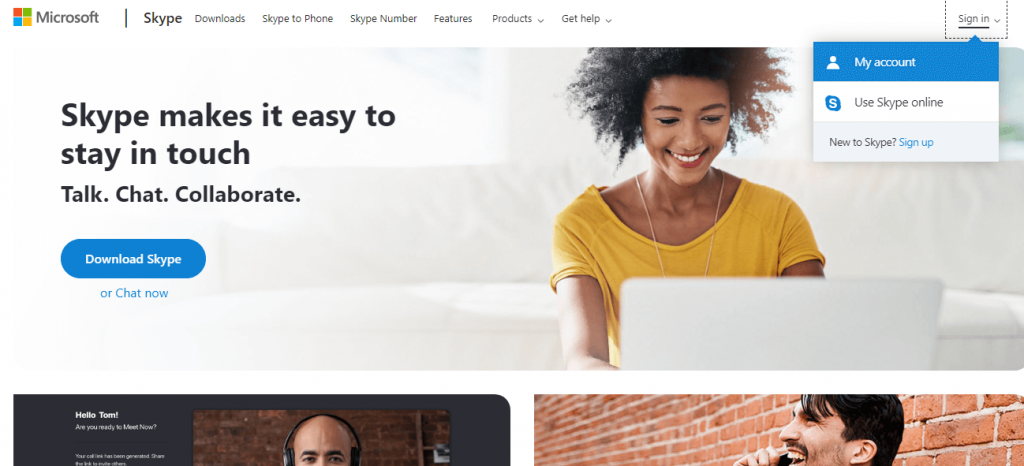
(2) Click on Sign in the drop-down from the top right corner.

(3) Select My account option from the available option.
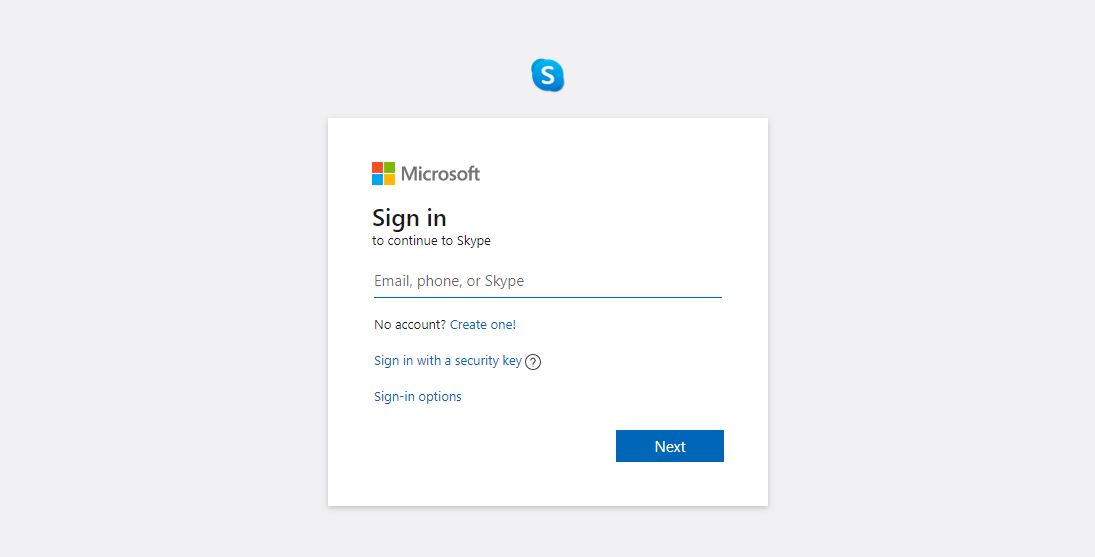
(4) Provide your Skype login details like email, password, etc., and press Sign In.
(5) Select the option My Account under Menu.
(6) Select Edit Profile option under Settings and Preferences from the left pane.
(7) Uncheck the box available near Appear in search results and suggestions in Discoverability column. Save changes.
That’s all. Your Skype profile will be completely hidden from other Skype users.
Unlinking Microsoft account and deleting Skype account takes quite your time but it isn’t difficult at all.
If you find this article as useful, then share us your opinion as comments. For the latest tech-related article, follow our Facebook and Twitter page.