Wake on LAN or WoL is an interesting feature that you can enable to turn on/off your Windows 11 computer remotely from the sleep or low power state. It uses your Ethernet connection to send a magic packet to the BIOS for waking up the PC. Therefore, your PC must be connected to an Ethernet connection to turn on this feature. It can be enabled easily from the Windows OS settings.
Enabling WoL on Windows has several advantages like
- You can access the files of a computer connected to the same network without turning it on.
- It may help you in reducing the electricity bill.
- It is very helpful in managing the computer on a network.
Note – Apart from Windows 11, you can also enable and use this feature on other Windows versions.
Contents
How to Enable Wake on LAN on Windows 11 Through Settings
[1] Press the Windows+I shortcut to open the Settings app.
[2] In Windows Settings, click Network & Internet.
[3] Select Advanced network settings on the right pane.
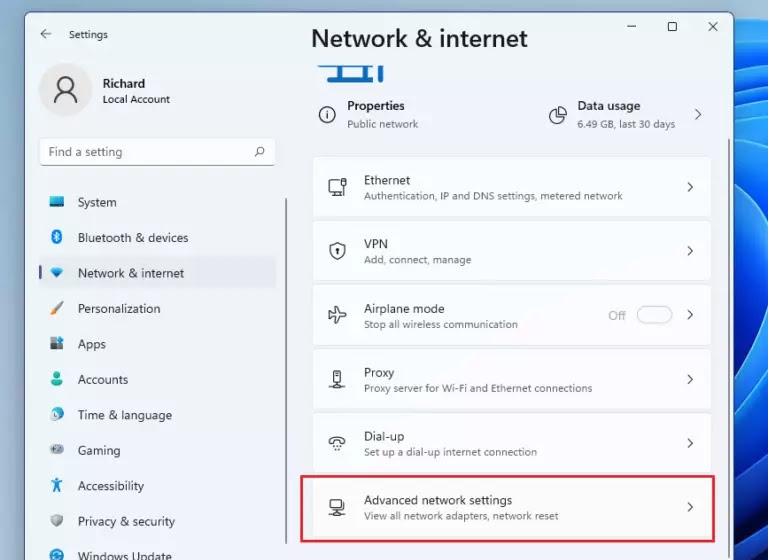
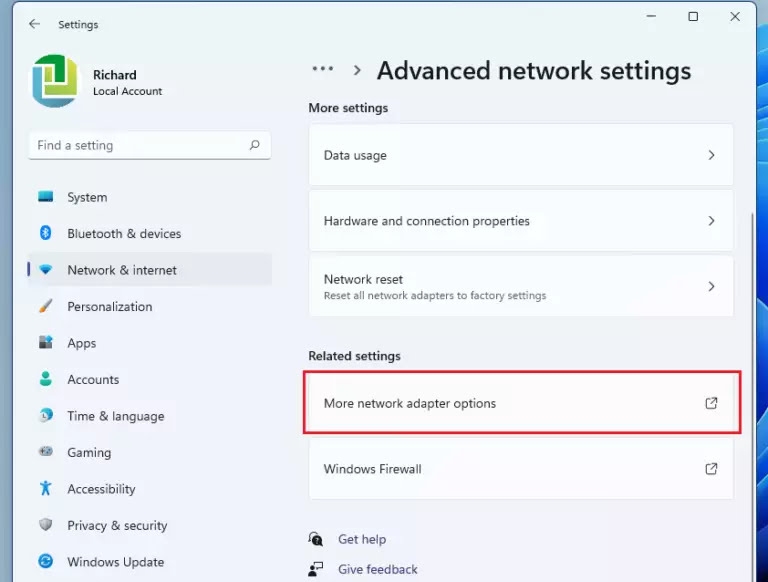
[4] Tap on More network adapter options below the Related settings section.
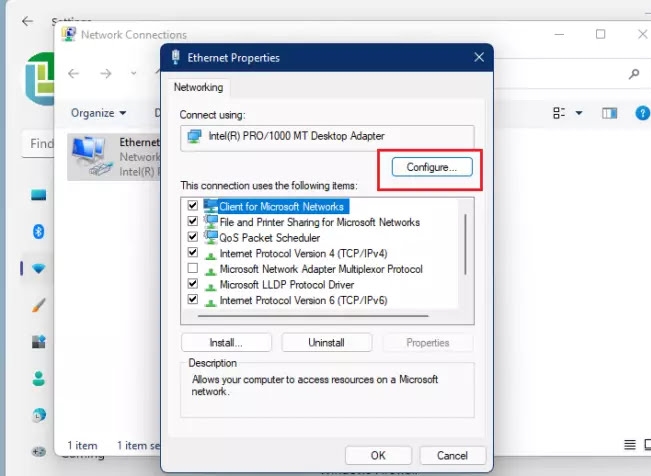
[5] On the network adapter setting pane, right-click the Ethernet connection and click on Properties.

[6] On the next window, click the Configure button.
[7] On the Advanced tab, click Wake on Magic Packet from the list and change its value to Enabled.

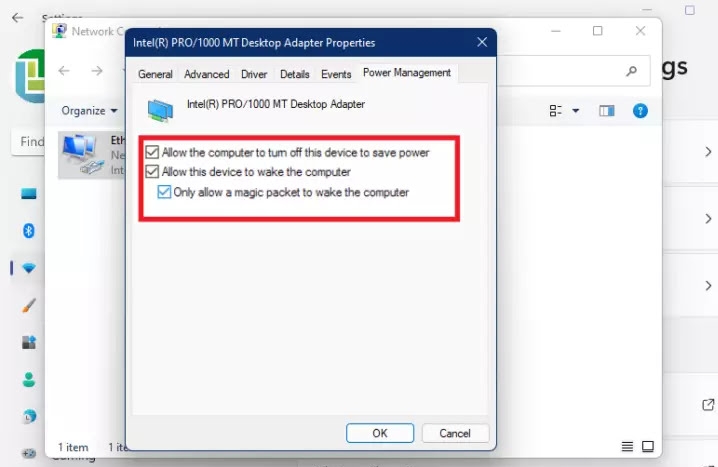
[8] Select the Power Management tab and check the boxes to Allow this device to wake the computer.
[9] Also, check the box to Only allow a magic packet to wake the computer and click OK.
How to Enable Wake on LAN on Windows 11 Through Disk Manager
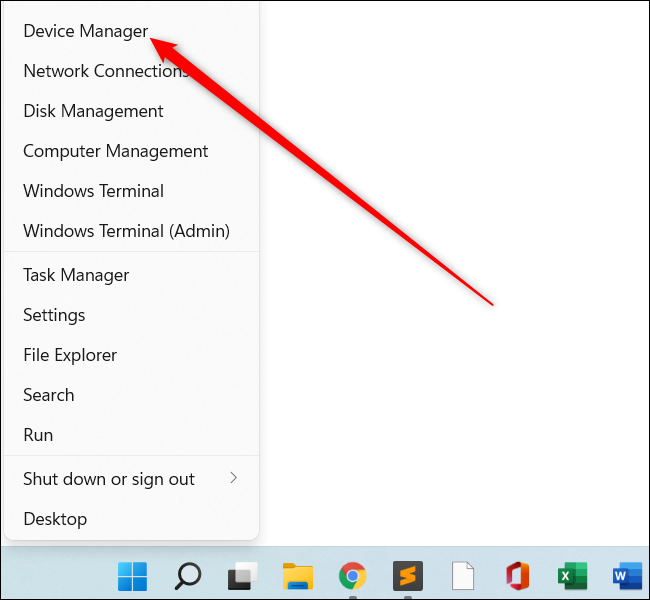
[1] Press Windows+X and select Device Manager from the menu.
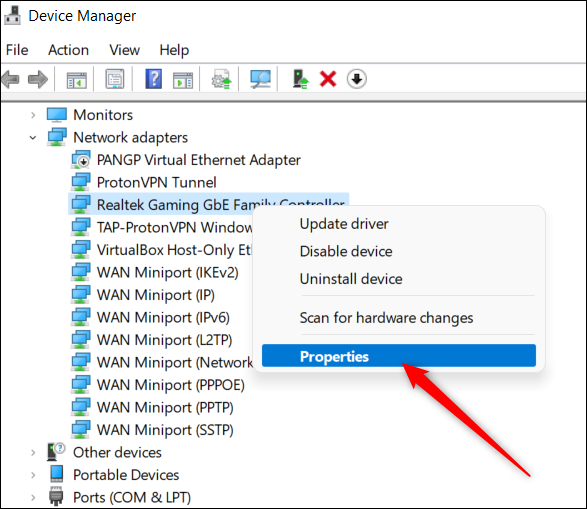
[2] In the Device Manager, expand Network adapters. Right-click on the Ethernet adapter menu and click on Properties.
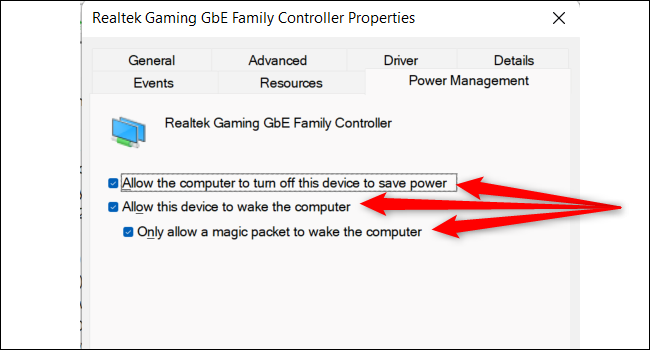
[3] In the properties window, select the Power Management tab and check all the available boxes.
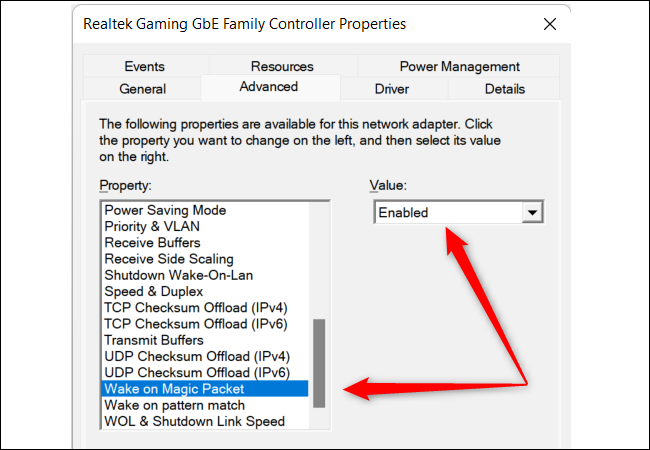
[4] Select the Advanced tab and select Wake on Magic Packet in the Property box.
[5] Check whether the Value list box is enabled or not. If not, set it to enabled and click OK.
[6] The Wake on LAN feature is enabled on your Windows 11. From now on, you can turn on or off your Windows computers from your local network.
Whenever you have issues with WoL on Windows, visit our dedicated guide to fix Wake on LAN not Working on Windows.
Related – How to Track Internet Usage on Windows 11
How to Enable Wake on LAN from BIOS
[1] Turn on your Windows 10 or Windows 11 computer and open Settings.
[2] Click on the Update & Security section.
[3] Choose the Recovery option and click on the Restart now button below the Advanced Startup section.
[4] Click on Troubleshoot > Advanced options > click the UEFI Firmware Settings.
[5] Tap on the Restart button.
[6] Now, navigate to the Power Settings.
[7] Find the Wake on LAN feature and turn it on.
Frequently Asked Questions
It is a crafted packet with the MAC address of the destination computer. It will alert the computer adapter to wake up from sleep mode.