Just because you have important files residing in a folder on Mac doesn’t mean no one can access them. Mac users indeed require setting up a password for those folders that contain the most important details. With password protection, you are adding up security to the folder, and thus no one except you can access those folders. It is a useful thing if you are sharing your Mac with multiple people. So learning how to Password Protect a Folder Mac will save your important information from being stolen. Unfortunately, you will not find the password protection option upon right-clicking a folder because Mac doesn’t have a built-in option to add a password to the folder. However, you can Password Protect a Folder on Mac by putting the folder into a password-protected container. It gives you the same protection, just like adding a password to the folder.
Contents
- How to Password Protect a Folder Mac with Disk Utility
- Encrypt Files using OpenSSL (Without Third-party App)
- Password Protect Folder Without Disk Utility
- Password Protect Files, Documents and Folders on Mac Using Compression
- Password Protect Files, Folders, and Documents using Third-Party application
- Bonus
- To Conclude
How to Password Protect a Folder Mac with Disk Utility
This method will create a password-protected disk image, aka DMG folder on Mac.
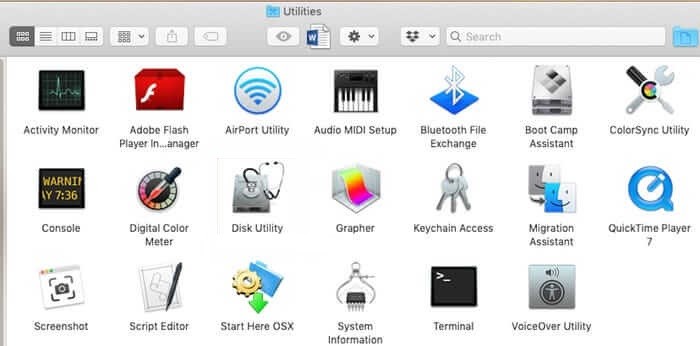
(1). Use the Spotlight to find Disk Utilities or go to Applications and select Utilities to click on Disk Utility.
(2). Click on File on the Disk Utility menu bar to select New Image and choose Image from folder.
Tip! Simply press Shift + Command + N to open the image from the Folder.
(3). Click on a folder that you want to encrypt with a password and tap on the Choose button.
(4). On the following screen, provide a password and verify it on the respective field. Click Choose.

(5). Then, provide a name on Save As field, enter tags, choose a location to save it, select 128-bit AES encryption. On the Image Format field, choose between compressed, read/write, hybrid image, and read-only. Tap on the Save button.
(6). Wait for the encryption process to end. After receiving the confirmation message, you shall go to the location where you saved the image.
(7). You should provide the password to access the DMG folder. Click OK to see the virtual disk with the same folder name.
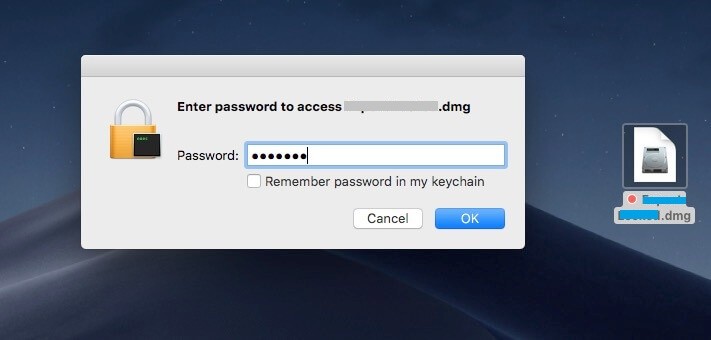
Note: The password-protected folder will be available on the Finder window as a dmg file. You shall double-click to open it and, when prompted, enter the password. Under Location, you will find the disk image of your folder. Click on the folder to access it or even save new files. To close the folder, right-click it and select Eject.
Encrypt Files using OpenSSL (Without Third-party App)
[1] Open Terminal on your Mac using Siri/Spotlight/Launchpad.
[2] Enter or paste the following lines of code in the terminal.
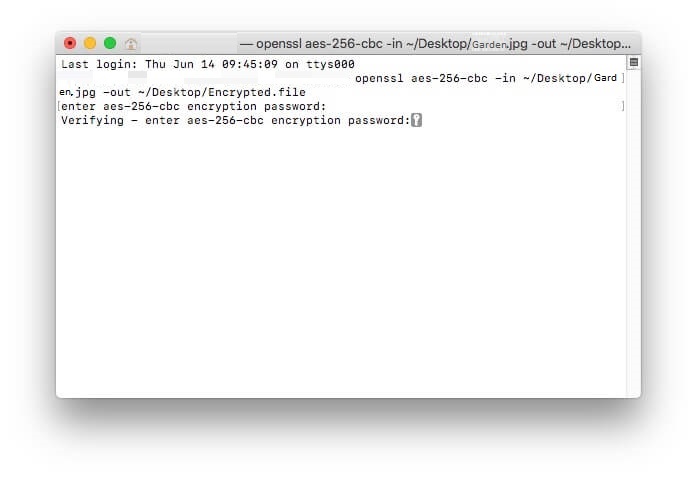
openssl aes-256-cbc -in ~/Desktop/Garden.jpg -out ~/Desktop/Encrypted.file
where
- openssl and aes-256-cbc – the type of encryption.
- –in ~/Desktop/Garden.jpg – location of the file you need to encrypt.
- -out ~/Desktop/Encrypted.file – Location of your encrypted file.
Note: You can alter the code according to the file and the location on your Mac.
[3] Click on Enter, and you will be asked to enter the password for encryption.
[4] Hit enter and now verify the password.
[5] Again, hit enter to continue.
[6] Now, you can see the file has been protected.
To decrypt
Use the following code and enter the password to decrypt the file.
openssl aes-256-cbc –in -d ~/Desktop/Encrypted.file -out ~/Desktop/Garden.jpg
Password Protect Folder Without Disk Utility
To protect or encrypt a file or folder on your Mac PC without disk utility, you need some third-party applications.
MacPaw Hider is one of the most popular tools used for protecting folders without disk utility. It is a paid application, and the pricing starts at $19.
[1] Download and install MacPaw Hider on your Mac PC.
[2] Add the file/folder that you need to protect or encrypt into it.
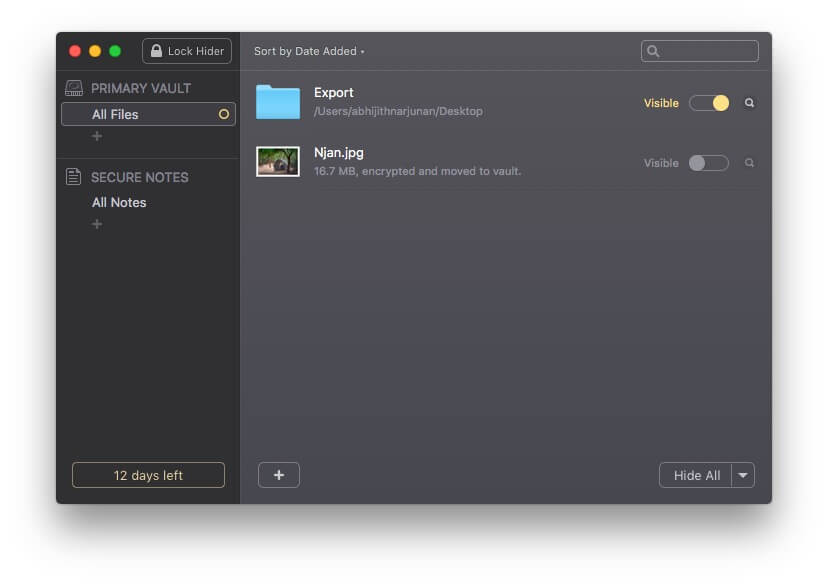
[3] Enter the password to encrypt the file.
[4] That’s it. The file has been encrypted on Mac without using disk utility.
Password Protect Files, Documents and Folders on Mac Using Compression
[1] Open Terminal on your Mac device.
[2] Enter the location of the file and hit enter.
cd Desktop
[3] After the location is set, enter the command for compression and hit enter.
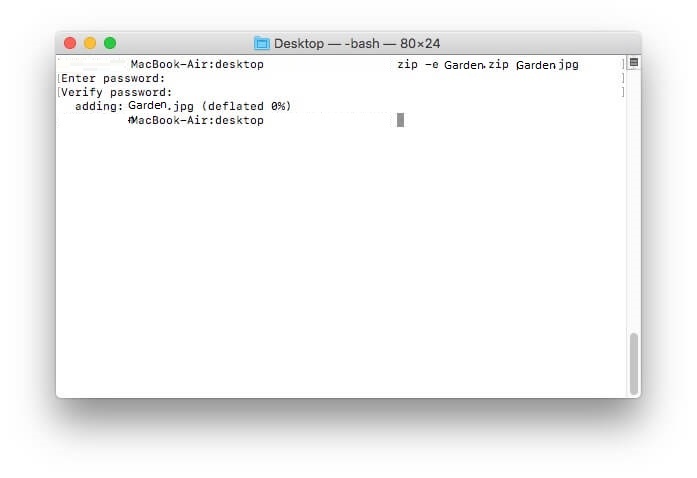
zip -e garden.zip garden.jpg
Where
- Zip – Compression format
- garden.jpg – The file name that is needed to be compressed
- garden.zip – compressed file name
[4] Hit enter to type the password for the compression file.
[5] Confirm the password and hit enter to compress the file/folder.
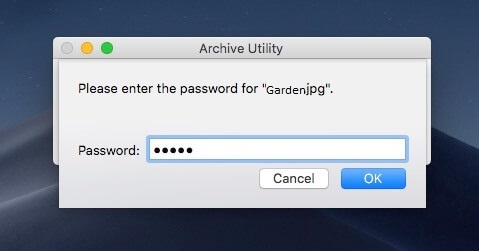
[6] To Unzip/decompress that file, you need to enter the password to proceed.
Password Protect Files, Folders, and Documents using Third-Party application
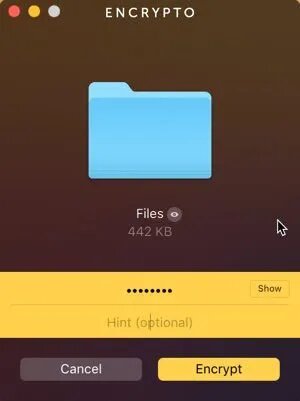
[1] Download and install Encrypto from the mac app store.
[2] Launch Encrypto on your Mac PC.
[3] Drag and drop the file that you need to password protect.

[4] Enter the password for the file to encrypt and add a hint if required.
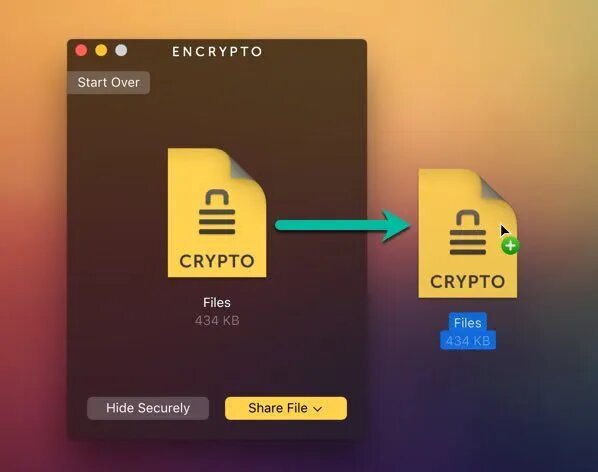
[5] Once done, click on Encrypt to encrypt the folder in an Encrypto archive.
[6] Once the encryption is done, drag and drop or share a file to another safe location.
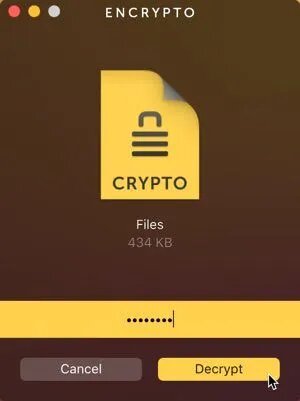
[7] To open the encrypted file, double click on it and enter the password given to Decrypt.
Apart from Encrypto, there are several other applications available. Here are some of them that you can use.
- Concealer
- Data Guardian
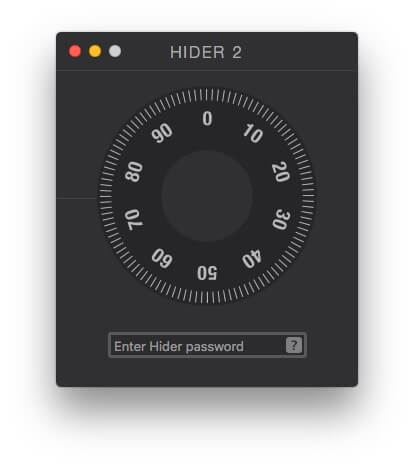
- Hider 2
- MacFort
- Cisdem AppCrypt
- Espionage
- MacKeeper
- Protect Files, etc.
Bonus
To temporarily hide or protect files on your Mac, there is a simple way that you can follow. It prevents the file from listed on the spotlight or any kind of search on your Mac unless you navigate to the file location.
You just need to add .noindex located next to the name of the folder that you want to protect.
For instance, if you have a folder named techowns, then change the folder name to techowns.noindex and place the folder in some safe location. To find it easily, you can change the color of that folder.
To Conclude
There are several tools available to password protect a folder on Mac. However, we recommend you to use the built-in Disk Utility tool to password protect a folder. It considerably saves your device storage, and you don’t have to run out of space.
Hope this section has provided the info you were looking for. Drop us your comments if you have got any queries. Follow us on Facebook and Twitter for more useful article updates.