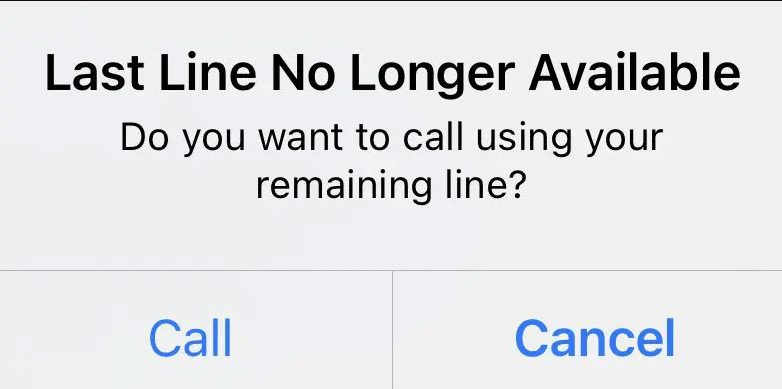
Last Line No Longer Available is one of the most irritating issues on certain iPhone 13 models. It also appears on a few iPhones running on iOS 15. This particular error prevents people from making phone calls after updating to iOS 15. The issue is associated with the phones which try to access e-SIM instead of using a physical SIM card.
Contents
Last Line No Longer Available on iPhone 13
This particular error will pop up if the user tries to make a call on their iPhone 13 upon activating the eSim for the first time. eSim is a digital SIM that enables the dual SIM option on the latest iPhone models like iPhone 12 series, iPhone 13 series, iPhone XR, and iPhone XS/Max.
The issue can be fixed on your own by following simple troubleshooting techniques.
- Enable and disable Airplane mode
- Switch between SIMs
- Remove and re-insert your SIM
- Delete recent call logs
- Update Carrier Settings
- Restart your iPhone
- Reset network settings
- Reset iPhone
Note – Before jumping into the steps, ensure to update the iPhone firmware to the latest version.
Enable Airplane mode and Disable
Network issue is more common, and it happens for a lot of reasons. One of the easiest ways to fix it is to turn the Airplane mode ON and then turn it OFF after 10-15 seconds. You can also do this easily from the iPhone 13 control center.

Try Switching Between SIMs
If you have enabled the dual SIM option on your iPhone, you can try switching your SIM for making calls without thinking twice. If you have previously set the default line for calls and messages, you can change it by tapping the “i” button on the particular contact. Select the default phone number on the screen and tap on your alternate number. If you are dialing a phone number manually using the keyboard, select the alternate SIM card from the top of the screen.
Re-insert your SIM
If you only use a single SIM card on your iPhone, remove the SIM card from your iPhone. To remove the SIM card, insert a SIM eject tool or paper slip into the hole near the SIM tray and pull it out. After ejecting out, remove the SIM from the slot, clean the slot, and re-insert it.
Delete Recent Call Logs
Users who have already experienced this issue have made a confirmation that the issue will get over once they clear their recent call logs from the phone app.
However, you have to think twice before deleting the call log because you will not be able to access them anytime in the future. Nevertheless, doing this will help to sort out the error.

Update Carrier Settings
Another solution for the issue is updating the carrier settings. Sometimes, the issue might be related to the carrier network. If you update carrier settings on your device, there is a high chance of a problem getting solved automatically. The main advantage is that carrier providers often release updates to boost the overall performance of the cellular network. It also helps to get rid of several issues. To update carrier settings,
(1) Open the Settings app and move to General > About. Now, a pop-up will appear to update the carrier settings.
(2) Next tap Update. You are done.
Restart your iPhone
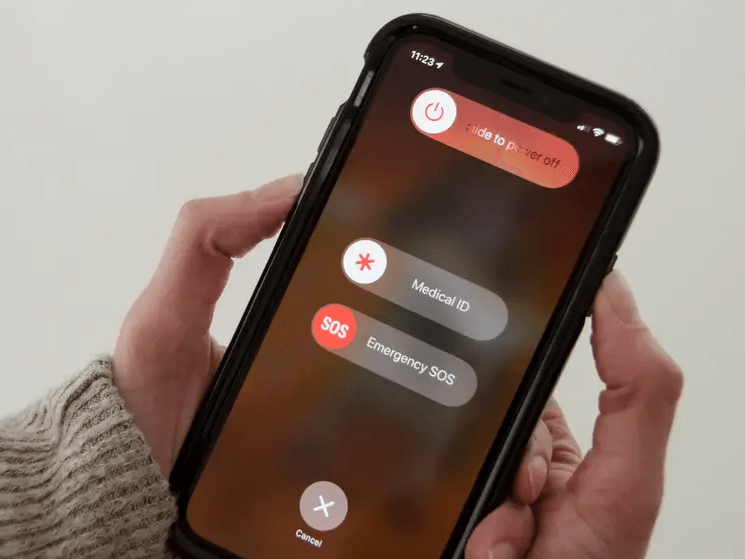
Try restarting your iPhone if you still continue to get the error. Restarting your device resets the RAM and cache on your system and clears all the background services. It will fix minor incompatibilities in your system and applications on the iPhone. To restart,
- Hold the power button.
- You will see the power off slider.
- Move the slider and wait for your phone to power off.
- After shutdown, press and hold the power button again till you see the Apple logo.
Reset your Network Settings
The issue mainly points to an issue with your e-SIM. Resetting your network settings will help you to overcome the issue. To reset your network settings, go to Settings > General > Transfer or Reset iPhone > Reset. Now, select Reset Network Settings from the pop-up that appears.
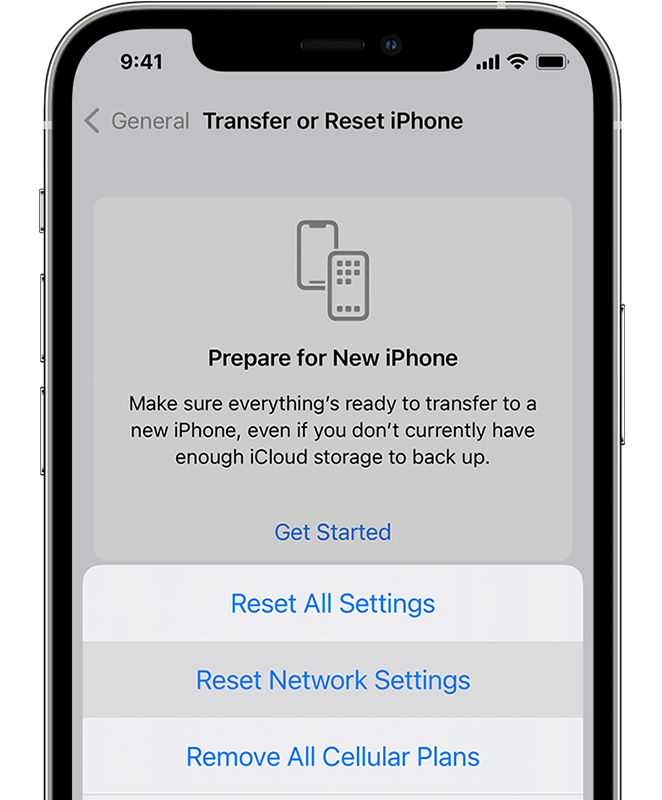
Reset All Settings
If the above solutions fail to fix the issue, delete all the settings and set up the device from scratch.
(1) Open Settings on your iPhone > General > Transfer or reset iPhone > Reset > Reset All Settings.
(2) Enter your password and tap Reset All Settings again to complete the process.
Try these fixes and check whether the issue is fixed or not. If the issue persists, visit the nearby Apple support center to sort out the issue.