Roku streaming devices are one of the best streaming devices and are the major rivals for Amazon Firestick. Roku has a variety of streaming devices like Roku Express, Roku Premiere, Roku Streaming Stick, and more. All the devices cannot perform independent and you need to connect Roku to a TV through wired connections. If you are new to streaming devices, the chances are higher that you don’t know how to connect Roku devices to a TV. In this article, we will guide you to connect the Roku streaming device to a TV.
Though Roku has different types of streaming devices, the connection and setup procedure is the same for all the devices. The UI and on-screen steps are also the same, as the devices have the same Roku OS.
How to Connect Roku Streaming Device to a TV
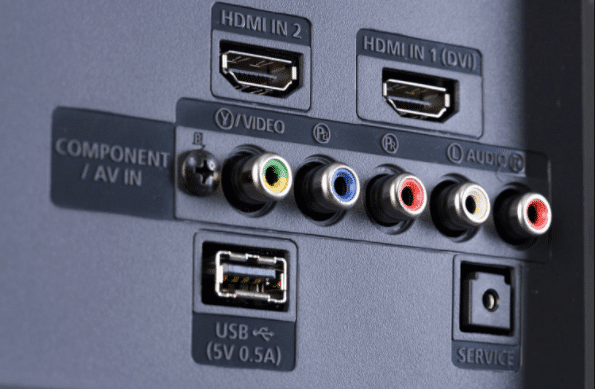
(1) Connect your Roku Streaming device to the HDMI port of the TV. If you have the Roku Streaming Stick, you can directly connect it to the HDMI port. If you have the Roku Premiere or Roku Express, use the HDMI cable to connect the device to the TV.
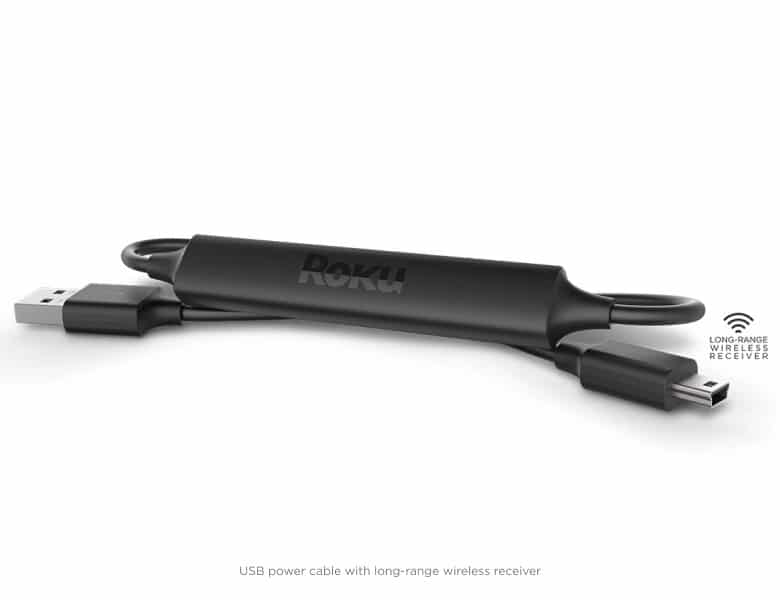
(2) Now, connect the power supply to your Roku device using the micro USB provided in the kit.
(3) After that turn on your TV and choose the HDMI input that you have connected to the Roku device. The Roku logo will appear.

(4) Take the Roku remote and insert batteries. You will see the Let’s get started screen.
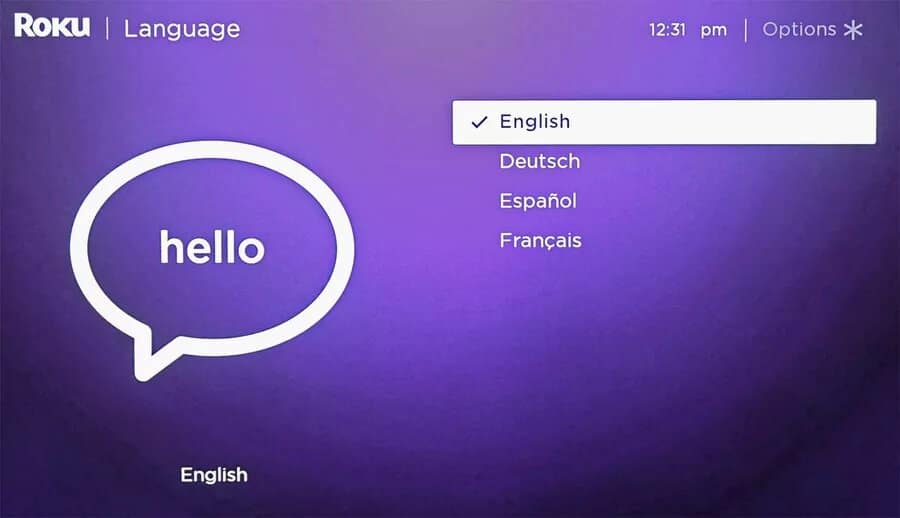
(5) Choose the language to proceed further.
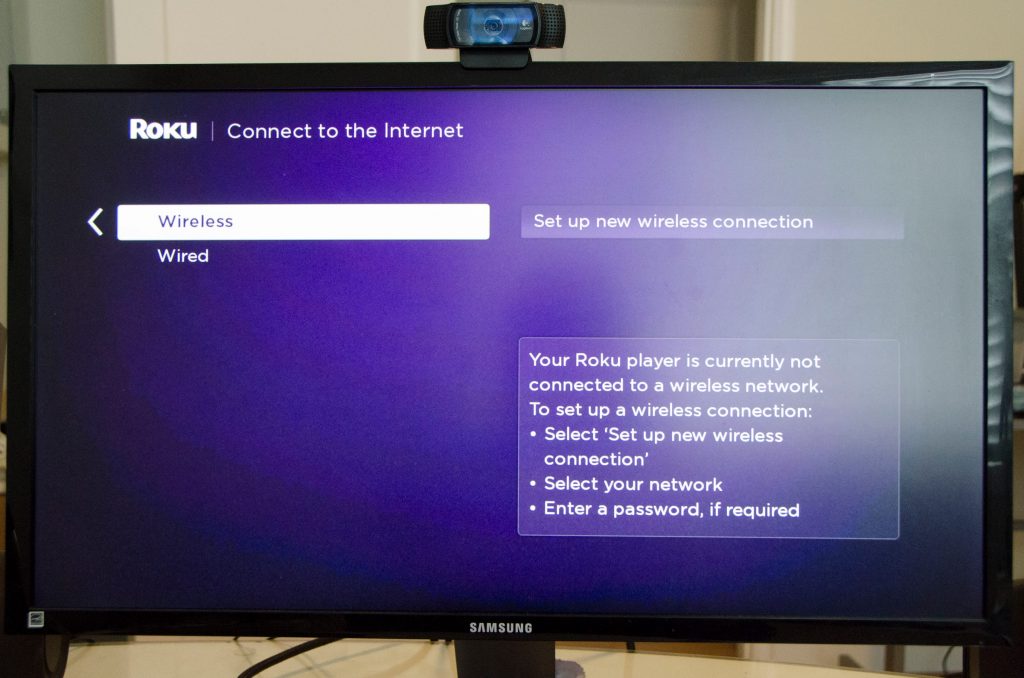
(6) The next step is to set up an internet connection. If you have an ethernet cable, choose Wired. If not, choose Wireless.
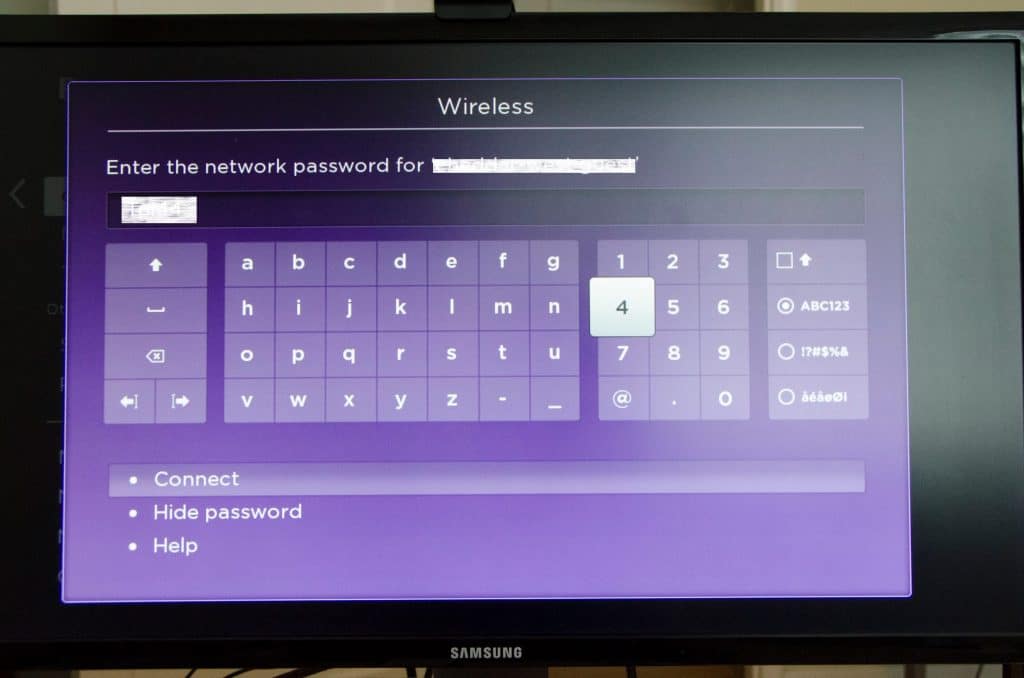
(7) On the next screen, choose your WiFi network and type the password. Click the Connect option.
(8) After a successful WiFi connection, the device will search for a new software update. If a new update is available, it will ask you to download it. If not, you can go with the existing OS.
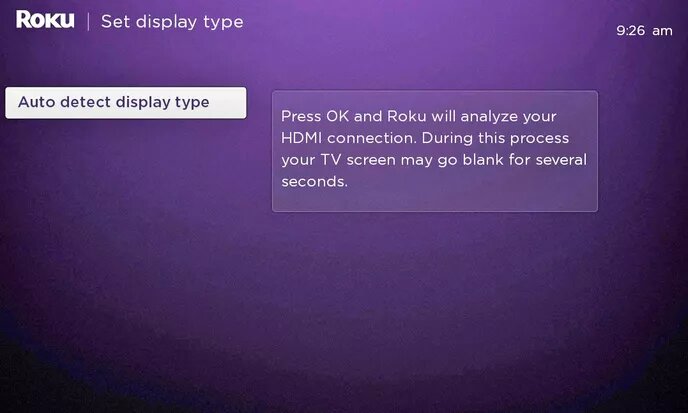
(9) The next step is to set the resolution. Select the Auto-detect display type. This will adjust the resolution depending on your TV. If you want, you can change.
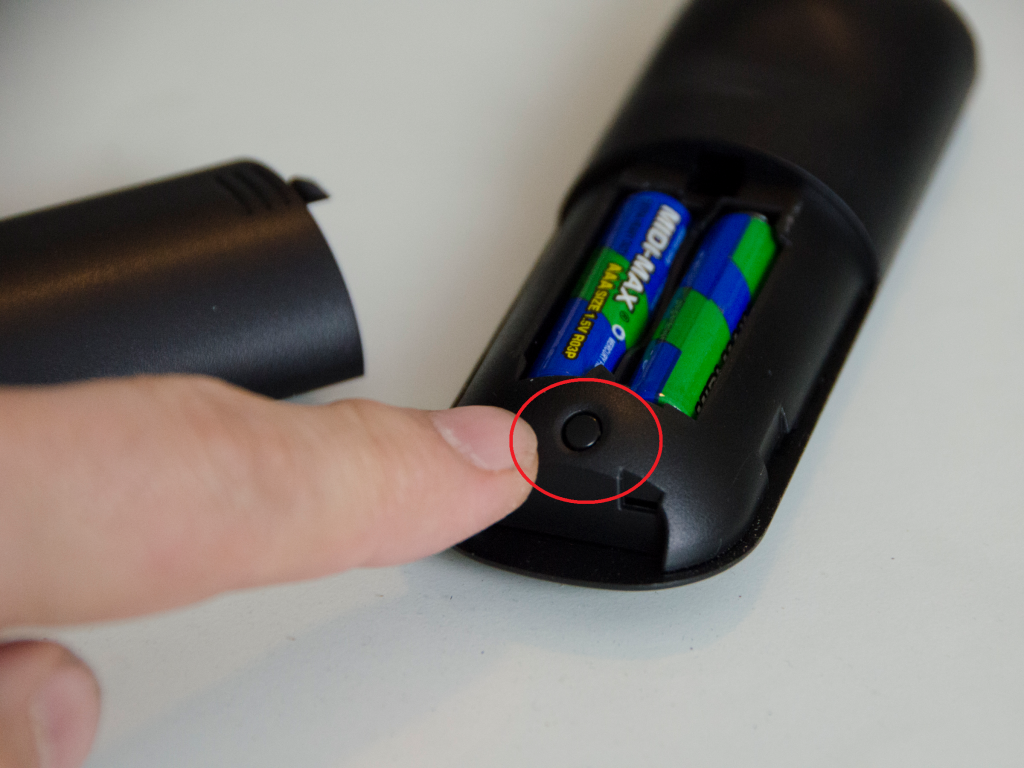
(10) Until now, you don’t need to pair your Roku remote. At this point, you may be requested to pair the remote. If that’s the case, press and hold the pairing button for three seconds. It will be paired.
(11) After the remote is paired, you will get the below screen, Click Check remote settings to change your TV’s volume and control with Roku remote. You can also skip this step by clicking the Skip button.

Activate Roku
(1) Now, sign in or sign up with a Roku account. You will get the activation code.
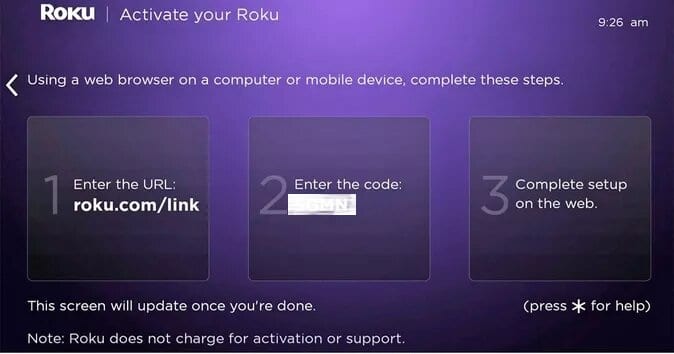
(2) On your PC or smartphone, go to the link specified on the screen. roku.com/link to activate your Roku device.
(3) Enter the activation code on the specified area and click Submit.

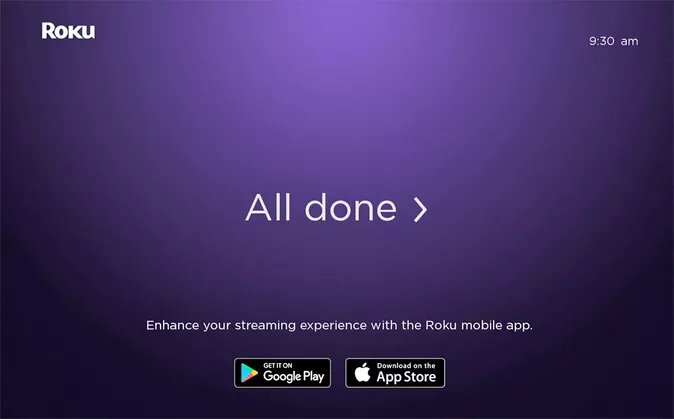
(4) Now, you will get the All done screen.
After this, you can stream your favorite video content on your TV through Roku. If your TV doesn’t have an HDMI port, you can’t connect the Roku device to the TV. In that case, if possible, buy an intermediate cable that suits both Roku’s HDMI port and your TV’s connection port.
Endnote
These are the steps involved in connecting the new Roku device to your TV. Set up your Roku streaming device to the TV and stream your favorite movies and series. If you have difficulties while connecting, tell us in the comments section.
Follow our social media platforms, Facebook and Twitter to get more updates about Roku.