An iPad is a tablet which resembles a large-sized Apple iPhone. iPad is the perfect tool for web browsing, games, taking notes, creating art, designing and more as it comes with a WiFi and even LTE. As similar to iPhone, iPad has the Apple App Store built-in. In addition to constant apps, Apple has made apps, particularly for iPad versions. It’s all good when you handle your files and your data within apps on your iPad. But when you want to transfer it from a Windows PC or laptop, the process is not straight forward. In this article, let us see how to transfer files from your Windows PC to iPad using all possible ways.
Apple has developed a Windows version of the iTunes app, specifically for transfering and syncing files between your PC and iPad. Apart from this, there are few other ways to transfer data between iPad and Windows PC.
Contents
- Methods to Transfer Files from Windows PC to iPad
- Method 1: Transfer Files from PC to iPad through iTunes
- Method 2: Transfer Files from PC to iPad through Cloud Drive
- Method 3: Transfer Files from Windows Computer to iPad via Google Drive
- Method 4: Transfer Files from Windows PC to iPad via AnyTrans
- Method 5: Transfer Files from Computer to iPad through Email
- To Conclude
Methods to Transfer Files from Windows PC to iPad
If you had bought a new iPad and want to transfer files to it. Or if your existing data in the iPad got deleted and you want to get back all the files that are backed up on your Windows PC. It may be done with any of the following methods, You can transfer files like photos, videos, music, movies, messages, contacts and many more from windows PC to iPad.
- Transfer Files from Windows PC to iPad with iTunes.
- Transfer Files from Windows PC to iPad via iCloud Drive.
- Sync or Transfer Files from Windows PC to iPad via Google Drive.
- Transfer Files from Windows PC to iPad via AnyTrans.
- Transfer Files from Windows PC to iPad via Email.
Method 1: Transfer Files from PC to iPad through iTunes
#1. Connect your iPad to the Windows computer with a USB cable.
#2. Open the Microsoft store on your computer and download the iTunes for Windows app.
#3. After the download is completed, open the iTunes app.
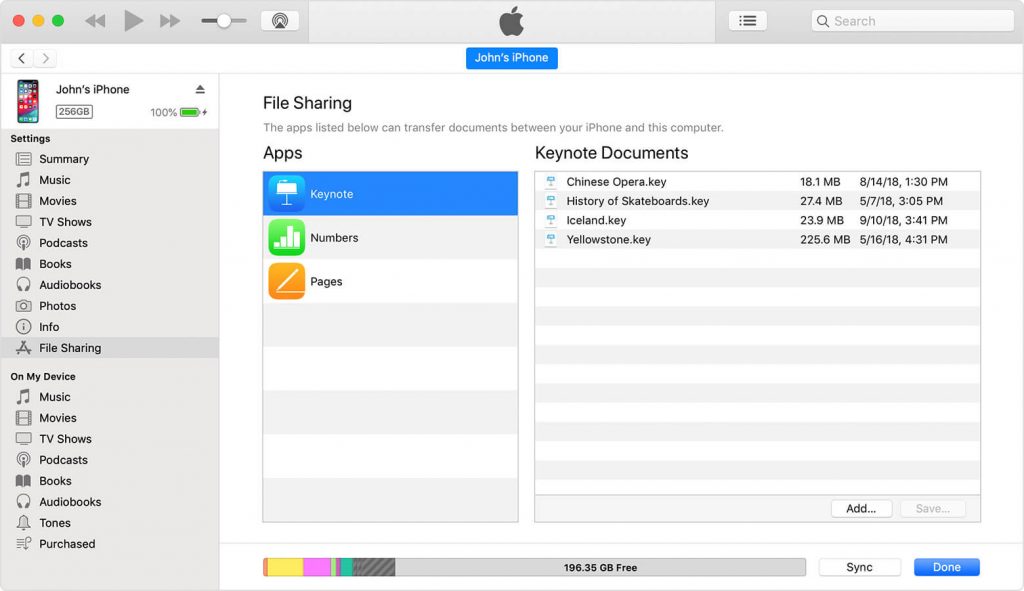
#4. Select the iPad tab on the upper left corner of the iTunes app.
#5. Then select the File Sharing option in the side bar menu.
#6. Select the folder and then select the file type that you want to transfer to iPad from your Windows PC.
#6. After that click Apply or Sync button at the bottom.
#7. Open the selected file and click Apply or Sync button to start transferring selected files from your PC to iPad.
#8. After the transfer is complete, the selected files will be synced to your iPad.
Repeat the above steps to transfer all your files from Windows PC to iPad.
Method 2: Transfer Files from PC to iPad through Cloud Drive
iCloud Drive on iPad allows you to view and access the data stored on your iPhone, iPad, Mac or PC and iPod Touch. If you add any new files to your device, it will automatically be uploaded to the iCloud Drive. So that you can use the file on any device with iCloud Drive on it.
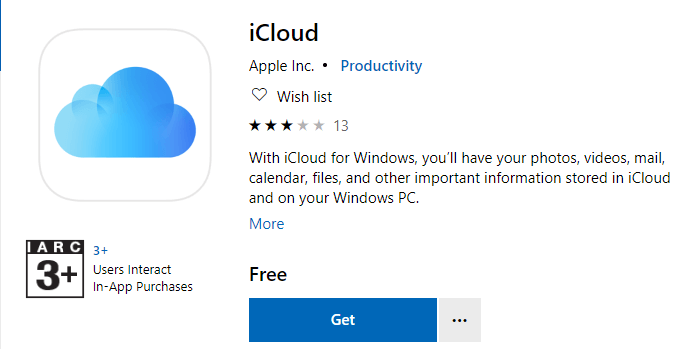
#1. Download and install the iCloud for Windows from the Apple website or Microsoft Store.
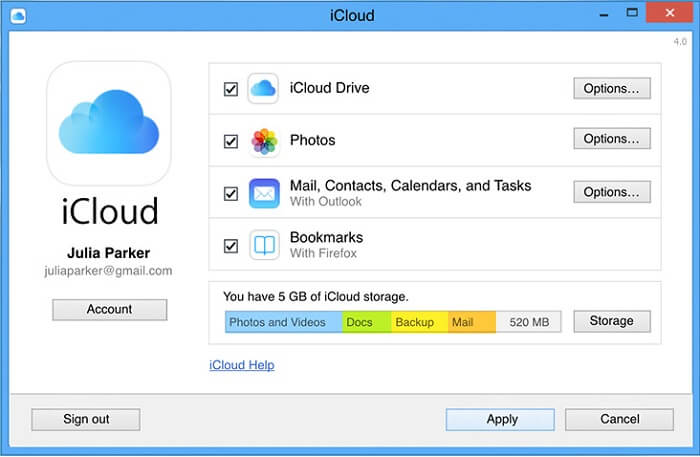
#2. Open the iCloud on your PC.
#3. Enter your Apple ID to sign in to iCloud Drive. The entered Apple ID should be the same as used on your iPad.
#4. Select and drag the files to the iCloud Drive folder. Wait for few a minutes to upload the selected files to the iCloud Drive.
#5. After that, open the iCloud app on your iPad, you will be able to see all the transferred files on you iPad.
Note: The free version of iCloud is limited to only 5 GB of storage.
Method 3: Transfer Files from Windows Computer to iPad via Google Drive
Other than iCloud Drive, you can use some other cloud drives to transfer or sync your data between Windows computer and iPad. Google Drive is one such service, next to the iCloud drive. You can sync any number of files to Google Drive and access them on a number of device access with same Google ID.
Note: Google Drive offers only 15 GB of storage space for free.
#1. Open the web browser on your computer.
#2. Navigate to search bar and visit drive.google.com.

#3. Here select New button.
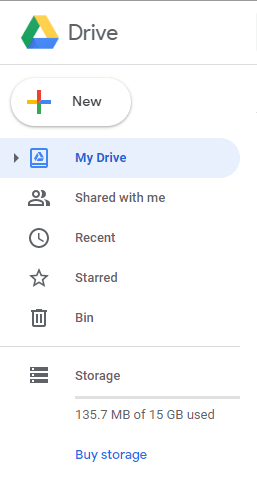
#4. Choose either File upload or Folder upload option.
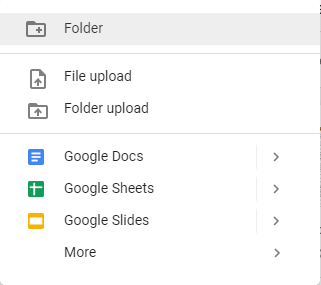
#5. Then select the folder or files to upload to Google Drive.
#6. After uploading, you will be able to see the selected files on your Google Drive account.
#7. Now Download and install the Google Drive from iPad App Store.
#8. Login with the same Google ID, used on your Windows PC.
On your iPad, you can see all the synced files from your computer.
Method 4: Transfer Files from Windows PC to iPad via AnyTrans
Apart from above all methods, you can use any third-party transfer tool made for the iOS devices. Among them, AnyTrans is the simplest and quickest way to transfer files from your windows PC to iPad. AnyTrans is free and legal to use.
#1. Install and launch the AnyTrans app on your Windows PC.
#2. Connect your iPad with your Windows PC/laptop using a USB cable.
#3. Click the Add Content shortcut button.
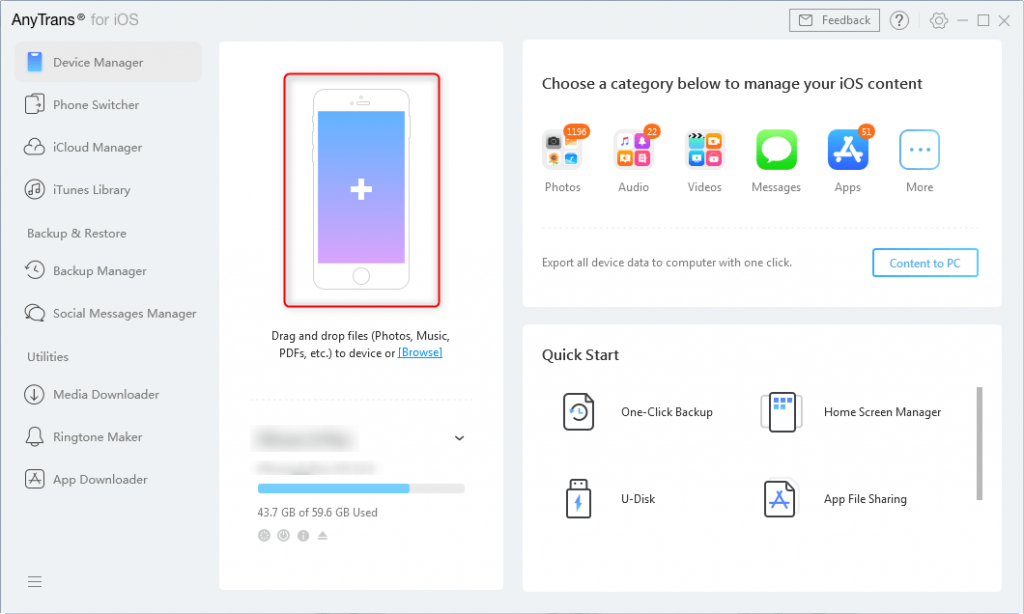
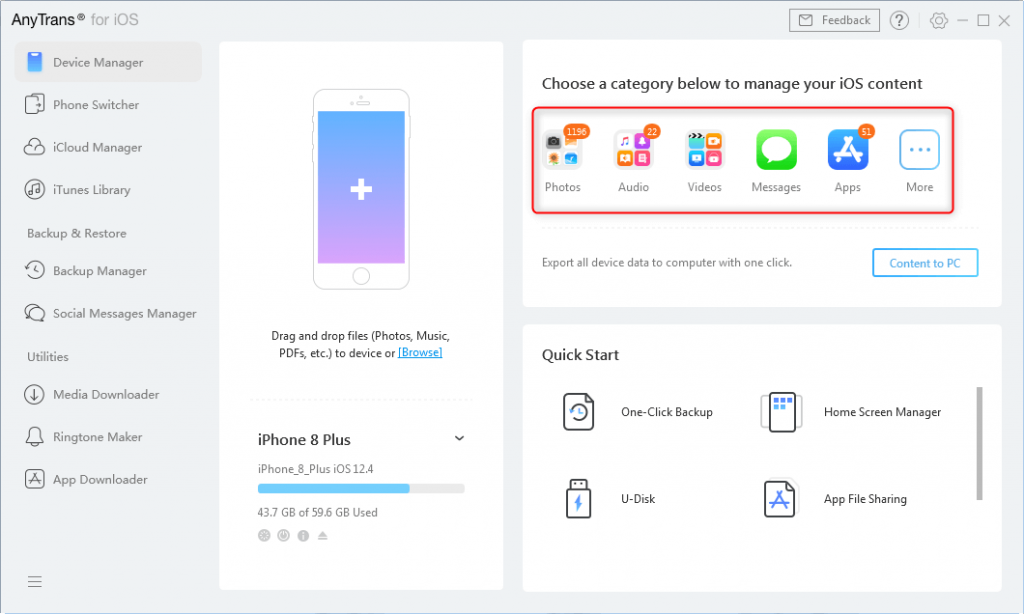
#4. Select the specific category of files that you want to transfer to your iPad.
#5. The selected files will be transferred to your iPad in amatter of minutes.
Method 5: Transfer Files from Computer to iPad through Email
The Email is the simplest way to transfer files from you Windows PC to iPad. The only setback with this method is that you can only transfer smaller files and you cannot deal with file weighing in GBs.
#1. Open the web browser and visit Gmail, iCloud or any other mail client you use.
#2. Sign in with your Email requirements.
#3. Now select the files you need to transfer to your iPad.
#4. Send the selected files to yourself as an Email attachment.
#5. On your iPad, open the email app and login with the same Email ID used on your Windows computer.
#6. Download the files from your Email. Now the selected files will be downloaded to your iPad storage.
That’s it. All you selected files will be found locally.
To Conclude
All the above methods are the best solutions to transfer any files or folders from your Windows PC to your iPad. If you want to transfer small-sized files you can use the Email method. But if you want to transfer or sync a large number of files, the Google Drive or AnyTrans is the best option. In addition to AnyTrans, there are a number of transfer tools supported by iOS to transfer files to from you PC to iPad. Most of the cloud storage apps have an Offline feature that you can use to make your files available offline.
Which method did you use and how was your experience? Share it with our readers. Follow us on Facebook and Twitter for more updates.